Installing the Teams Managed Package
Pre Installation
Install the dependent package
Pitcher Zero - Install the dependent package version or higher version
Installation
Enter the package installation link obtained from your Pitcher representative. This should redirect you to the login page of Salesforce.com. For Sandbox organizations, swap http://login.salesforce.com with http://test.salesforce.com in the URL.
Select Install for Admins Only, Install for All Users, or Install for Specific Profiles, depending on the need.
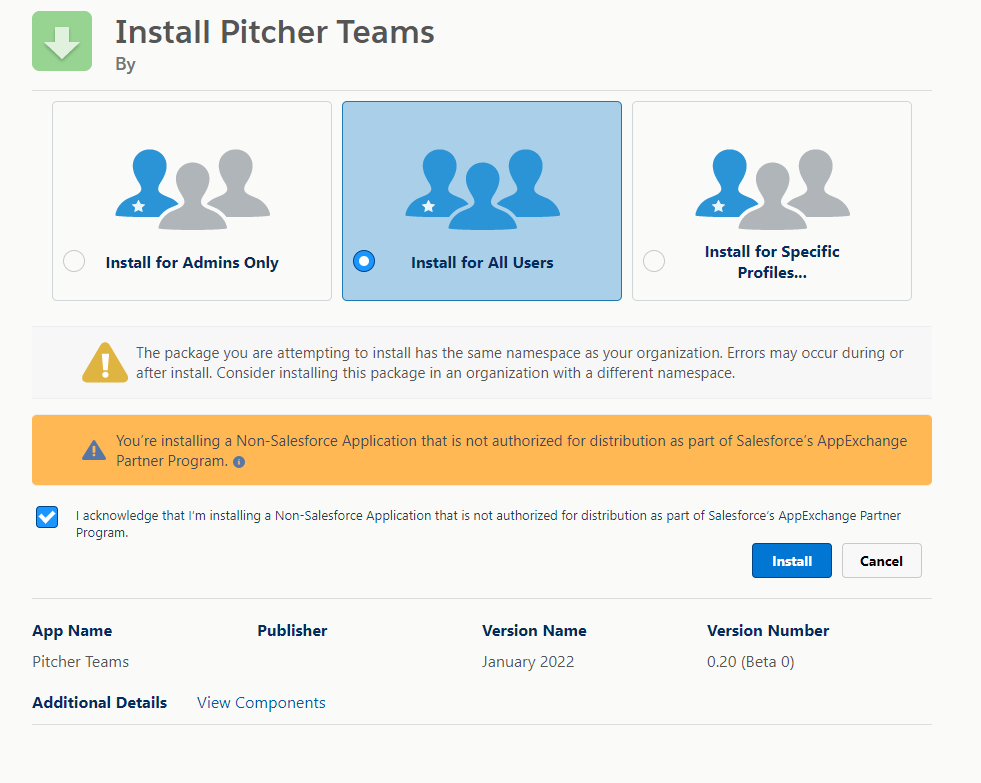
To verify the package components before installation/upgrade, click on the “View Components” link.
Check the acknowledgement and click Install to proceed.
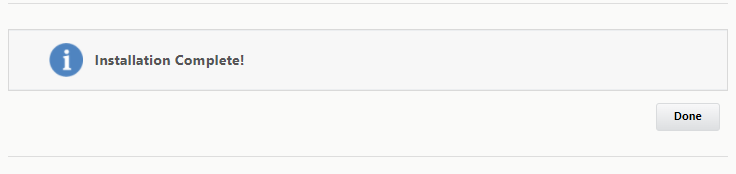
Once installation is completed, the following screen appears:
Check the installed packages on the Setup > Apps > Packaging > Installed Packages page to confirm the successful installation.
To verify the package components after a successful installation/upgrade, follow the steps shown below -
Post Installation
After the Pitcher Apps Managed Package gets installed in the org, you need to perform the following steps:
Step 1 - Assign Permission Sets
Assign the permission set PITCHER-Teams Rep to the users who will be using Pitcher Teams Package
Step 2 - Make Time Off Private
If you want to enable this feature https://pitcher-docs.atlassian.net/wiki/pages/createpage.action?spaceKey=APPS&title=Sharing%20Time%20Off , then follow the below steps -
Go to Setup → Sharing Settings
If it’s not Private, Edit → Change the Internal Access to Private and save

Step 3 - Schedule Apex Jobs
Schedule Apex Jobs are background jobs. For example, a scheduled job can also have some considerable calculation logic or timely integration with external systems.
PCH.SCB_ShareTimeOffWithMgr
Only if you want to enable this feature , then follow the below steps -
Login to destination org.
Go to the Developer Console.
From the Debug menu, click Open Execute Anonymous Window.
Paste the following apex code based on the scheduled time as per customer need:
For 1 AM, use the following code:
CODEPCH.SCB_ShareTimeOffWithMgr mgr = new PCH.SCB_ShareTimeOffWithMgr(); System.schedule('PCH.SCB_ShareTimeOffWithMgr || Everyday 1 AM', '0 0 1 * * ? *', mgr);For 12:10 AM, use the following code:
CODEPCH.SCB_ShareTimeOffWithMgr mgr = new PCH.SCB_ShareTimeOffWithMgr(); System.schedule('PCH.SCB_ShareTimeOffWithMgr || Everyday 12:10 AM', '0 10 0 * * ? *', mgr);
Click Execute.
Verify under Setup > Scheduled Job that the apex job
PCH.SCB_ShareTimeOffWithMgris scheduled to run daily at the scheduled time.
OR,
Go to Setup > Apex Classes.
Use the Schedule Apex button to schedule the job.
Select the
SCB_ShareTimeOffWithMgrapex class.Set frequency, start and end date.
Set any suitable time. For example, 1 AM.
Set the name of the job as
PCH.SCB_ShareTimeOffWithMgr.
PCH.SCB_CleanupShareTimeOffWithMgr
If you want to enable this feature follow the below steps -
Login to destination org.
Go to the Developer Console.
From the Debug menu, click Open Execute Anonymous Window.
Paste the following apex code based on the scheduled time as per customer need:
Note - This scheduled job should always be scheduled before or after 2-3 hours difference of PCH.SCB_ShareTimeOffWithMgr job
For 3 AM, use the following code:
CODEPCH.SCB_CleanupShareTimeOffWithMgr mgr = new PCH.SCB_CleanupShareTimeOffWithMgr(); System.schedule('PCH.SCB_CleanupShareTimeOffWithMgr || Everyday 3 AM', '0 0 3 * * ? *', mgr);For 12:50 AM, use the following code:
CODEPCH.SCB_CleanupShareTimeOffWithMgr mgr = new PCH.SCB_CleanupShareTimeOffWithMgr(); System.schedule('PCH.SCB_CleanupShareTimeOffWithMgr || Everyday 12:50 AM', '0 50 0 * * ? *', mgr);
Click Execute.
Verify under Setup > Scheduled Job that the apex job
PCH.SCB_CleanupShareTimeOffWithMgris scheduled to run daily at the scheduled time.
OR,
Go to Setup > Apex Classes.
Use the Schedule Apex button to schedule the job.
Select the
SCB_CleanupShareTimeOffWithMgrapex class.Set frequency, start and end date.
Set any suitable time. For example, 1 AM.
Set the name of the job as
PCH.SCB_CleanupShareTimeOffWithMgr.
PCH.SCB_EventsFromShiftsProcessing
Only if you want to enable this Shift Processing feature, then follow the below steps -
Login to destination org.
Go to the Developer Console.
From the Debug menu, click Open Execute Anonymous Window.
Paste the following apex code based on the scheduled time as per customer need:
For 3 AM, use the following code:
CODEPCH.SCB_EventsFromShiftsProcessing mgr = new PCH.SCB_EventsFromShiftsProcessing(); System.schedule('PCH.SCB_EventsFromShiftsProcessing || Everyday 4 AM', '0 0 4 * * ? *', mgr);For 12:50 AM, use the following code:
CODEPCH.SCB_EventsFromShiftsProcessing mgr = new PCH.SCB_EventsFromShiftsProcessing(); System.schedule('PCH.SCB_EventsFromShiftsProcessing || Everyday 12:50 AM', '0 50 0 * * ? *', mgr);
Click Execute.
Verify under Setup > Scheduled Job that the apex job
PCH.SCB_EventsFromShiftsProcessingis scheduled to run daily at the scheduled time.
OR,
Go to Setup > Apex Classes.
Use the Schedule Apex button to schedule the job.
Select the
SCB_EventsFromShiftsProcessingapex class.Set frequency, start and end date.
Set any suitable time. For example, 1 AM.
Set the name of the job as
PCH.SCB_EventsFromShiftsProcessing.