Installing the Products Managed Package
This document describes the steps required to install and configure the Pitcher Products Managed Package.
Installation
Follow these steps to install the package:
Enter the package installation link obtained from your Pitcher representative. This should redirect you to the login page of Salesforce.com. For Sandbox organizations, swap http://login.salesforce.com with http://test.salesforce.com in the URL.
Select Install for Admins Only, Install for All Users, or Install for Specific Profiles, depending on the need.
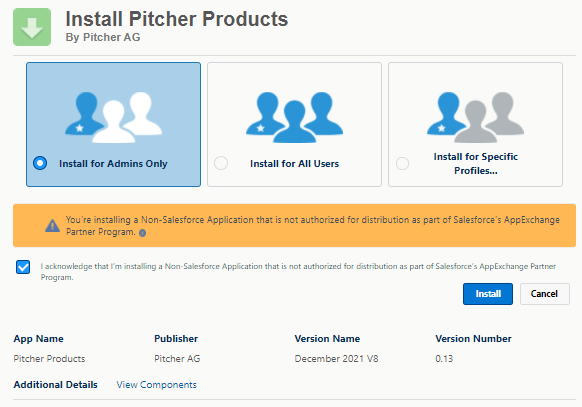
To verify the package components before installation/upgrade, click on the “View Components” link
Viewing components during installation
Once installation completes, the following screen appears:
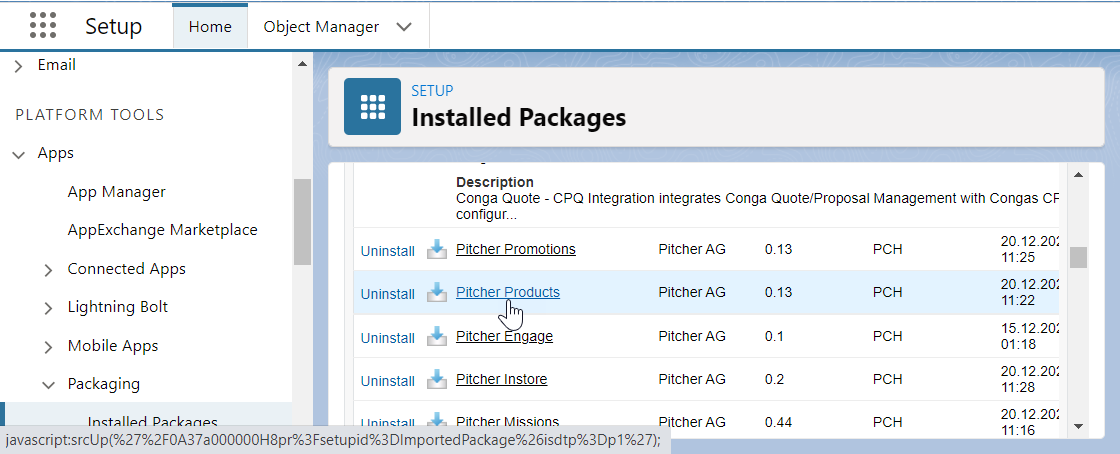
To confirm the successful installation, check the installed packages, on the Setup > Apps > Packaging > Installed Packages page.
To verify the package components after a successful installation/upgrade, follow the steps shown below -
Post Installation
Step 1 - Permissions Assignment
After the Pitcher’s Products Managed Package gets installed in the org, you need to perform the following steps:
Assign the PITCHER-Mission Operations permission set to users managing the content of Products.
Assign the PITCHER-Mission Rep permission set to the users to provide them access to view the Products.
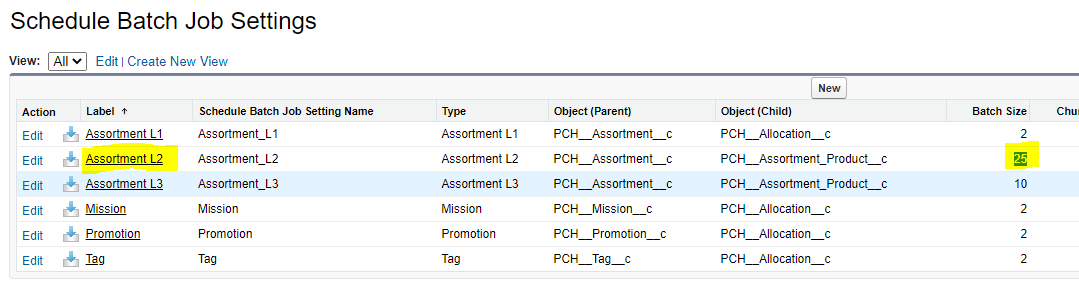
Step 2 - Change Batch Size for Assortment L2 & L3
Manually change the value for Batch Size custom metadata field for Assortment L2 in Schedule Batch Job Settings from 10 to 25.
Step 3 - Default Values
Ensure that default values are set for the following fields:
Object Name | Field Name | Default Value |
|---|---|---|
PCH__Assortment__c | PCH__Allocation__c | Account |
PCH__Assortment__c | PCH__Allocation_Logic__c | OR |
Step 4 - Modify record type configuration in metadata
If you are installing (first time) any higher version than v0.29.0.0 then skip this step
If you are upgrading to v0.29.0.0 or the higher version only then follow this step
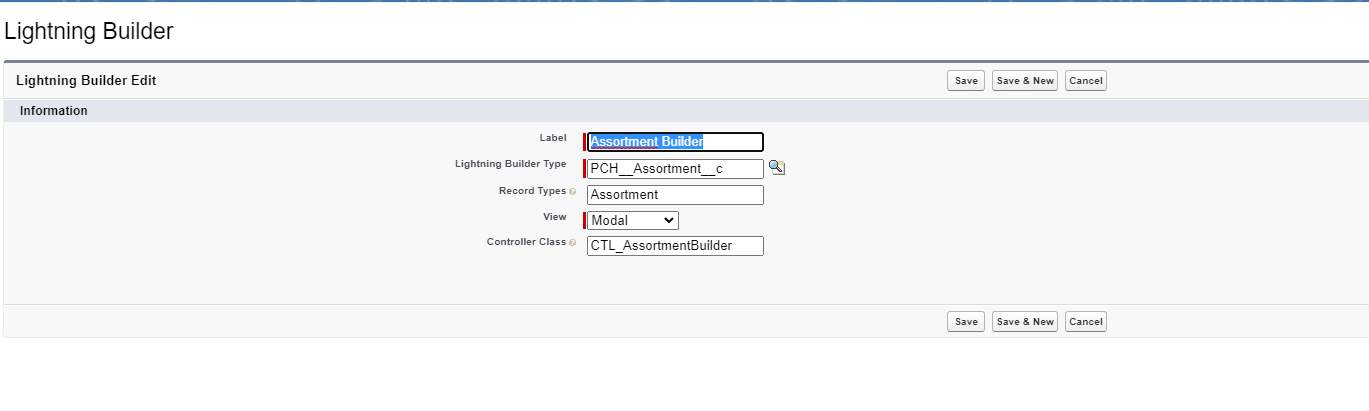
Go to the Setup → Custom Metadata Types → click “Manage Records” next to “Lightning Builder”
Click “Edit” next to “Assortment Builder”
In the Record Types field enter Assortment and Save the record:
Step 5 - Modify record type configuration on Assortment object
If you are installing (first time) any higher version than v0.30.0.0 then skip this step
If you are upgrading to v0.30.0.0 or the higher version only then follow this step
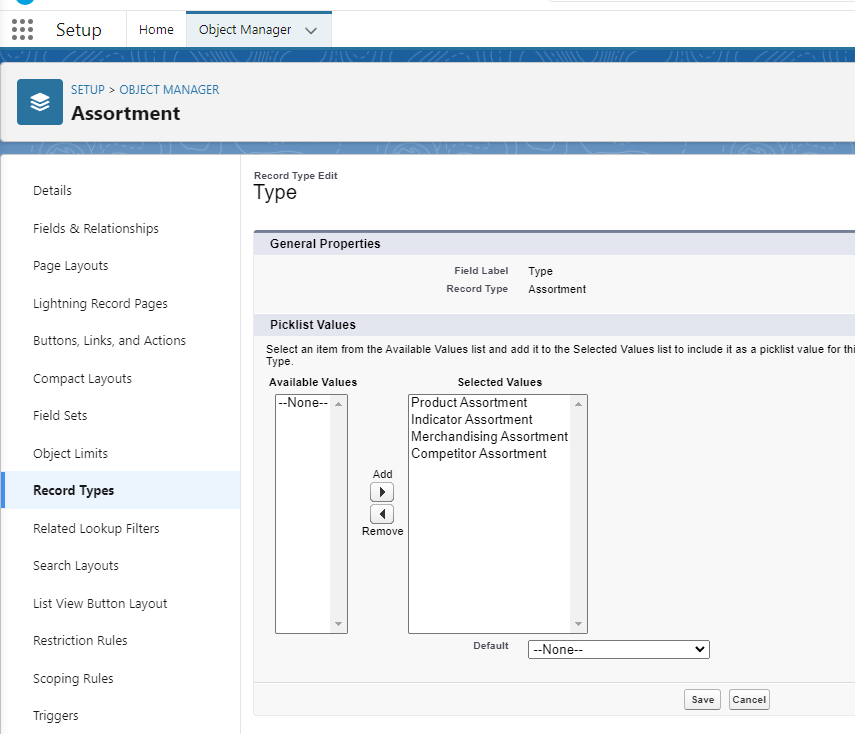
Go to Setup → Object Manager → Assortment → Record Types → Assortment
Click “Edit” next to Type
Add all types to the selected values and click Save.