Installing the Missions Managed Package
This document describes the steps required to install and configure the Pitcher’s Missions Managed Package.
Pre Installation
1 - Install dependent packages
Pitcher Zero
Installation
Follow these steps to install the package:
Enter the package installation link obtained from your Pitcher representative. This should redirect you to the login page of Salesforce.com. For Sandbox organizations, swap login.salesforce.com with test.salesforce.com in the URL.
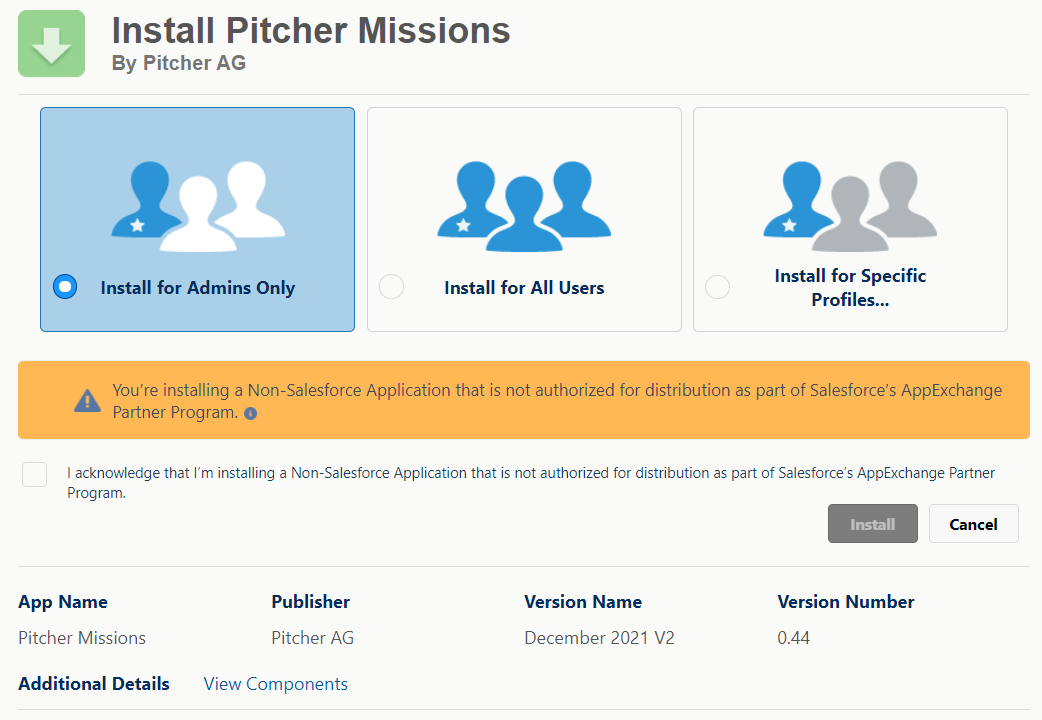
The Missions Installation Page
Select Install for Admins Only, Install for All Users, or Install for Specific Profiles, depending on the need.
To verify the package components before installation/upgrade, click on the “View Components” link.
Viewing components during installation
Check the acknowledgement and click Install to proceed.
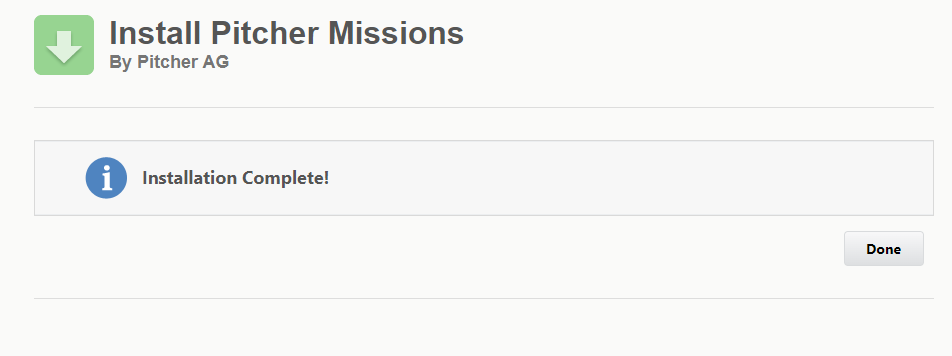
Once the installation is completed, the following page appears:
To confirm the successful installation, check the installed packages on the Setup > Apps > Packaging > Installed Packages page.
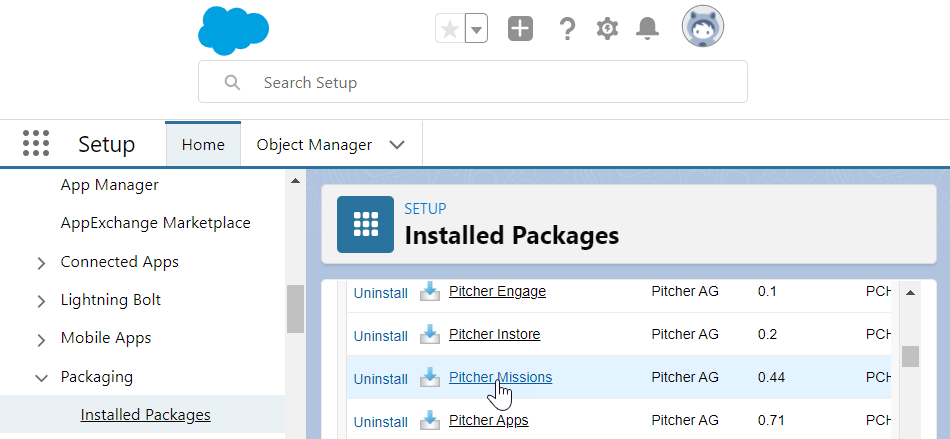
The Installed Packages Page
To verify the package components after a successful installation/upgrade, follow the steps shown below -
Post Installation Steps
After the Pitcher’s Missions Managed Package gets installed in the org, you need to perform the following steps:
Step 1 - Permissions Assignment
Assign the PITCHER-Mission Operations permission set to users managing the content of Missions.
Assign the PITCHER-Mission Rep permission set to the users executing the Missions.
Step 2 - Schedule Apex Jobs
To schedule SCH_ExecutionCreationBatchProcessV2
Go to Setup > Apex Classes > Schedule Apex.
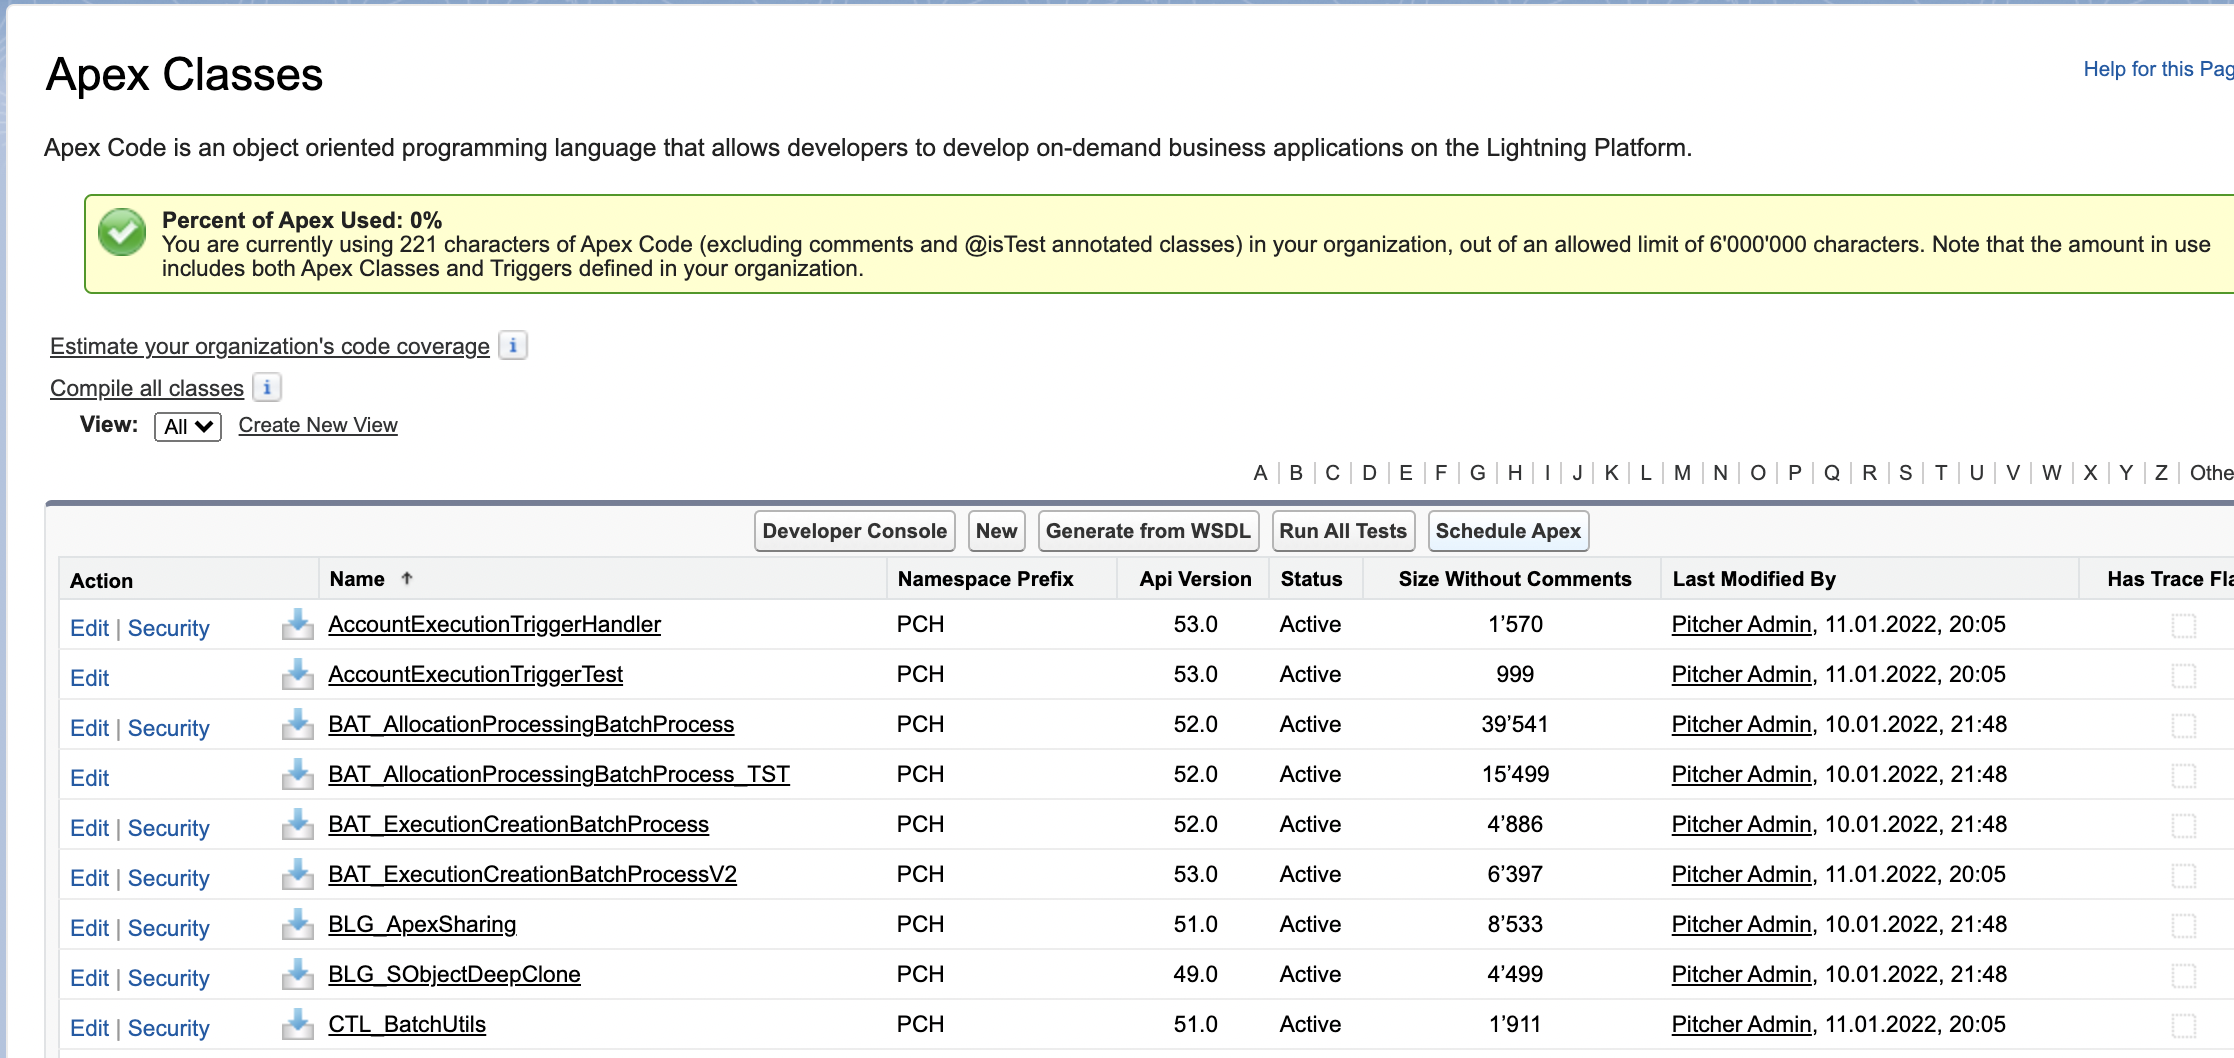
Select the unmanaged
SCH_ExecutionCreationBatchProcessV2class and schedule it to run at 3 AM every day.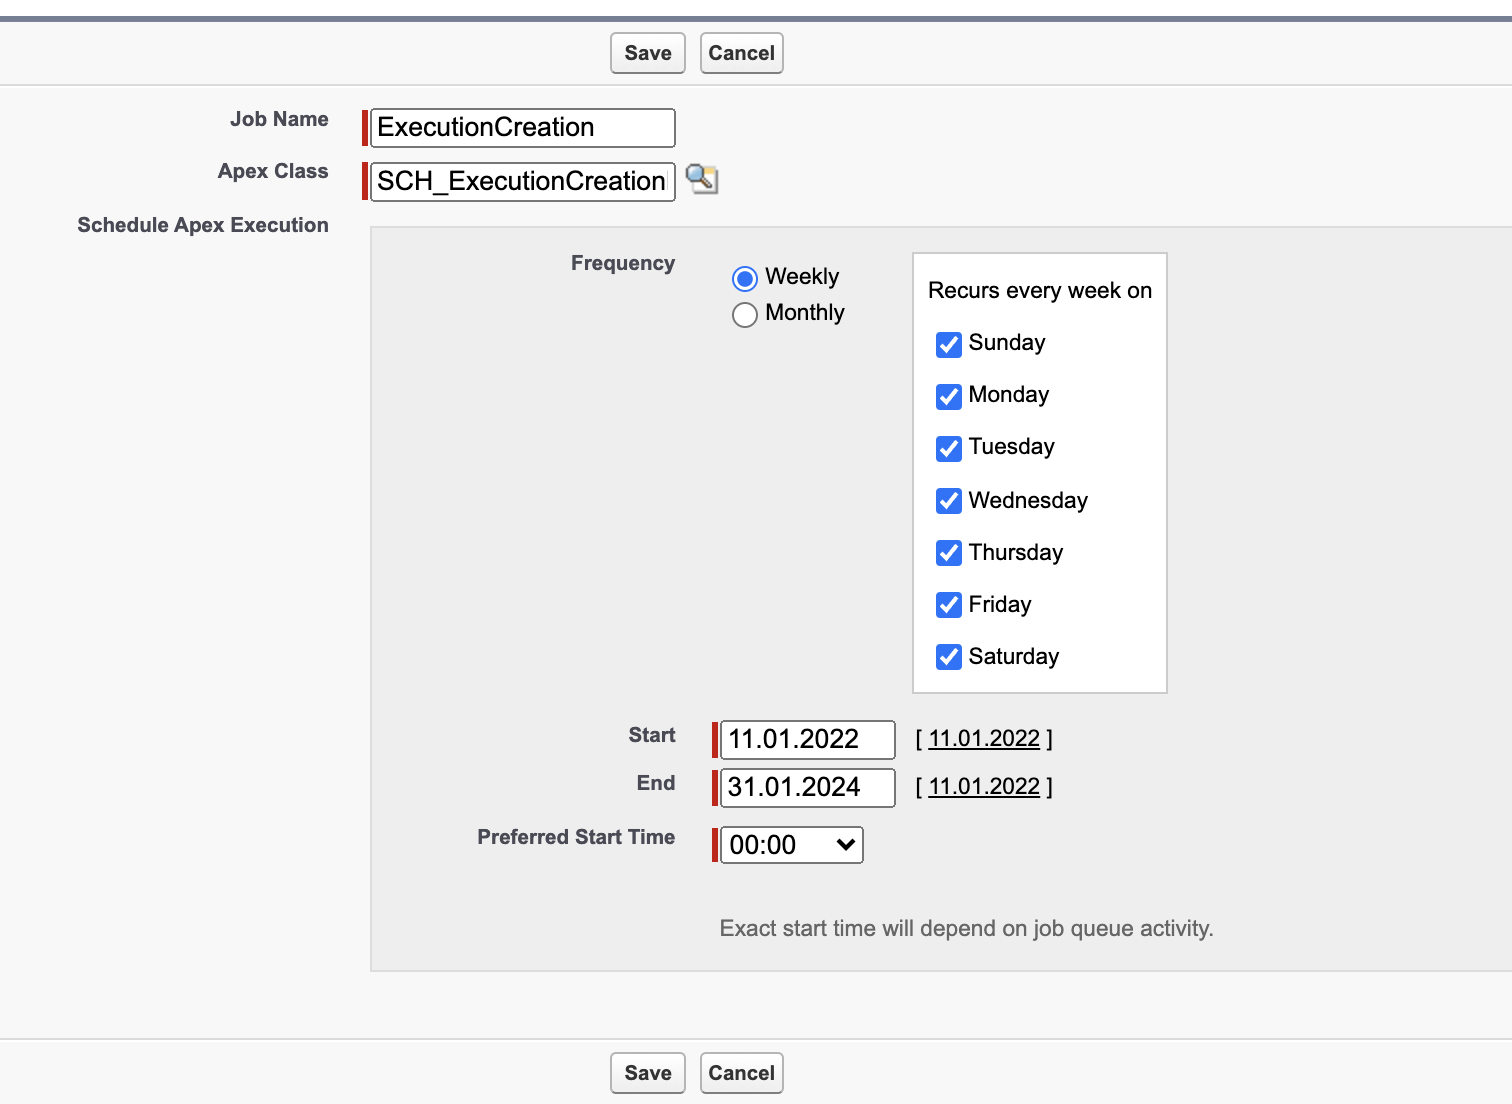
Similarly, schedule the following classes too at the specified time:
SCH_TagAllocationBatchScheduler=> 9 PM dailySCH_MissionAllocationBatchScheduler=> 10 PM dailySCH_PromotionAllocationBatchScheduler=> 11 PM dailySCH_CallCreateExecutionTagBatch=> 11 PM dailySCH_AssortmentL1AllocationBatchScheduler=> 12 AM dailySCH_AssortmentL2AllocationBatchScheduler=> 1 AM dailySCH_AssortmentL3AllocationBatchScheduler=> 2 AM dailySCH_AdjustAccountEngagementVisit=> 4 AM daily
Step 3 - Default Field Values
Ensure that the default values are set for the following fields:
Object Name | Field Name | Default Value |
|---|---|---|
PCH__Mission__c | PCH__Allocation__c | Account |
PCH__Mission__c | PCH__Allocation_Logic__c | OR |
Step 4 - Account Execution Picklist Value Change
Change the Account Execution Status picklist value Cancelled to Canceled with a single “L”.
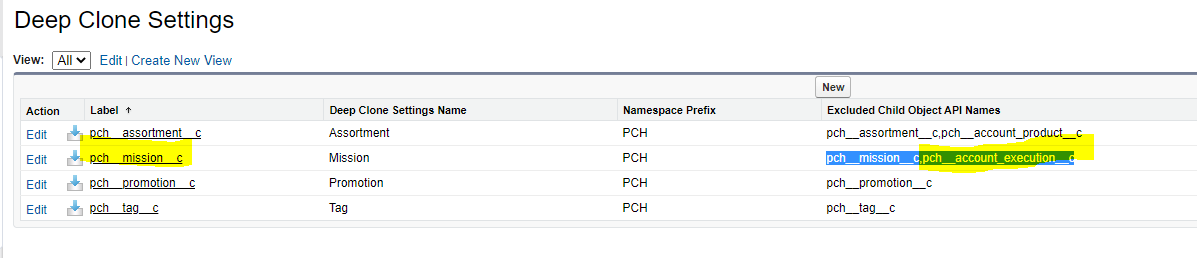
Step 5 - Adjust custom metadata in Deep Clone Settings
Setup → Custom Metdata Types → Click on “Deep Clone Settings”
On the Deep Clone Settings page, change the value of
Excluded Child Object API Namescustom metadata field inpch__mission__cfrompch__mission__ctopch__mission__c,pch__account_execution__c.
Step 6 - Sharing Setting (OWD) for Apex Managed Sharing
Only follow this step, if business wants to setup the logic for copying share records from
AccounttoMission__candAccount_Execution__cobject.Setup → Sharing Setting → Edit
Based on current client environment change the “Default Internal Sharing” to “Private” for below objects-
Account
Mission__c
Account_Execution__c
Step 7 - Modify Mission Builder Layout
Setup → Object Manager → Mission → Layouts
Click Edit on Mission Builder Layout
Remove fields: Start, End, Repeat Period, Repeat Every.
Step 8 - Update Page Layout “Mission Builder Layout” (one time)
This is one time manual step when upgrading to Missions 0.71
Go to Setup → Object Manager → Mission → Layouts
Click “Edit” next to “Mission Builder Layout”
Remove field Allocation Logic, click save and yes (overrides user’s local modifications
Step 9 - Set up the Canvas App
Add permission to
CanvasAppLifeCycleHandler,QueryResultsControllerclasses for all profiles.Configure the Experience Builder.
After configuring the builder, follow these steps to provide access to it:
Go to Setup > Connected Apps and open the Experience Builder Instance you are using.
Scroll to the Oauth Policies section.
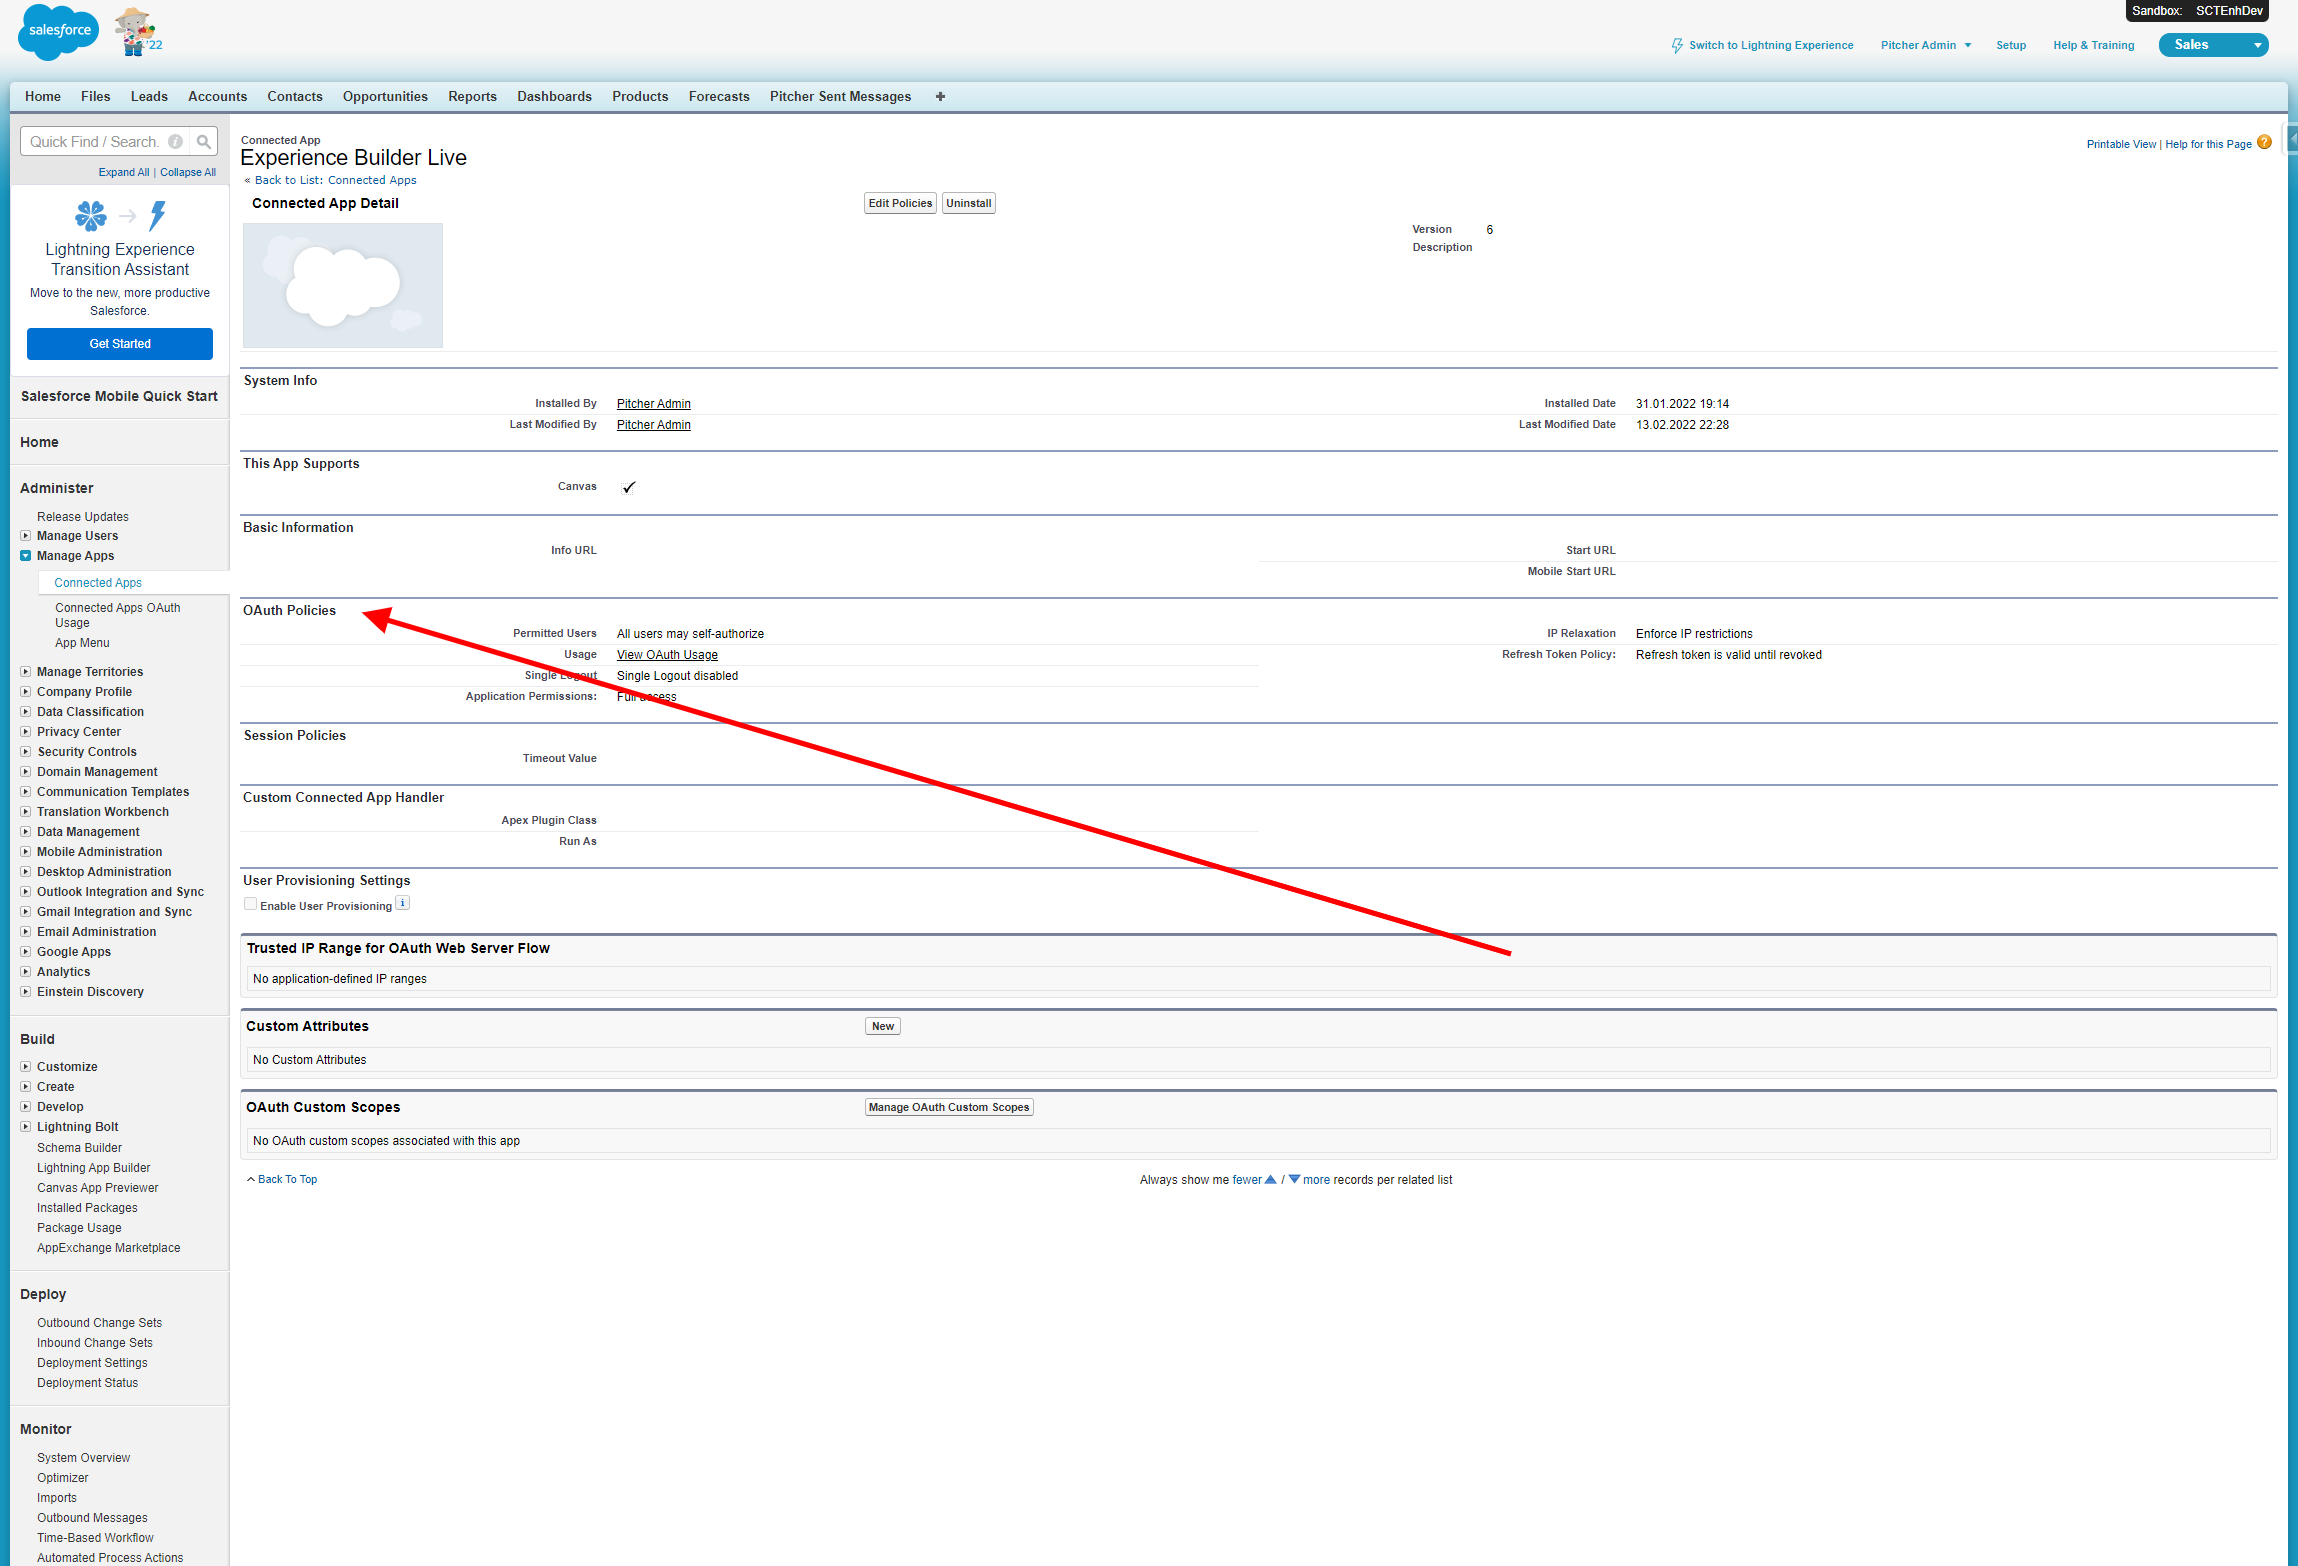
Click Edit Policies
Change
Permitted UserstoAdmin approved users are pre-authorized.Click Save
Scroll to the Permission Sets section and add permission sets of users that should be allowed to use the Canvas App.
Set Pitcher Mission Settings Custom Setting default configuration for :
DEV-LIVE
TEST
PROD
Step 10 - Updating record type names in metadata configuration
If you are installing (first time) any higher version than v0.75.0.0 then skip this step
If you are upgrading to v0.75.0.0 or the higher version only then follow this step
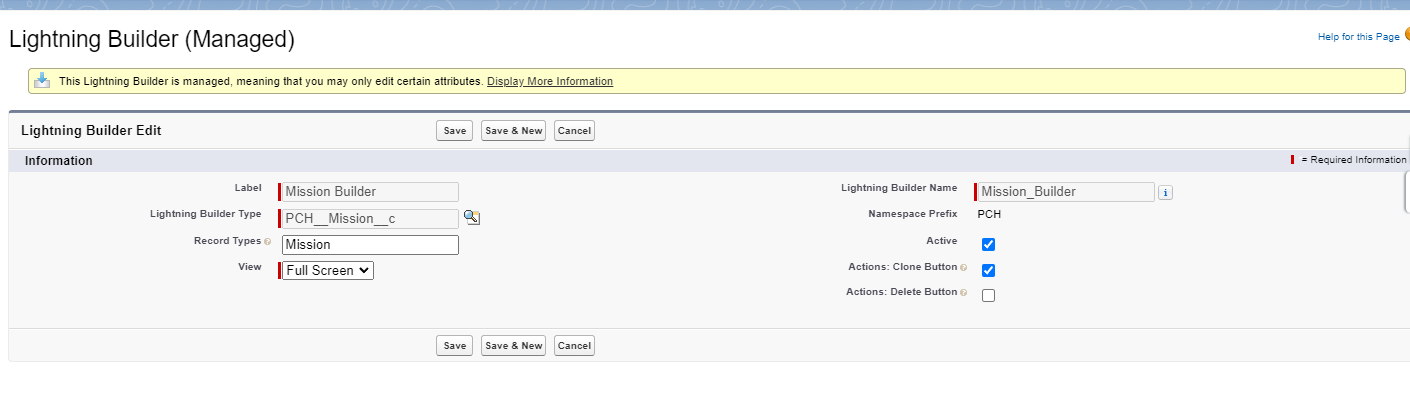
Go to the Setup → Custom Metadata Types → click “Manage Records” next to “Lightning Builder”
Click “Edit” next to “Mission Builder”
In the Record Types field enter Mission and Save the record:
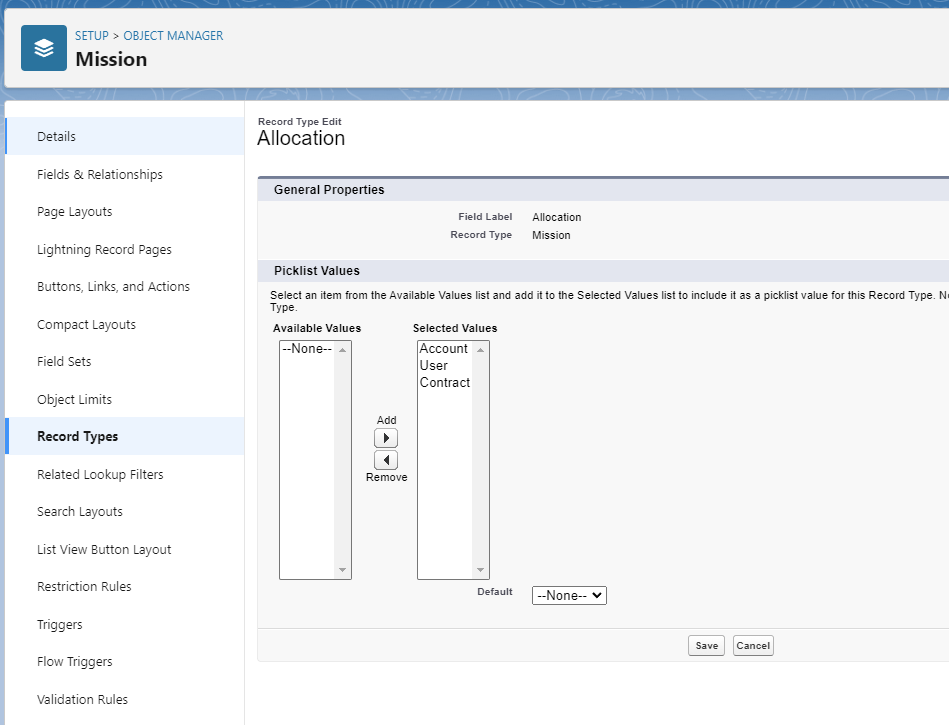
Step 11 - Add picklist value to Mission Allocation field
If you are installing (first time) any higher version than v0.77.0.0 then skip this step
If you are upgrading to v0.77.0.0 or the higher version only then follow this step
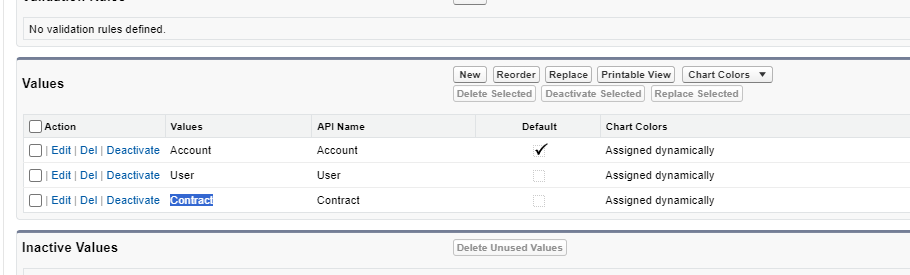
Go to the Setup → Object Manager → Mission
Click on Allocation
Add new value: Contract
Go to Mission → Record Types → Mission
Modify the Allocation picklist - add the new Contract value to selected values