Installing the Engage Managed Package
This document describes the steps required to install and configure the Pitcher’s Engage Managed Package.
Installation
Follow these steps to install the package:
Enter the package installation link obtained from your Pitcher representative. This should redirect you to the login page of Salesforce.com. For Sandbox organizations, swap http://login.salesforce.com with http://test.salesforce.com in the URL.
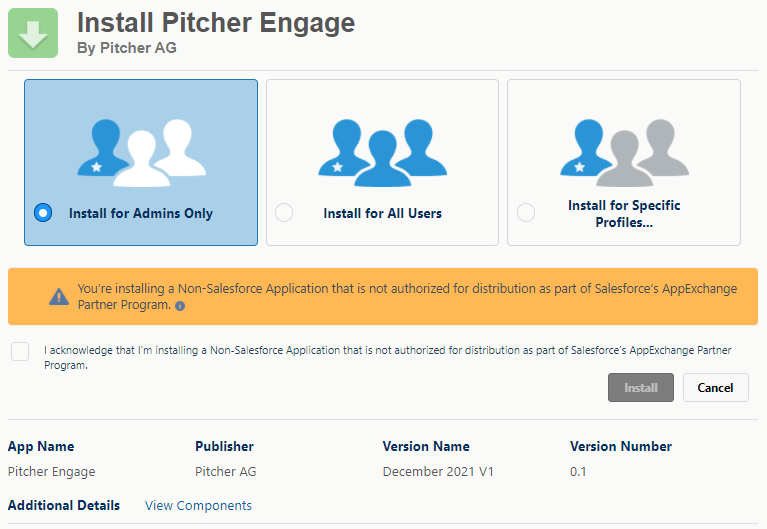
The Engage Managed Package Installation Page
Select Install for Admins Only, Install for All Users, or Install for Specific Profiles, depending on the need.
Check the acknowledgement and click Install to proceed.
Once the installation is completed, the following page appears:
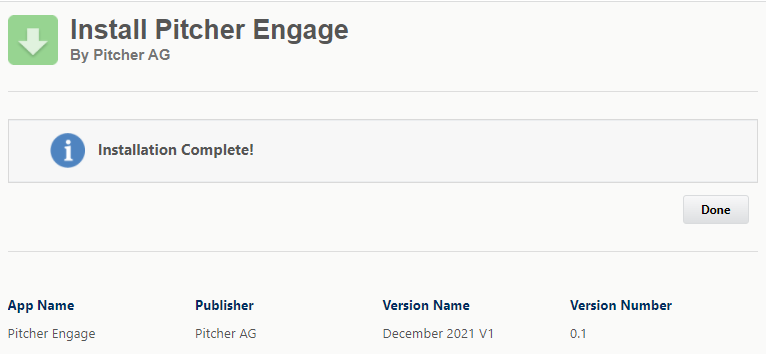
The Installation Complete Page
To confirm the successful installation, check the installed packages on the Setup > Apps > Packaging > Installed Packages page.
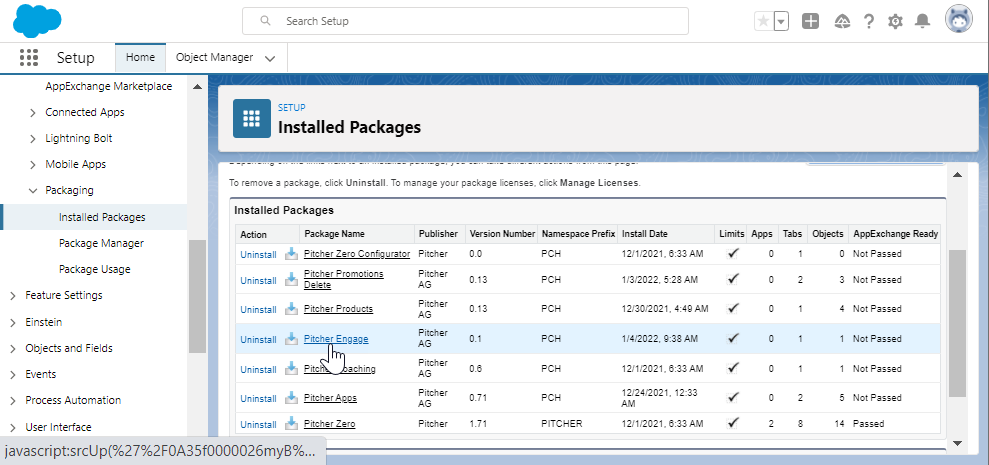
The Installed Packages Page
Post Installation Steps
After the Pitcher Engage Managed Package gets installed in the org, you need to perform the following steps:
Step 1 - Assign Permission Sets
After the Pitcher’s Engage Managed Package gets installed in the org, use the following steps to assign permissions to users:
Assign the PITCHER-Mission Operations permission set to users managing the content of Engagements.
Assign the PITCHER-Mission Rep permission set to the users to provide them access to view/initiate the Engagements.
Step 2 - Sharing Setting (OWD) for Apex Managed Sharing
Only follow this step if a business wants to set up the logic for copying share records from
AccounttoEngagementobject.Setup → Sharing Setting → Edit
Based on the current client environment, change the “Default Internal Sharing” to “Private” for the below objects-
Account
Engagement__c