Installing the Consent Managed Package
This document describes the steps required to install and configure the Consent Managed Package.
Installation
Follow these steps to install the package:
Enter the package installation link obtained from your Pitcher representative. This should redirect you to the login page of Salesforce.com. For Sandbox organizations, swap http://login.salesforce.com with http://test.salesforce.com in the URL.
Select Install for Admins Only, Install for All Users, or Install for Specific Profiles, depending on the need.
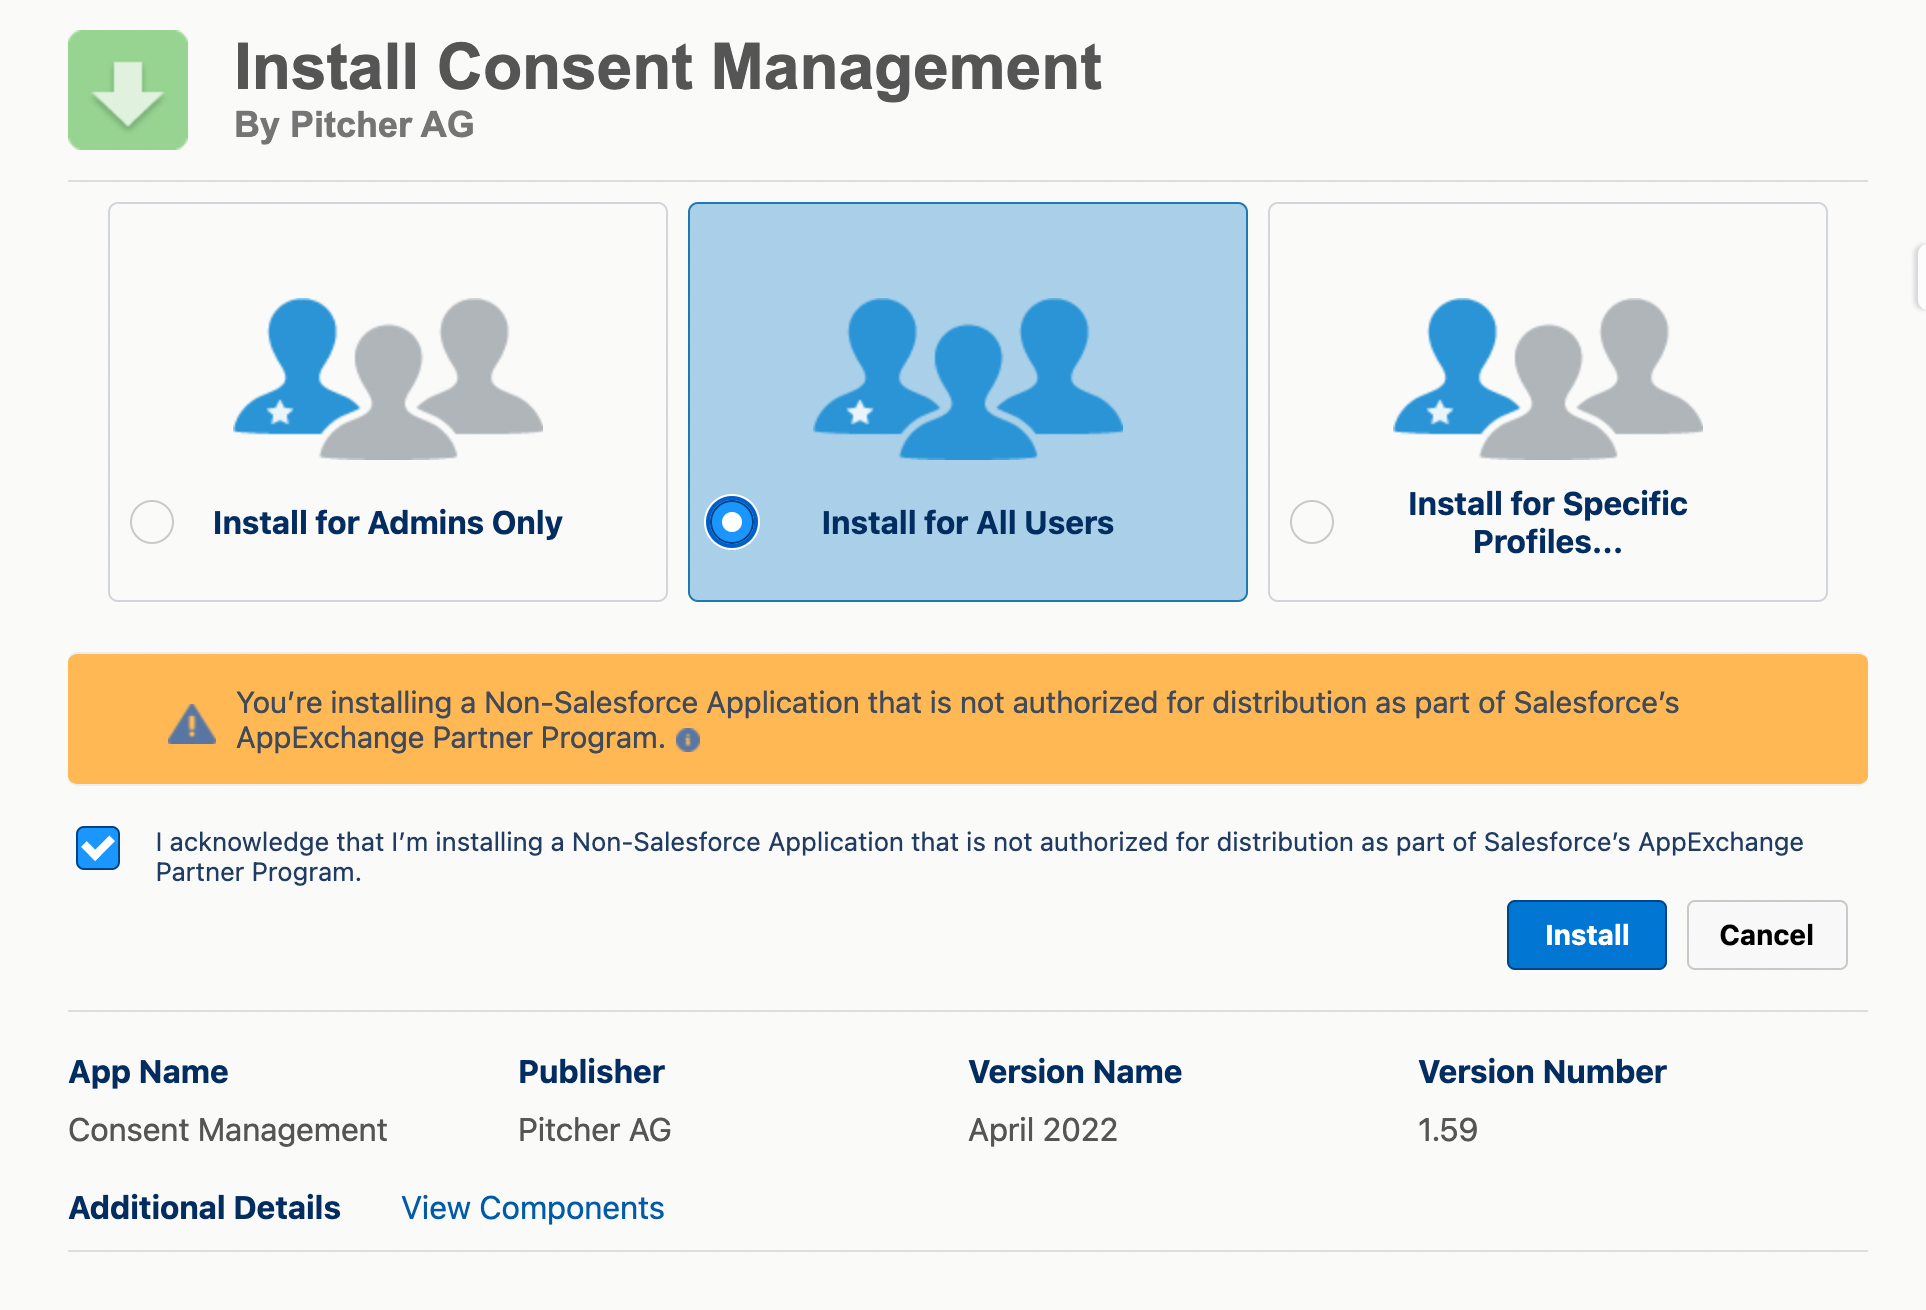
To verify the package components before installation/upgrade, click on the “View Components” link.
Consent Package Components
Check the acknowledgement and click Install to proceed.
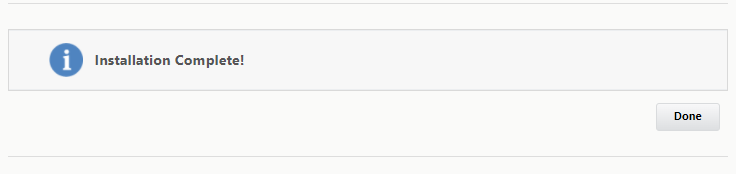
Once installation is completed, the following screen appears:
To confirm the successful installation, check the installed packages on the Setup > Apps > Packaging > Installed Packages page.
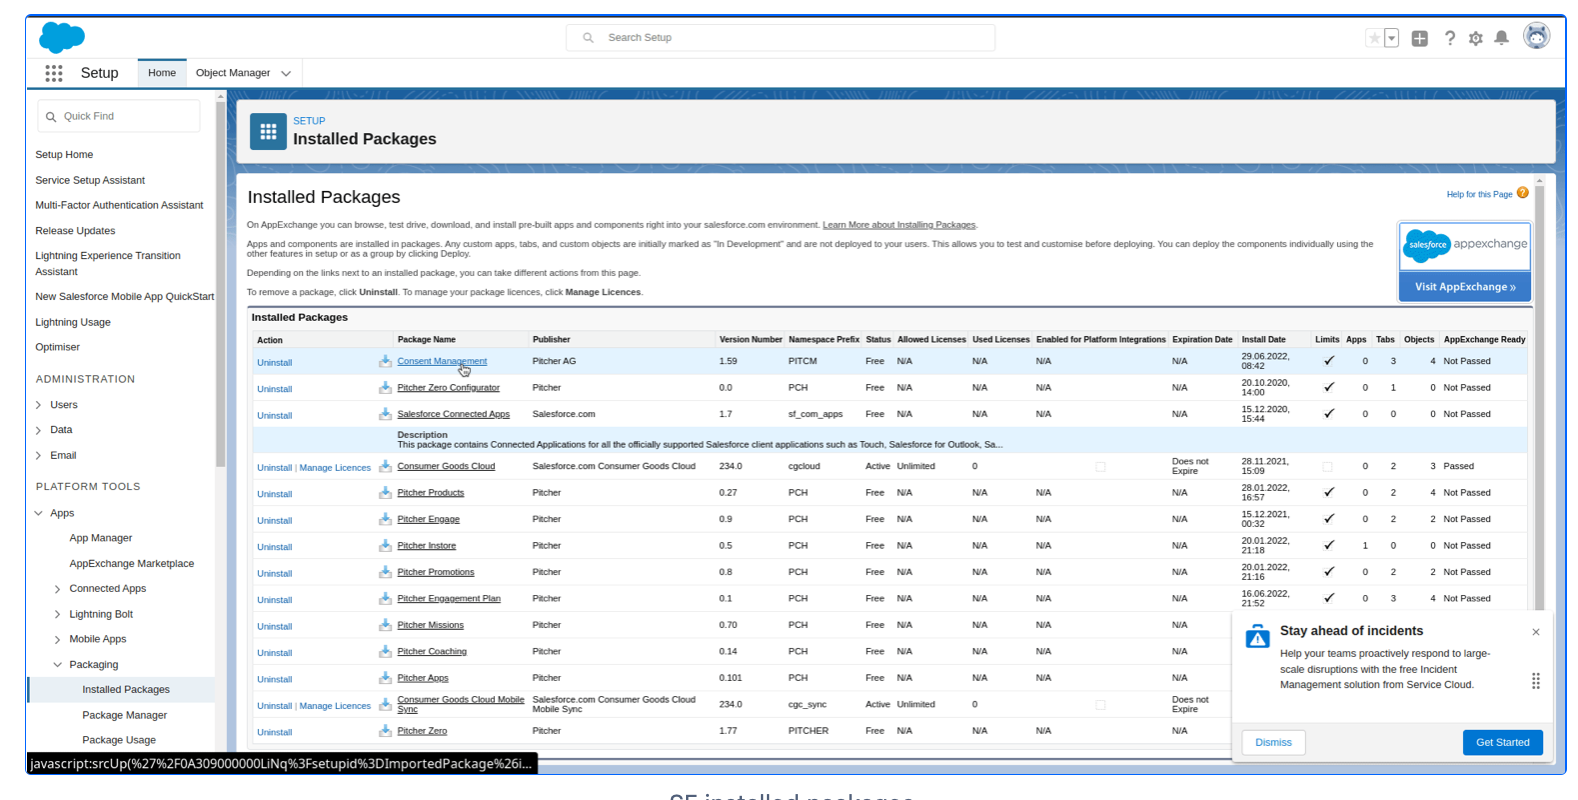
To verify the package components after a successful installation/upgrade, follow the steps shown below -
Post Installation
After the Pitcher Consent Managed Package gets installed in the org, you need to perform the following steps:
Step 1 - Setup Consent Management Field History
We recommend setting up Field History inside sensitive fields like Status, Signature Date, Revoked Date. or fields like Channels Opt Type.
Step 2 - Custom Metadata Records
The following custom metadata records must be created to set up functionalities like Remote Consent, Double Opt-in, or Market-specific settings. Please review the functional document to have more info:
Pitcher Consent Org Wide Settings
Pitcher Consent Management Settings
Remote Consent Multi-Lang Email Config
Double Opt-In Multi-Lang Email Config
Step 3 - Setup Email Templates
In case to use Remote or Double Opt-in features, Email templates should be created with your branding to support and send the emails to your customers.
For more details, please check https://help.salesforce.com/s/articleView?id=sf.admin_emailtemplates.htm&type=5
Step 4 - Add Org Wide Email Addresses
Setup “Org Wide Email address” to send Remote Consent or Double Opt-in emails based on your preferences.
Step 5 - Setup SCB_Consent Reminder Job
If your organization is using Remote Consent and Double Opt-in Consent, the following apex class needs to be scheduled to send reminders based on your requirements.
In addition to scheduling the job to ensure which records are taken into consideration in each batch, ensure the following Org Wide Setting is available and filled:
Pitcher Consent Org Wide Settings → Reminder Batch: Days Record Old → Default value as 5 days
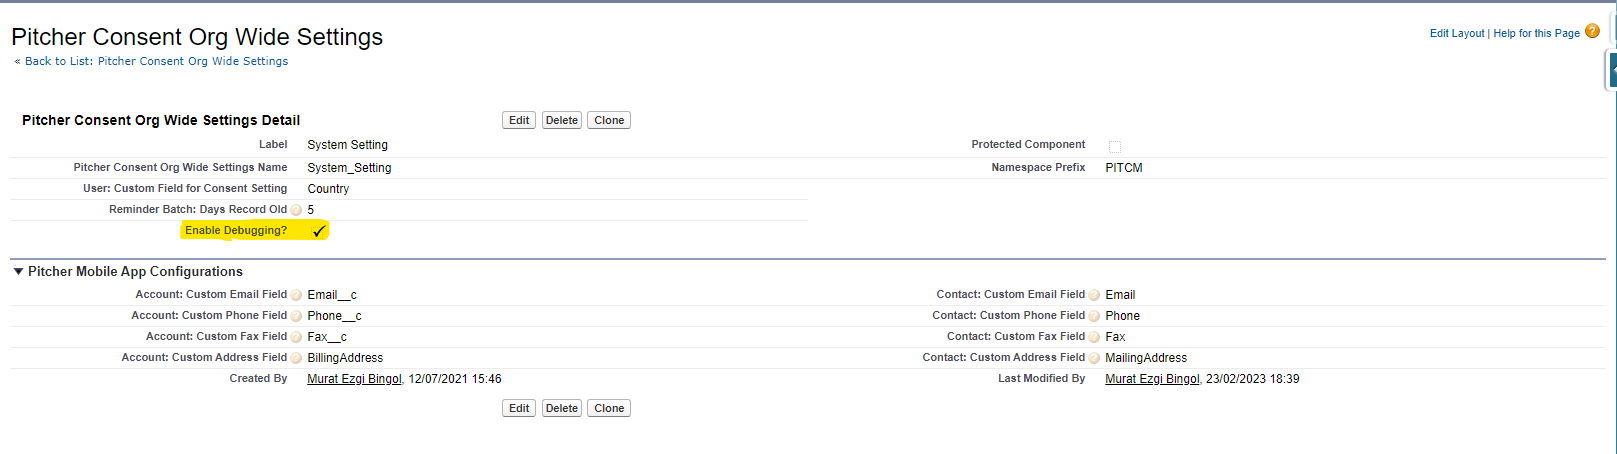
Step 6 - Enable Reminder Batch Debugging
If you want to monitor the batch processing for each of the consent log records then proceed with the below steps -
Setup → Custom Metadata Types → Go to
Pitcher Consent Org Wide SettingsOpen the
System_SettingrecordClick Edit -> update the
Enable Debugging?checkbox as checked.Save
Note - Once the debugging is enabled the Debug files will be attached to the consent record under the Notes & Attachments Related List.
Step 7 - Assignment of Page Layout and Records Types
Consent Log Object
Setup → Object Manager → “Consent Log” Object → Page Layouts
Click on “Page Layout Assignment”
Click “Edit Assignment”
Select the respective layout for the respective record type as below -
For the Single Consent record type, select “Single Consent Log Layout.”
For the Multi-Consents record type, select “Multi-Consent Log Layout.”
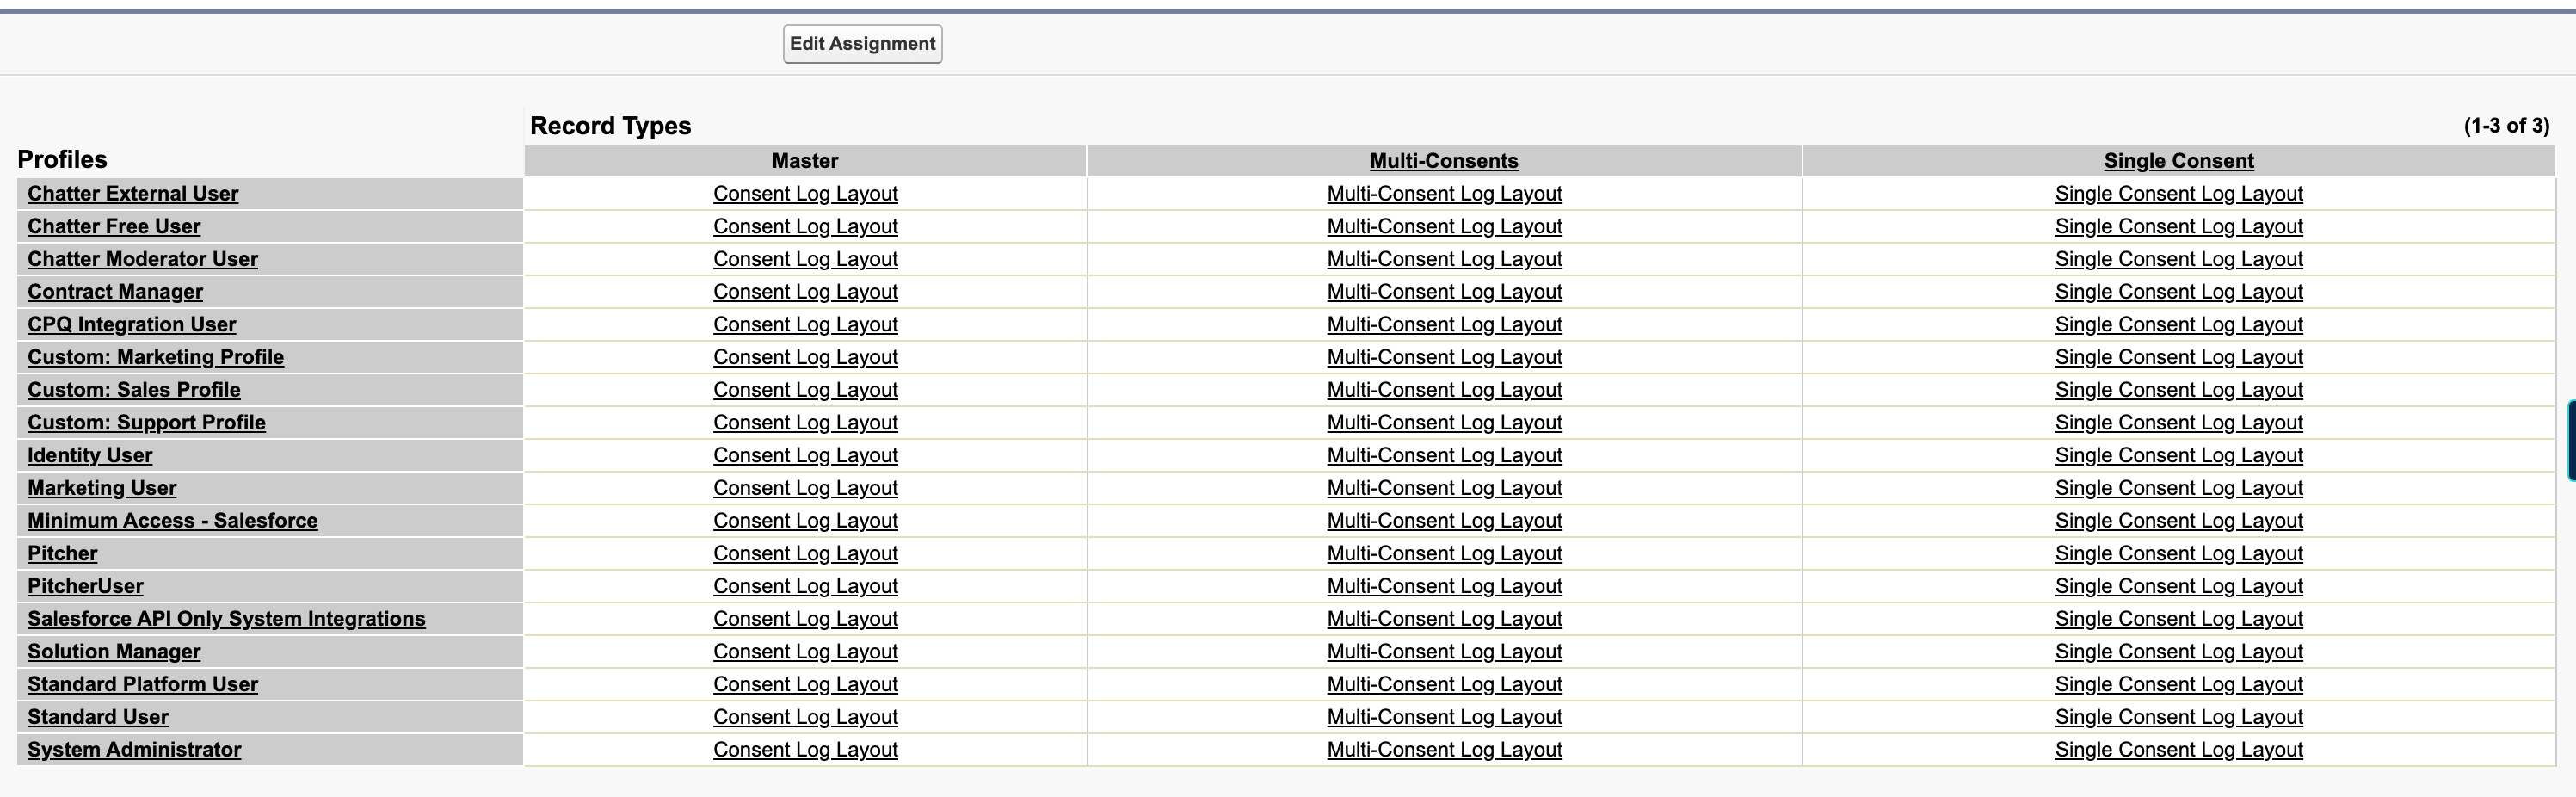
Click “Next” and select other respective layouts
Click “Save”
Step 8 - Add Record Types to Profiles
Pre-Step -
From Setup, in the Quick Find box, enter User, and then select User Management Settings.
Disable Enhanced Profile User Interface (skip if already disabled)
Go to the Profiles page by navigating to the “Setup” > “Users” > “Profiles” page or by searching for “Profiles” in the Quick Find search box from the Setup page.
Select the required Profile from the Profiles page. Here, we select the “Standard User” profile as an example. Please make sure to choose the Profile as per your requirement,

Select required Profile
On the Profile page, scroll down to the “Record Type Settings” > “Custom Record Type Settings” section. Assign the following Record Types to these objects by clicking on the “Edit” link for the respective object.
Consent Log: Single Consent (Default), Multi-Consents.
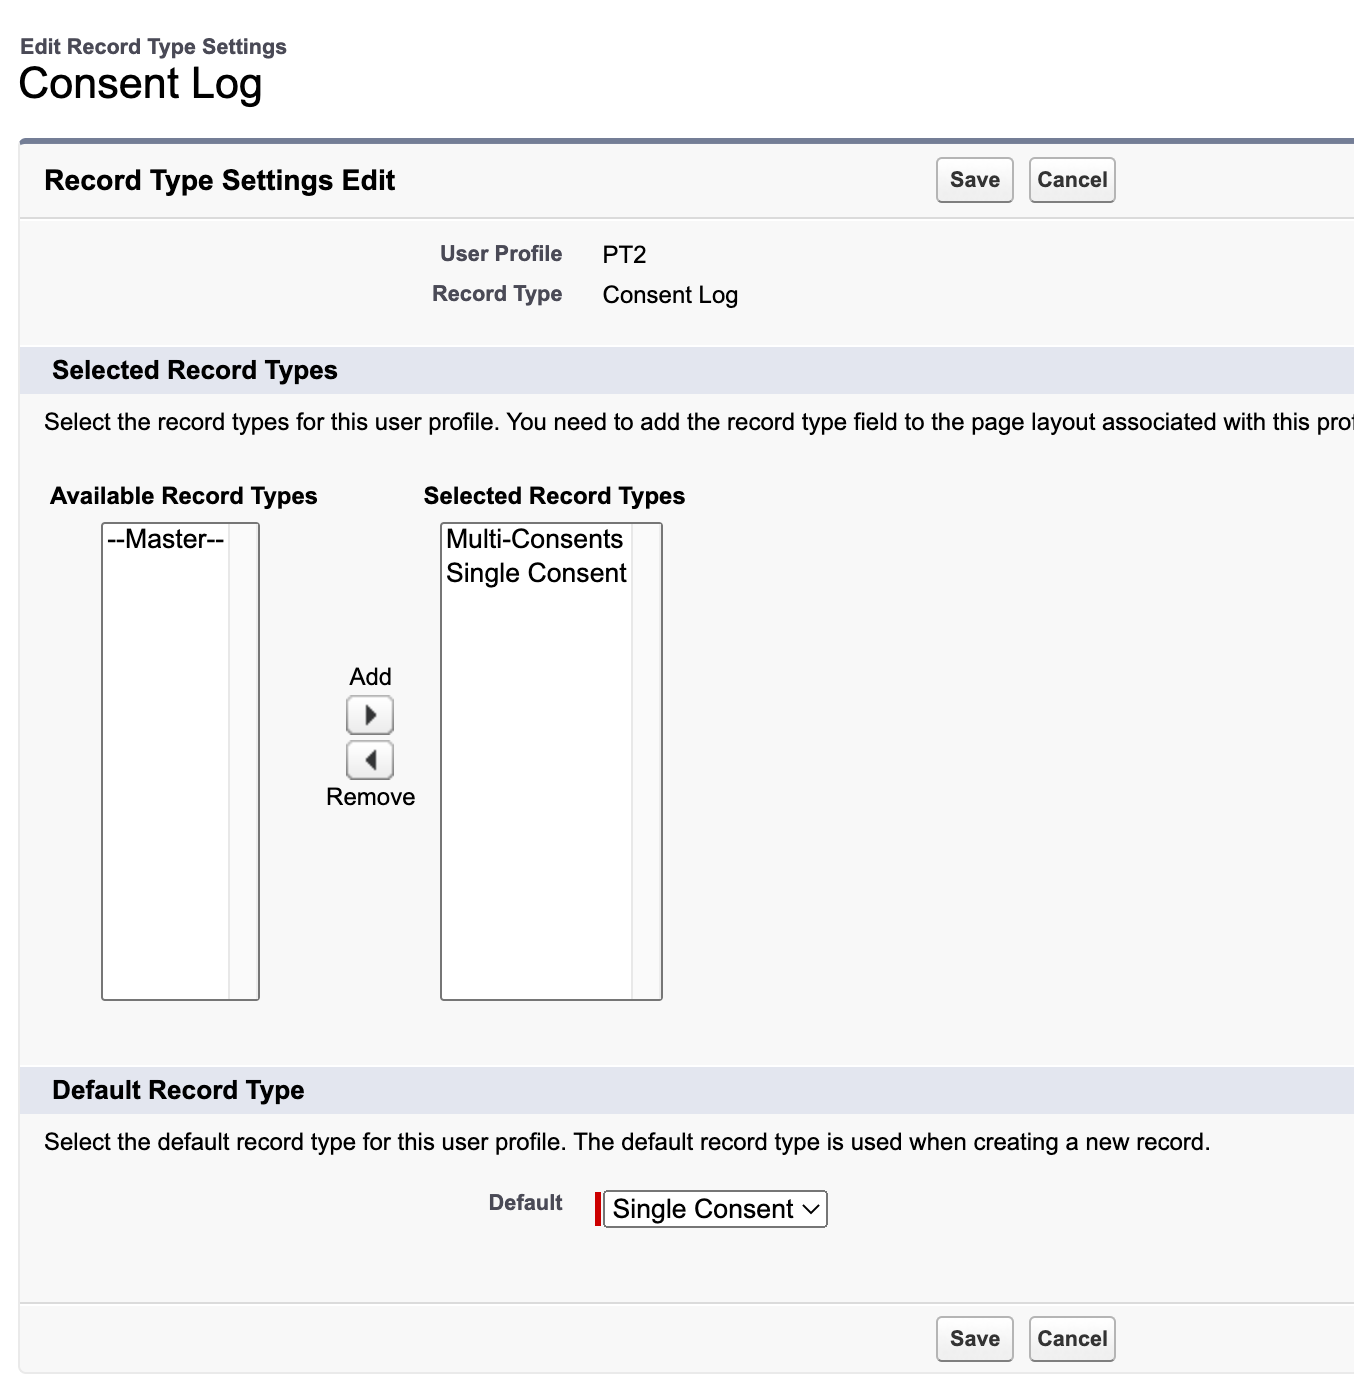
Click “Save”