Installing the Pitcher Engagement Plan Managed Package
This document describes the steps required to install and configure the Pitcher’s Engagement Plan Managed Package.
Pre Installation
1 - Install dependent packages
Pitcher Zero
Pitcher Apps
2 - Enable features
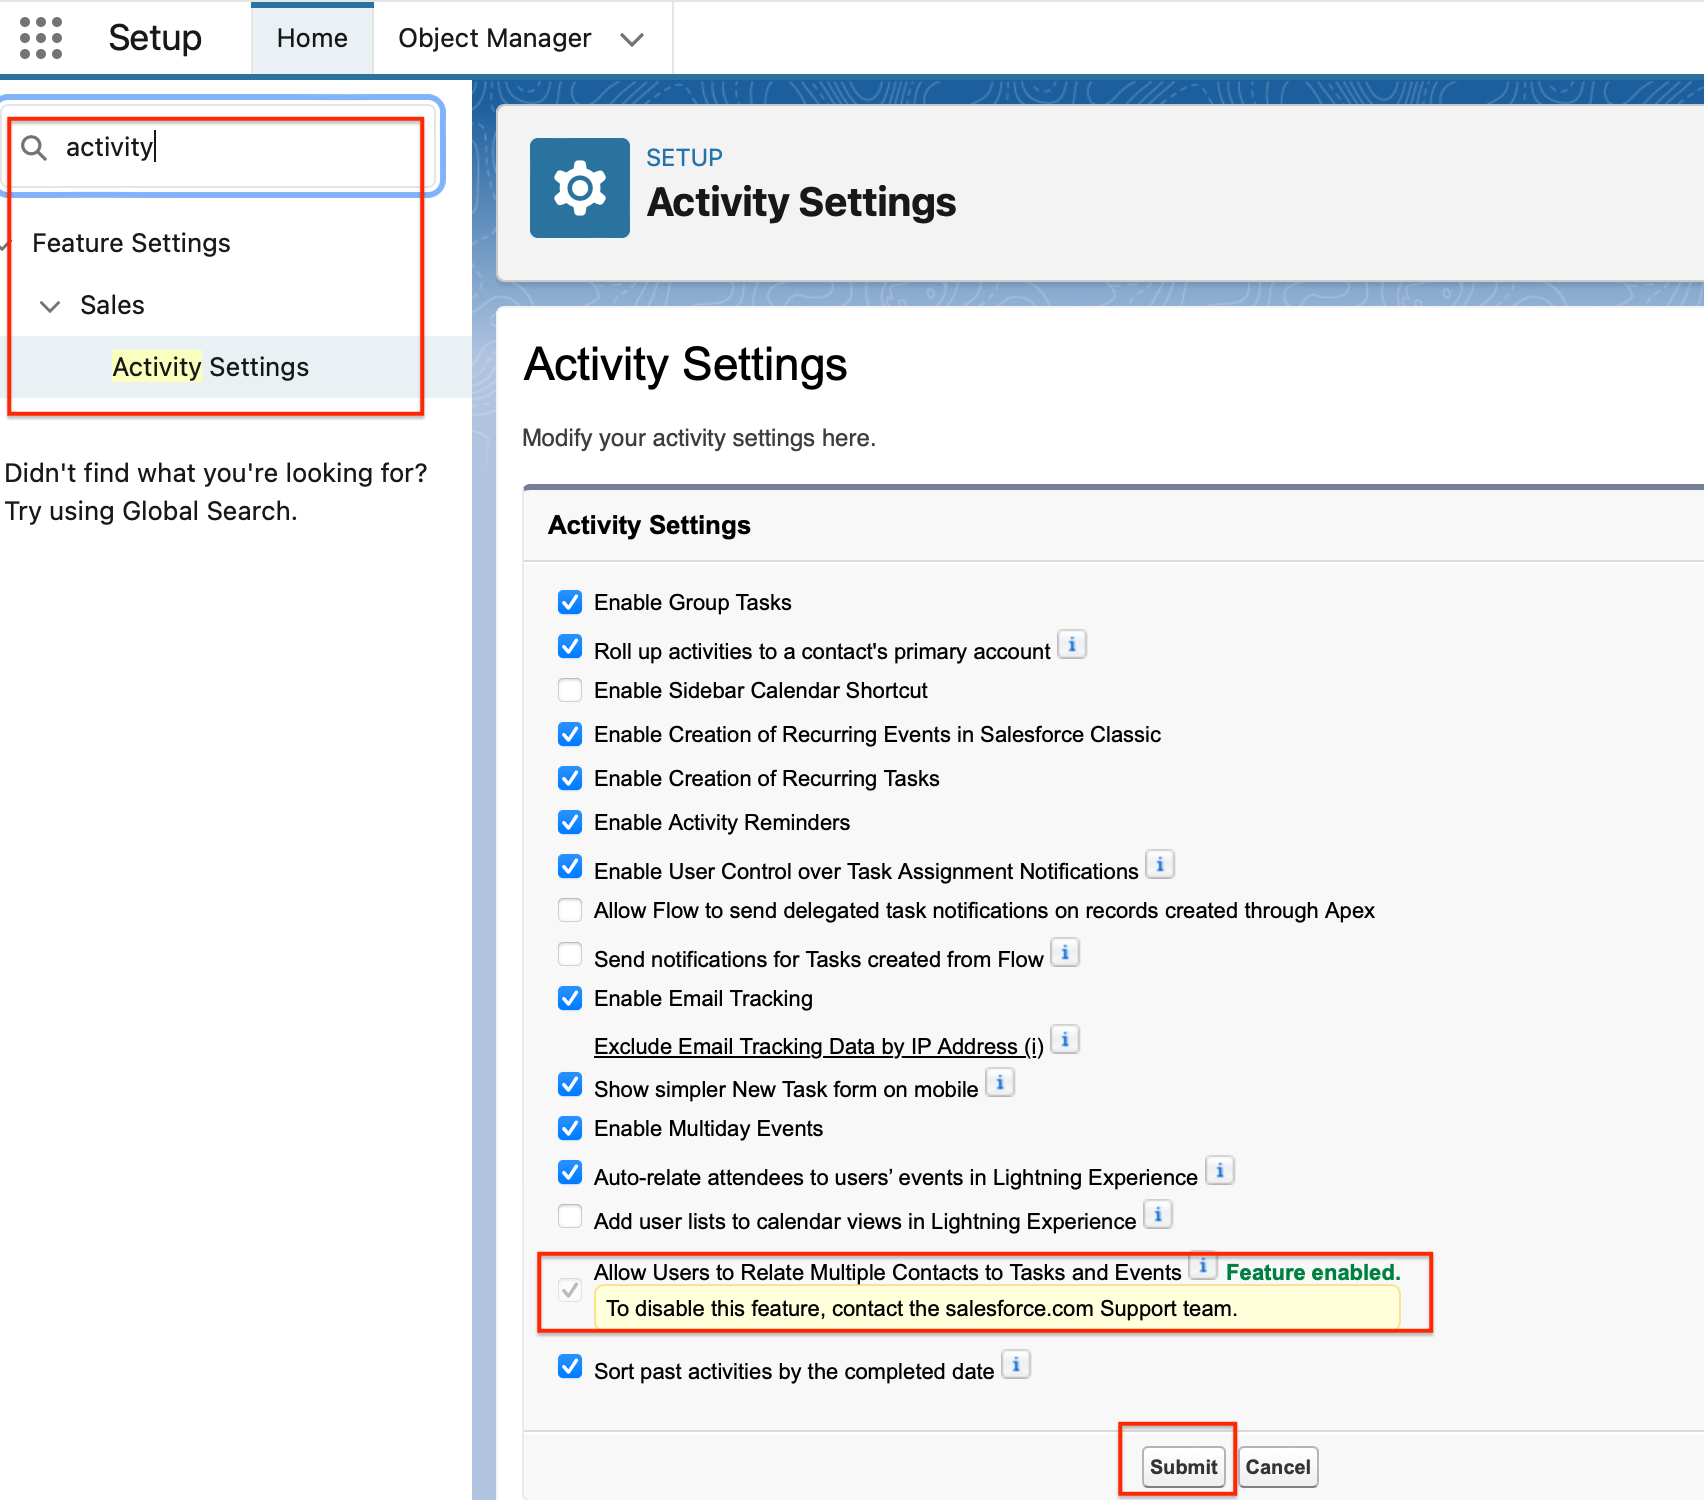
Enable “Shared Activities”
Login to destination Salesforce org
Setup → Activity Settings
Enable “Allow Users to Relate Multiple Contacts to Tasks and Events”
Click “Submit”
Installation
Follow these steps to install the package:
Enter the package installation link obtained from your Pitcher representative. This should redirect you to the login page of Salesforce.com. For Sandbox organizations, swap http://login.salesforce.com with http://test.salesforce.com in the URL.
Open the package installation link in a web browser, which should redirect you to the salesforce login page.
Log in to your Salesforce account.
Select Install for Admins Only, Install for All Users, or Install for Specific Profiles, depending on the need.
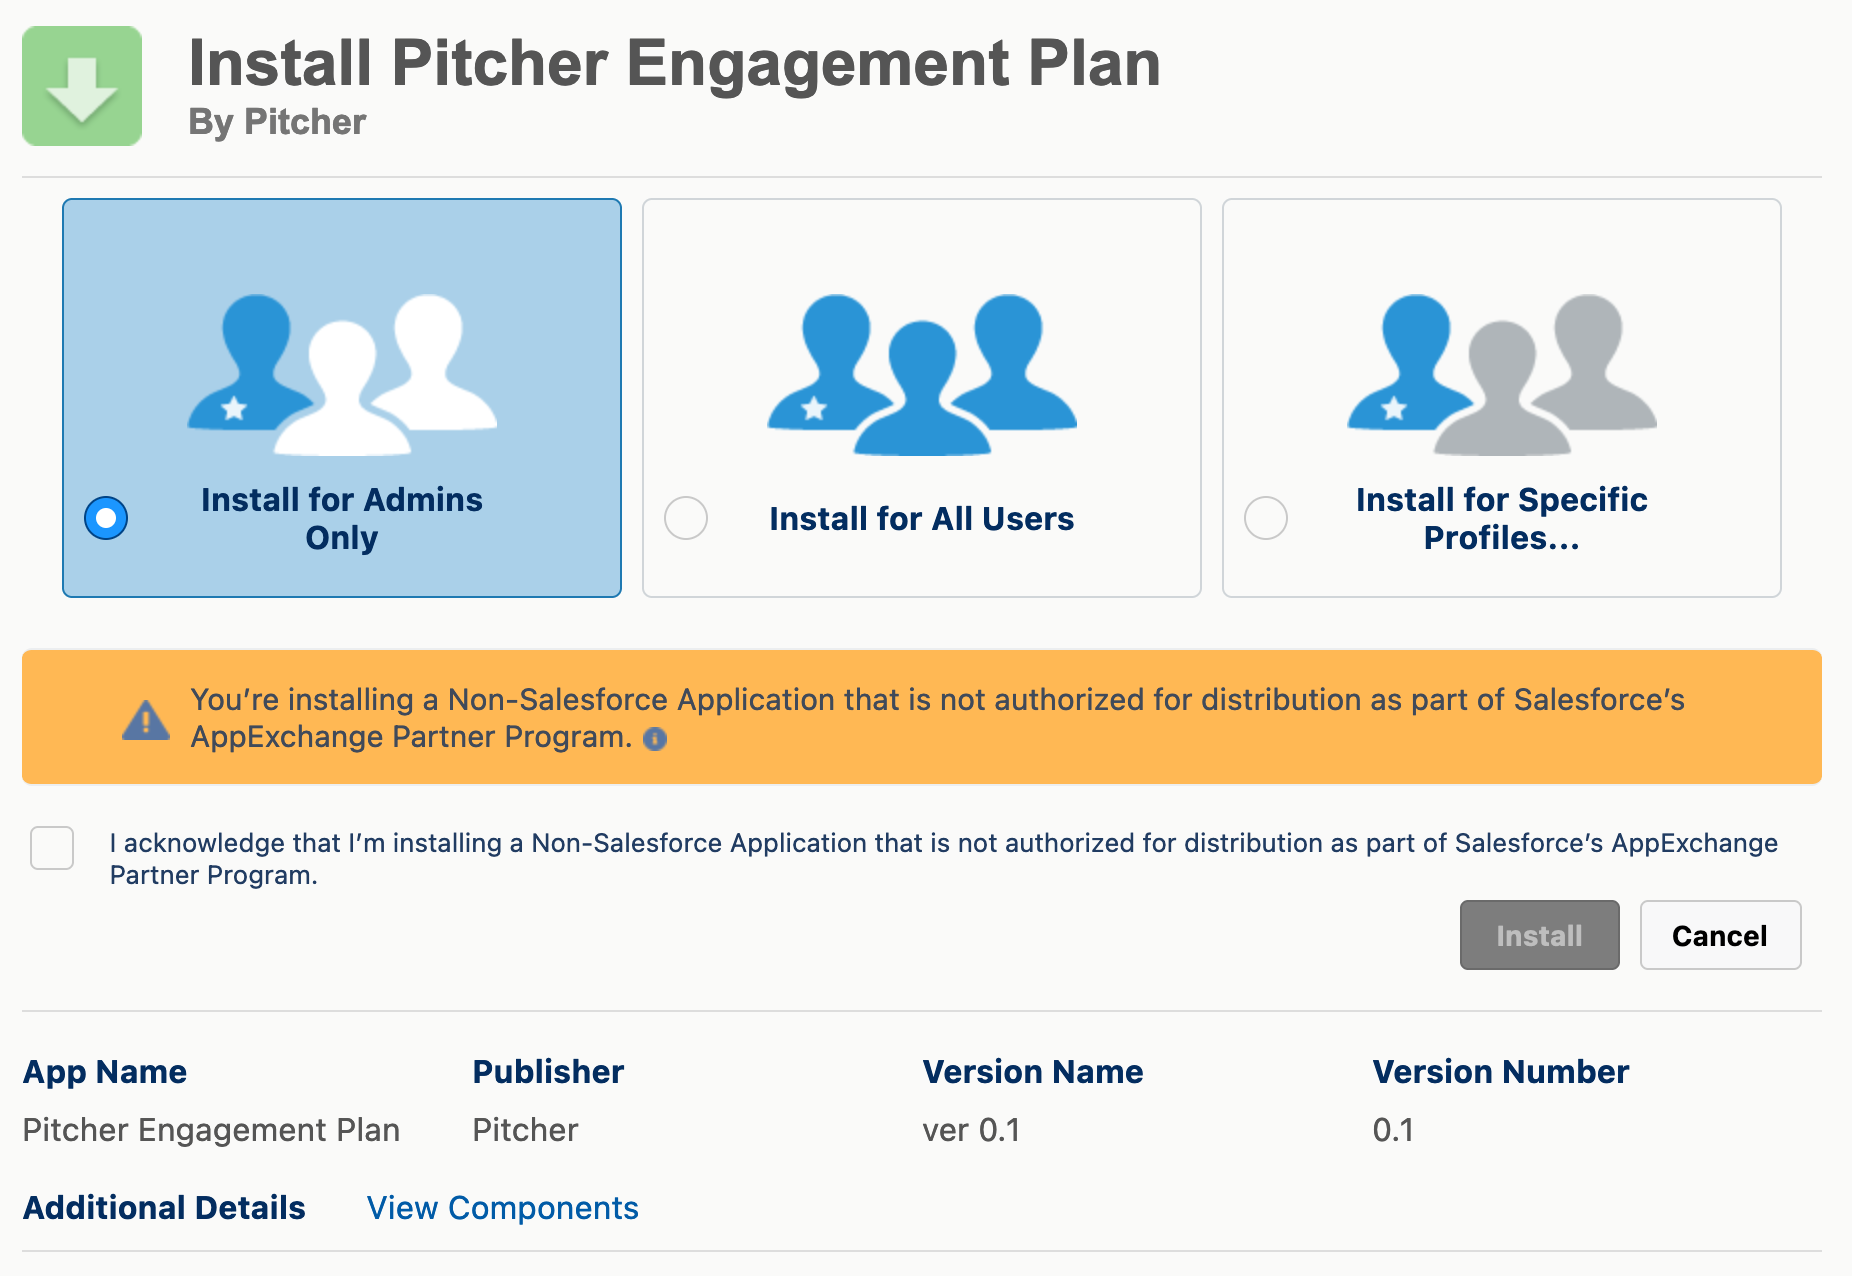
Pitcher Engagement Plan installation page
Check the acknowledgement and click Install to proceed.
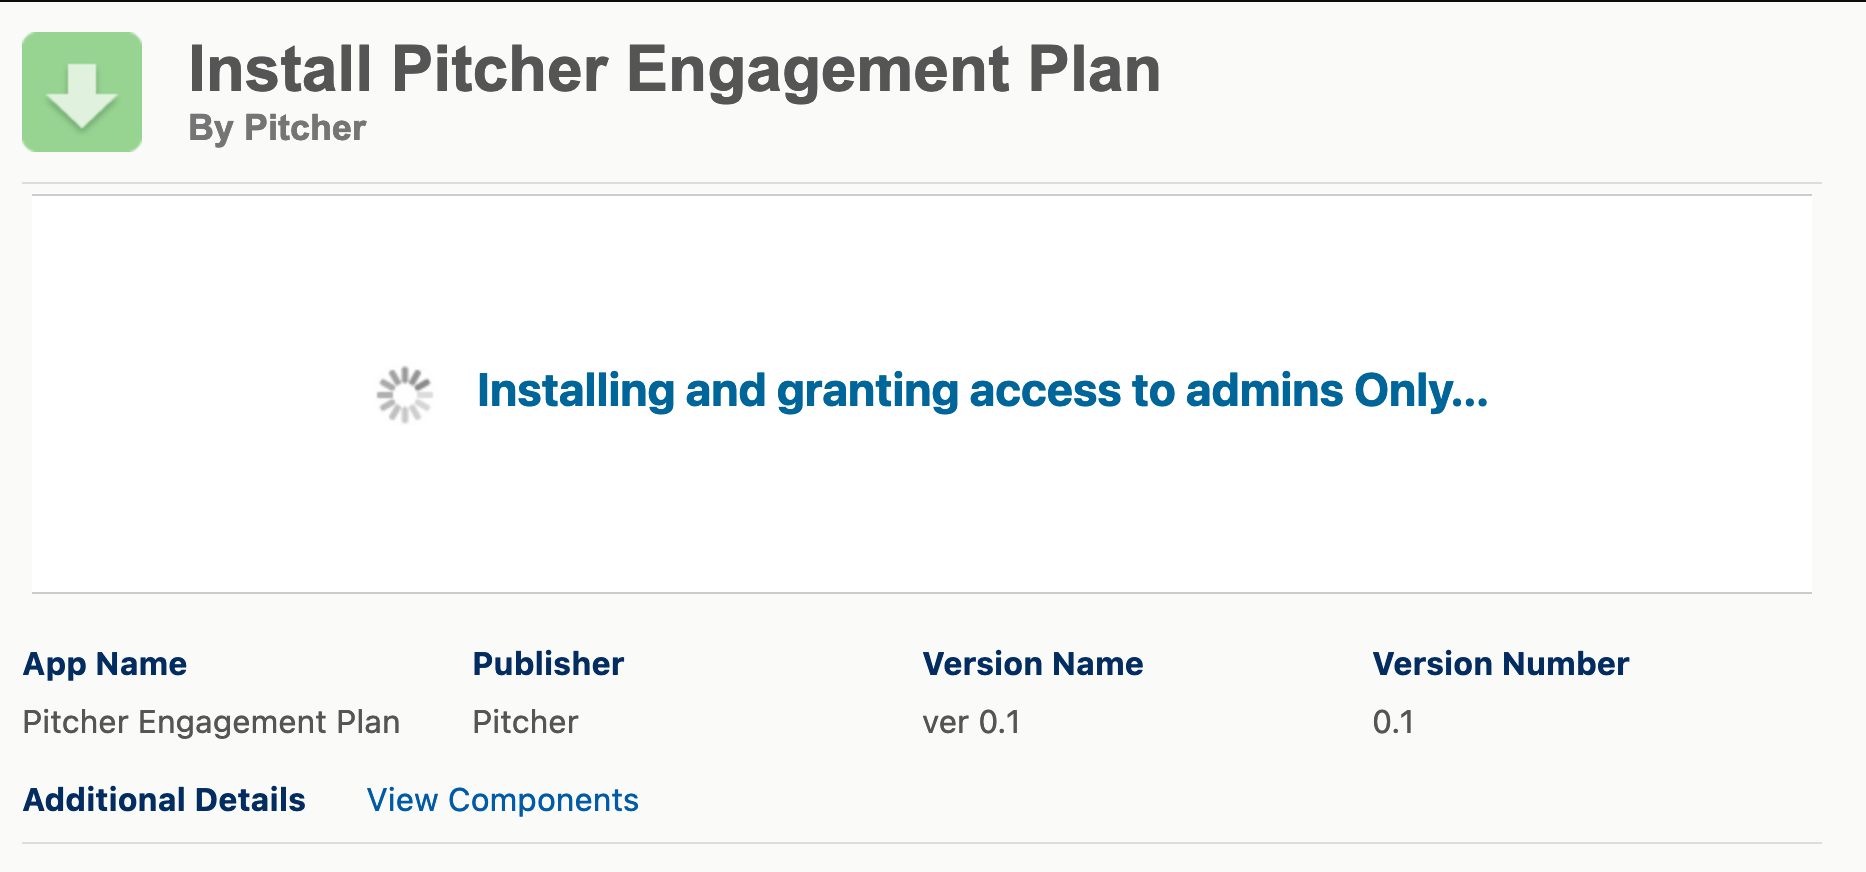
Pitcher Engagement Plan installation progress.
The following page will appear once the installation is complete.
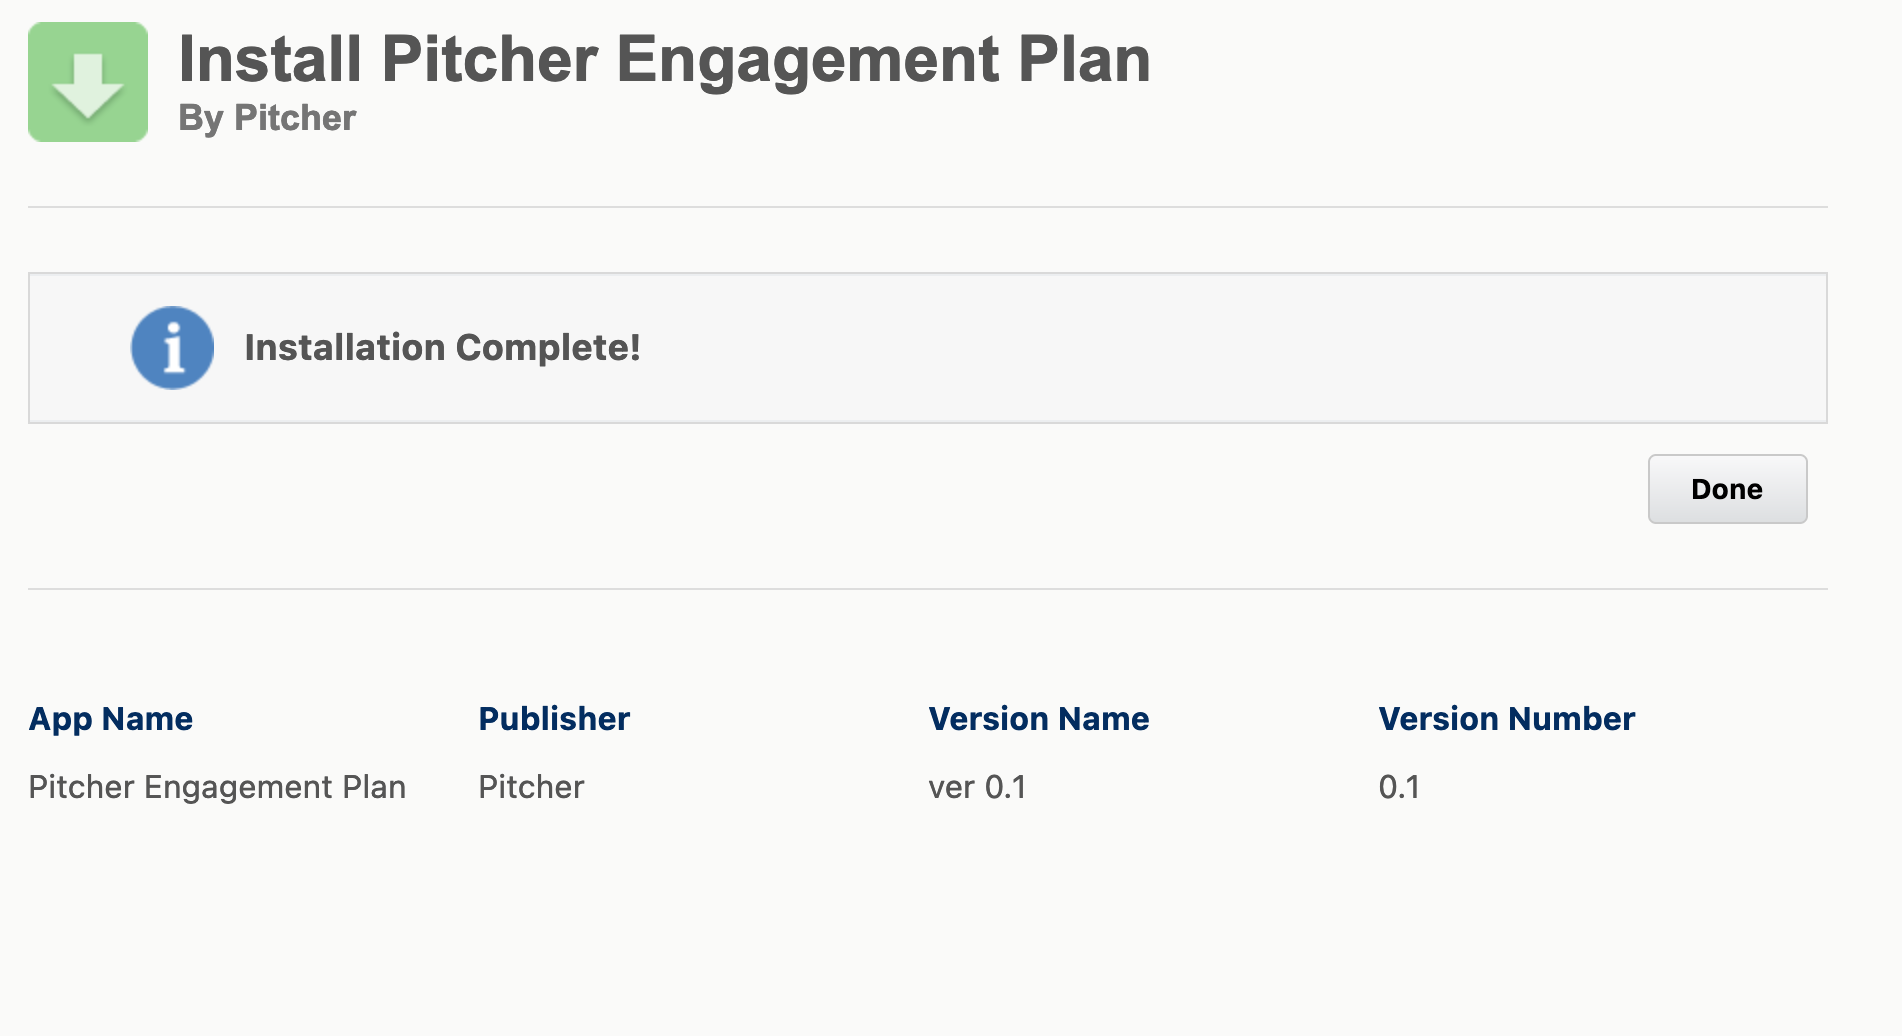
Pitcher Engagement Plan installation complete.
Post Installation
Step 1 - Assign Permission Sets
After the Pitcher Engagement Plan Managed Package gets installed in the org, use the following steps to assign permissions to users:
Assign the Pitcher Plan - Admin permission set to admins managing the content of the
Pitcher Engagement Planpackage.Assign the Pitcher Plan - Rep permission set to the users to provide them frontend access to the
Pitcher Engagement Planpackage.
Step 2 - Schedule Apex Job
To schedule the nightly batch job BAT_CycleActivationBatch
Go to Setup > Apex Classes > Schedule Apex.
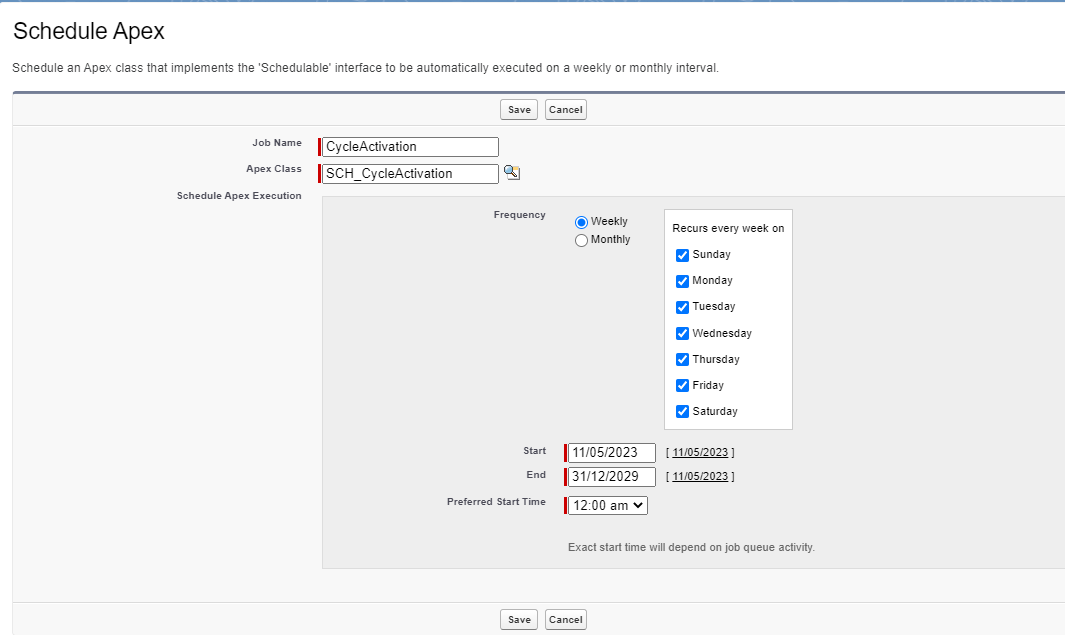
Select the
SCH_CycleActivationclass and schedule it at the available time slot on the subscriber org.If a batch is already scheduled at 12 AM every day, then schedule this batch at 12:30 AM or 1:00 AM.
If no batch is scheduled at 12 AM every day, then schedule this batch at 12:00 AM.
Please note - This batch needs to be scheduled before Segment Target Process Batch.
Step 3 - Updating Page Layout for Custom Metadata Types
Engagement Plan Query Setting
Go to the Setup → Custom Metadata Types → Engagement Plan Query Setting
Go to Page Layouts
Edit
Engagement Plan Query Setting LayoutAdd all the missing fields to the page layout.
Step 4 - Create Record for Custom Metadata Types
Engagement Plan Query Setting
Go to the Setup → Custom Metadata Types → Engagement Plan Query Setting
Go to Manage Engagement Plan Query Setting
Create New and provide values as below
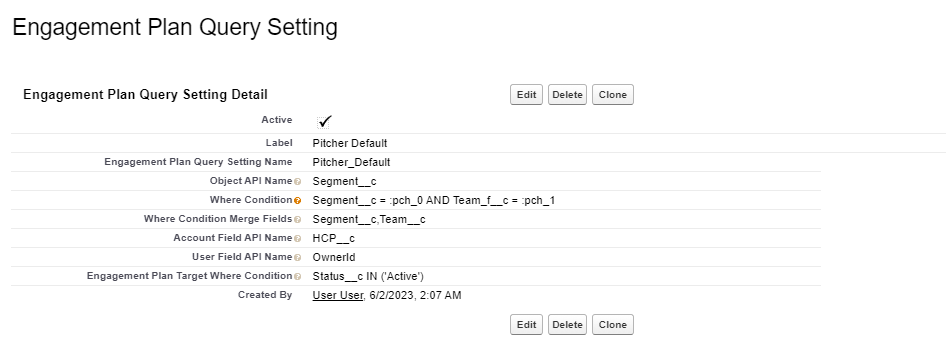
Active -
trueLabel -
Pitcher DefaultEngagement Plan Query Setting Name -
Pitcher_DefaultObject API Name -
<Object API Value>This can be any existing or new custom object in Subscriber Org
Example value -
Segment__cThis subscriber object Segment__c has the below fields as well -
HCP__c (Lookup to Account. We must need a lookup to Account)
Segment__c (Either Text or Picklist field. At least one custom field is required)
Team_f__c (Either Text or Formula field. Optional)
Speciality__c (Picklist)
Note - Subscriber may create more/less fields on the Segment__c (except required fields) if they wish to introduce more/less filters. In this example we are considering 3 fields.
Where Condition -
<field1> = :pch_0 AND <field2> = :pch_1Replace <field1>, <field2> with subscriber field’s API Name from the object used in above step.
Example value -
Segment__c = :pch_0 AND Team__c = :pch_1Notes -
If subscriber is using more fields on Segment__c object then similar fields also needs to be created on PCH__Segment_Target__c object.
Creating custom fields on object PCH__Segment_Target__c
Setup → Object manager → PCH__Segment_Target__c
Go to Custom fields → Create new
Create Segment__c text field (If you wish to choose Picklist, values must match with Segment__c field on Segment__c object)
Create Team__c text field (If you wish to choose picklist, values must match with Team_f__c field on Segment__c object)
Create Speciality__c (Picklist, values must match with Speciality__c field on Segment__c object)
Create Validation Rule on object PCH__Segment_Target__c
Error Message - You must select either Segment, Team or Speciality.
Condition -
Segment__c = ''&&Team__c = ''&&ISPICKVAL(Speciality__c, '')Save
Where Condition Merge Fields -
<Comma separated field names from Object API Name>Use the custom field(s) on the
PCH__Segment_Target__cobjectExample values -
Segment__c, Team__cIf merge field’s value is blank then it will be removed from the where condition.
Example
Where Condition -
Segment__c = :pch_0 AND Team__c = :pch_1 AND Speciality__c = :pch_2If
Team__cis blank then it will only considerSegment__c = :pch_0 AND Speciality__c = :pch_2If
Team__candSegment__care blank then it will only considered asSpeciality__c = :pch_2
Account Field API Name -
<Field API Value of Account field on Object mentioned in Object API Name>Use the field of type
Lookup(Account)on the object used in above stepExample value -
HCP__c
User Field API Name -
<Field API Value of User field on Object mentioned in Object API Name>Use existing field of type UserId on the custom object used in above step
Example value -
OwnerId
Engagement Plan Target Where Condition -
<Any Additional filter to filter Engagement Plan Target records>Examples value -
Status__c IN ('Active')
Step 5 - Mass calculation batch job for Engagement Plan Channel
Open Execute Anonymous Window to open the Enter Apex Code window.
Run below Apex Code
BAT_EngagementChannelBatchJob obj = new BAT_EngagementChannelBatchJob();DataBase.executeBatch(obj,200);
Step 6 - Introduce New Channel Type (Optional)
To introduce new Channel Type on Segment Target Channel and Engagement Plan Target Channel, add newly introduced picklist value on PITCHER__Presentation_Type__c on Activity object as well.
Example
To introduce
Social mediapicklist value onSegment Target ChannelandEngagement Plan Target Channel, add same pick list valueSocial mediaonPITCHER__Presentation_Type__conActivityobject.Adding new picklist values (optional)
Engagement Plan Target Channel Object
Setup → Object Manager →
Engagement Plan Target Channel→ChannelAdd new picklist values as needed like
Social mediaInactive unwanted picklist values like
In Person,RemoteandMessage
Segment Target Channel Object
Setup → Object Manager →
Segment Target Channel→ChannelAdd new picklist values as needed like
Social mediaInactive unwanted picklist values like
In Person,RemoteandMessage
Activity Object
Setup → Object Manager →
Activity→PITCHER__Presentation_Type__cAdd new picklist values as needed like
Social mediaInactive unwanted picklist values like
In Person,RemoteandMessage