Configuring the Experience Builder
After installing the Missions Managed Package, it is important that you enable the Experience Builder to create the mission content and layout while defining the mission object.
To enable the builder:
Go to Setup > Custom Code > Canvas App Previewer.
Accessing the Canvas App Previewer
On the Canvas App Previewer page, you can choose to preview it on the live environment directly or you can first test it on the test environment.
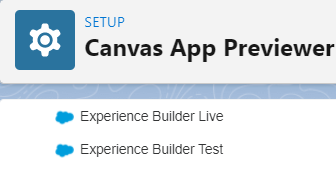
Choosing an environment
After clicking the environment, you may receive a rendering error looking something like this:

The rendering error
This is a known issue on Salesforce and to fix it, you may have to clear your browser cache. If it still doesn't work, please contact Pitcher.
Click Allow to enable the Canvas App to access all the required data.
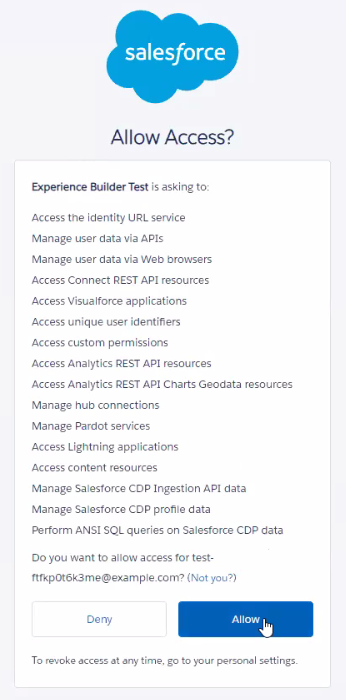
Enabling Data Access
After clicking Allow, at times the browser gets stuck in the redirection loop. This is again a known issue on Salesforce and to fix it, you just need to copy the URL and hit it again.
Now, go to Setup > Custom Code > Custom Settings > Pitcher Mission Settings.
Click Manage and then click New to add the new default organization value.
Adding a new default organization value
On the Pitcher MIssions Settings Edit page, add a URL to the Experience Builder Server that stores the Canvas App. Ask Pitcher to provide the URL at the time of implementation.
Configuring the Experience Builder server path
Now, go to Setup > Security > Remote Site Settings and click New Remote Site to allow access to the Experience Builder Server.
Adding a new remote site
Enter the Remote Site Name and the server path in the Remote Site URL.

Allowing access to the server
Now go to Custom Metadata Types > Lightning Builder Item and click New.
Add the following details:

Label -
Experience BuilderType -
CanvasTitle -
Experience BuilderCanvas App Developer Name
Production environment -
atlasprodDev environment -
pitcheratlasUAT environment -
atlas
Canvas app parameters - leave them empty
Lightning Builder - From the picklist, choose the builder you want to embed to canvas.
Note: The canvas app must be embedded after the details step.Sequence - Fill in sequence numbers as multipliers of 10. For example for 10, 20, 30, etc.
Click Save.
During any of these steps if you face any issues, please contact Pitcher for help.