Uploading from Microsoft PowerPoint
Let’s learn how to upload files from Microsoft PowerPoint to Pitcher Personal Admin. This page provides walkthrough on how to edit a file in Microsoft PowerPoint and upload using Pitcher PA application in iPad.
Preparing File
To prepare a file:
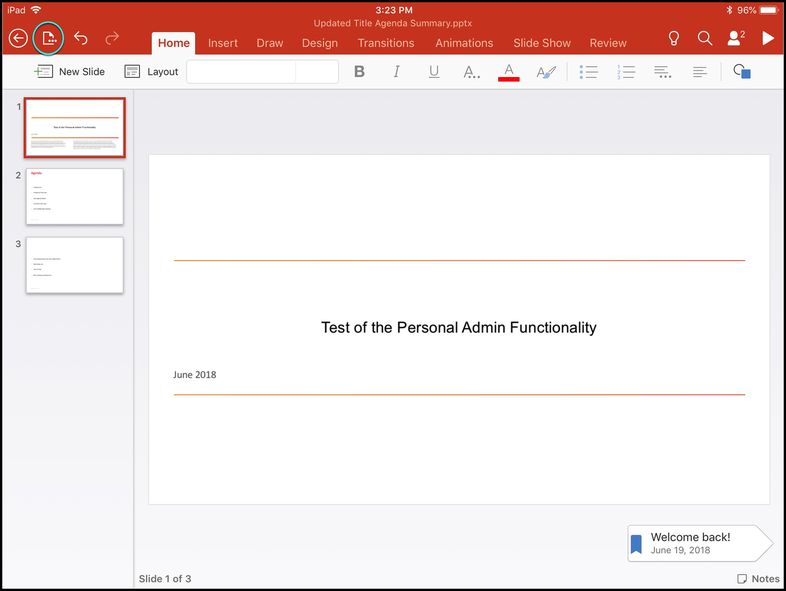
1. Open Microsoft PowerPoint app in your iPad.
2. Open & edit the file you would like to upload in Personal Admin, as you do for any other slideset.
Preparing File
Uploading File using Pitcher PA
1. Choose the "Files" icon at the top of PowerPoint menu bar and select "Send a copy"
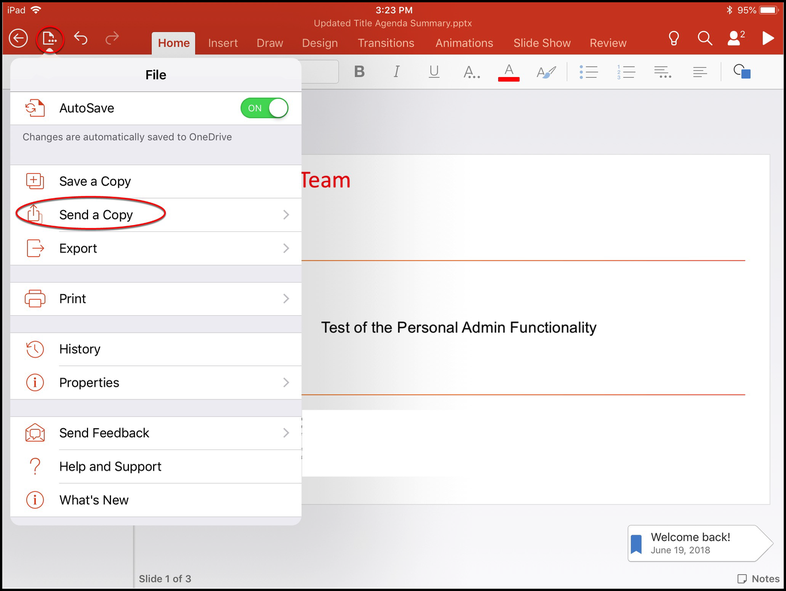
Send a Copy
2. Click "Send with Another App" from the available options.
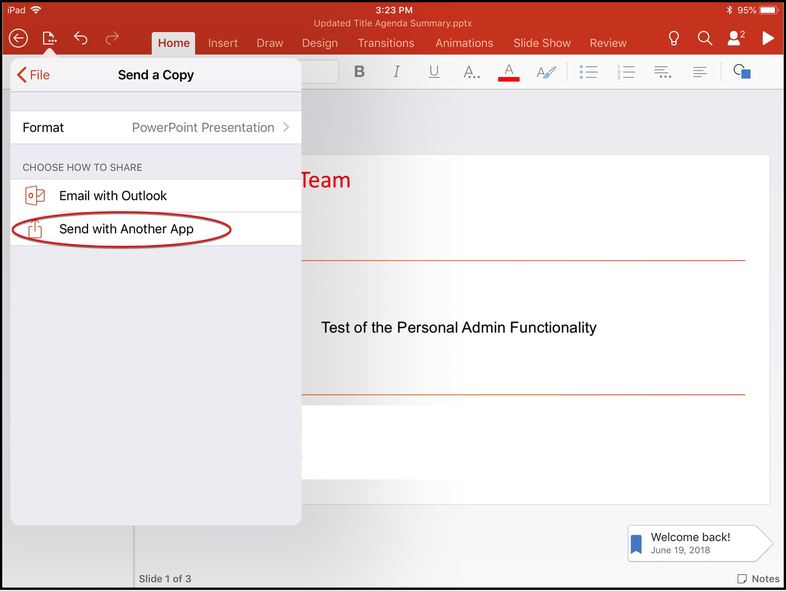
Send with Another App
3. A list of available apps will open. Click "Copy to Pitcher PA" icon among the options.
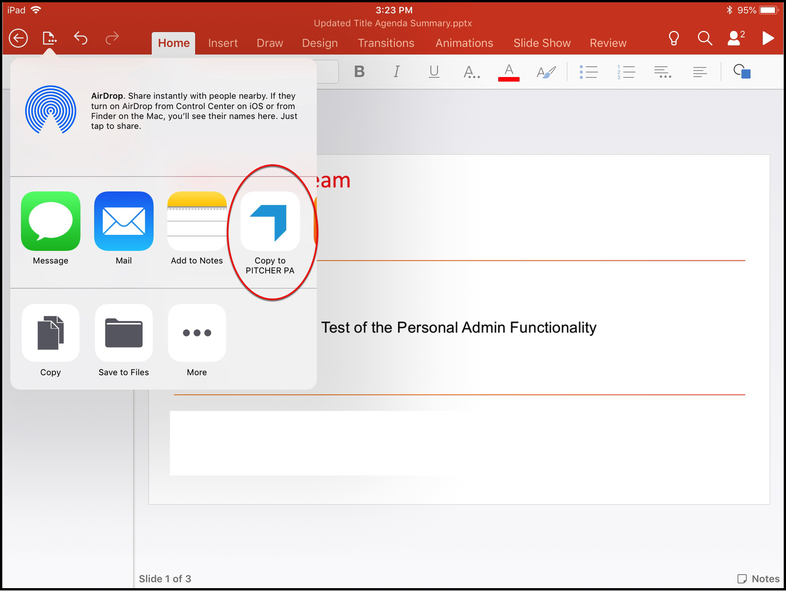
Copy to Pitcher PA
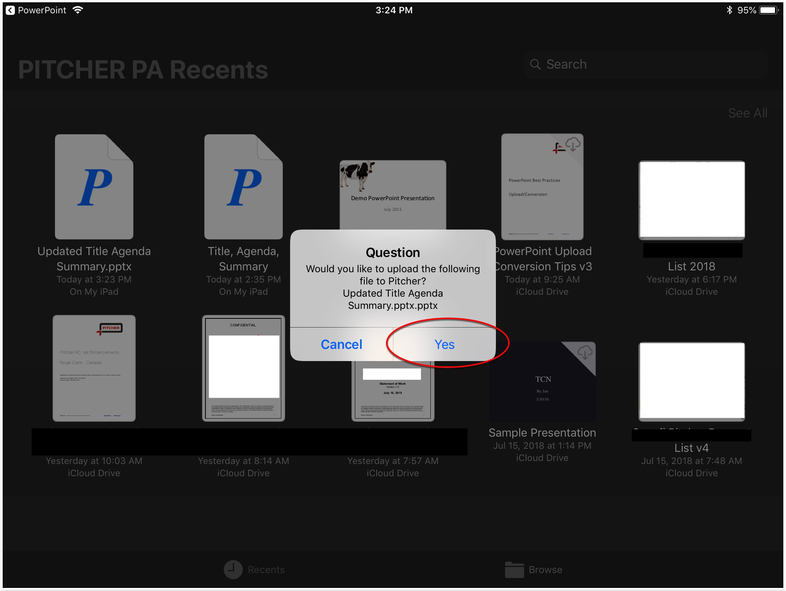
4. Click “Yes” to proceed and confirm in the Pitcher PA dialog that appears.
Note: Please note that you need to login Pitcher PA before you can upload files. For more information please see Installation & Login. Contact Pitcher’s IT Support or your organization administrator if you don’t have login credentials.
Navigation
Once you upload the documents in Personal Admin you need to define categories. You can define Navigation and Sub-Navigation for the type of document(s) you intend to upload such as brochures, presentations, tools, videos, etc.
To assign a navigation:
1. Select “Navigation”. Under ‘Navigation’ select "My Documents".
2. Select a sub-navigation from the selector below.
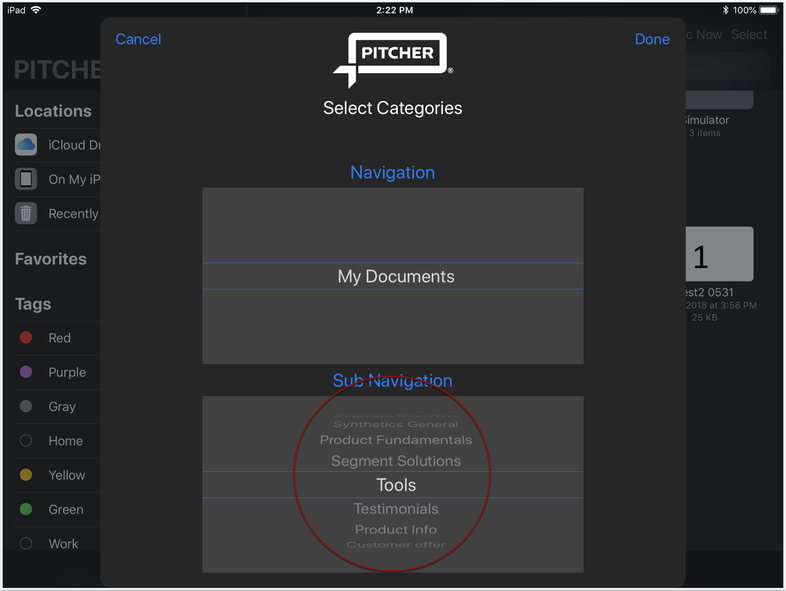
Navigation Selection
File Uploading
You will see a message indicating the uploading and then processing status of the file. It will take few minutes for the conversion to finish and be available to download in Pitcher Impact Application.
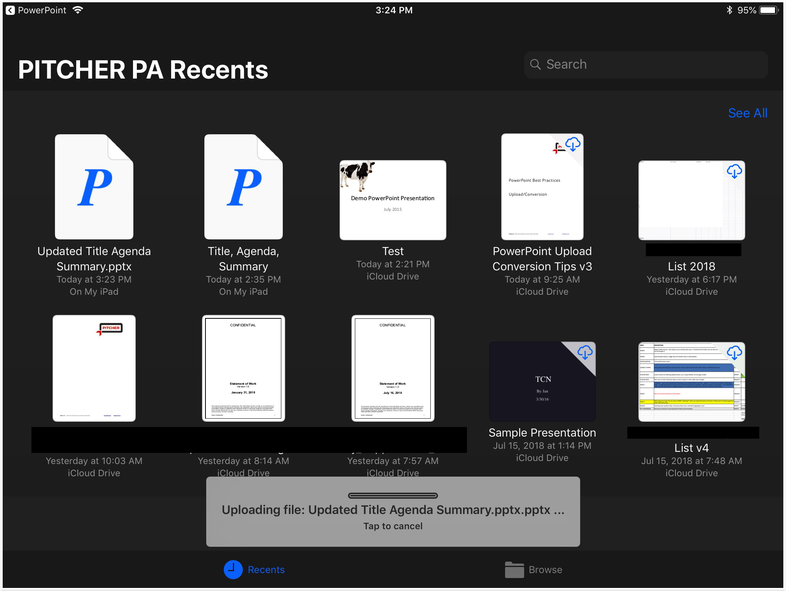
File Uploading & Conversion
When prompted, select "Download" to proceed with the file download on Pitcher Impact application.
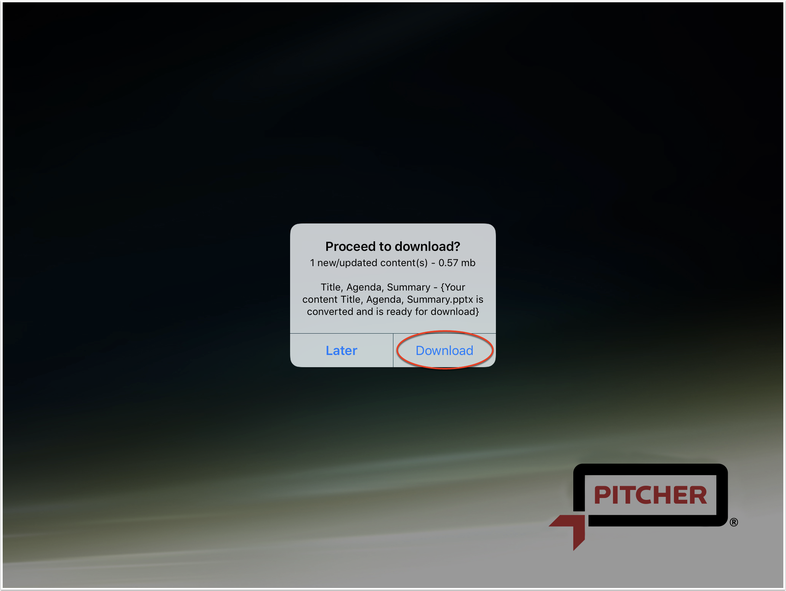
Downloading File