Upload Documents
This page explains the process of uploading documents in Pitcher Admin. It describes the different topics associated with uploading documents such as adding files, selecting template to copy metadata, distribution, conversion tips, permissions etc.
Add Files
Once the instance is selected various tabs will appear. To upload documents please follow these steps:
Click on Documents tab. A list of documents will appear.
Click on Add new file button.

It only takes a couple clicks (or drag & drop) to upload a file with Pitcher Web Admin. The automatic conversion engine handles the rest.
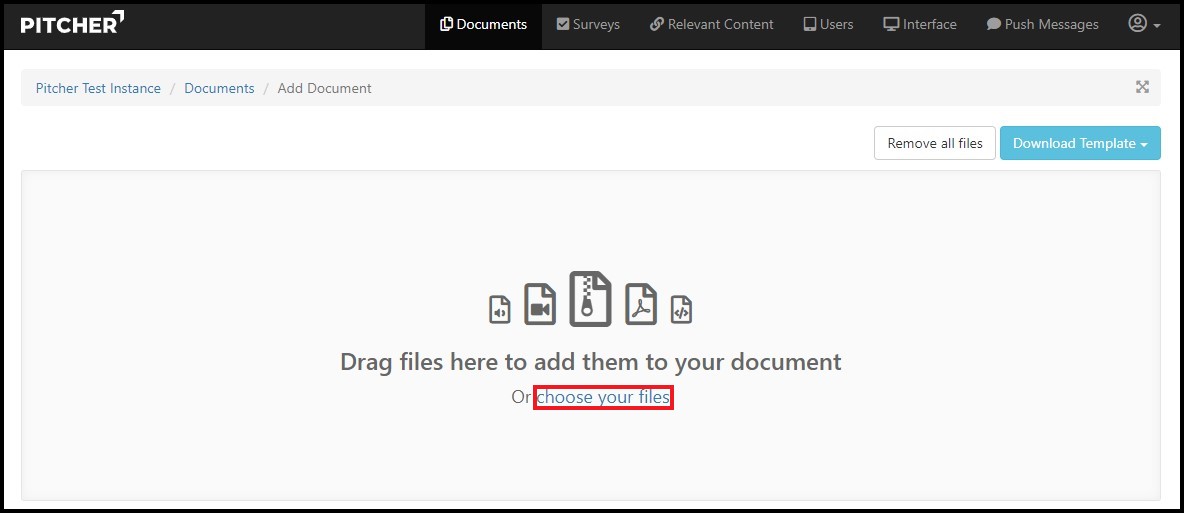
Simply Drag & Drop the file you want to upload. You can also click choose your files option which enables you to upload single or multiple files within a folder.

Note: File uploading won't work if the file names that include the character "/"
Conversion Tips
To upload files of different types and to get the best results you can follow the Conversion Tips provided below the file drop zone.

Template
Copy Metadata From - This allows you to upload a file and copy the Metadata (Hotspots, references, keywords and navigation) from an already uploaded file in Pitcher Web Admin. Upon selecting a document from dropdown a checkbox will appear. By checking the box "Replace Existing" the newly uploaded file will replace the selected existing file (removed from Pitcher Web Admin).

Basic Information
Fill the basic information for the document(s) uploaded.
Title - Fill the title of the document(s) uploaded
File Keywords - On clicking File Keywords input box a pop up will appear. You can search & enter existing keywords or add new keywords for the uploaded document(s).

Navigation
Here you can select the pre-defined categories for the document(s).
Primary - Select the Primary Category
Secondary – Select the Secondary Category

Distribution
Starting from – It defines the Starting Date for the file distribution
Until - It defines the expiry date for the file distribution
NOTE: the user doesn't need to be connected to the internet for these dates get to effective, these configurations are uploaded together with the file and then executed whether or not the user is online. If a file expires it won't be visible on the device anymore, though you can easily edit distribution and just set a new expiration date.
Users - It allows to select user devices for file distribution. You can select the users and click Add All button to add the users or you can remove the selected users by clicking on Remove All button.
User Keywords (Groups) - It allows to add User Keywords or Groups. Select the User Keywords and click on Add All button to add the keywords and to remove the selected keywords click on Remove All button.
Checkbox: "Distribute to all (including New) Users and User Keywords (Groups)" - It pushes the content to all registered users within this Pitcher instance. This feature is particularly useful for content that must be accessible by all the users (e.g. Disclaimer, Company Presentation). Users that will be added in the future will automatically receive this content.

Permissions
You can set different permissions for the uploaded document(s) such as Allow Custom Decks, Allow Emailing, Allow Emailing Custom Decks and Allow Printing.

User Interface
"Show First 2 Pages" shows either only the first page (title page) of a PDF or shows the two first pages (e.g. title and table of content)

Notifications
Send push notification to users on completion by clicking on the checkbox. Enter a message to be shown next to the file name when the user is asked to download the file on his Device using Pitcher Impact.

Note: The most important thing is to distribute the file to the correct devices/groups and upload it to the correct category/subcategory, although these changes can also be made later.
When you've set everything click Upload button.
The file(s) you upload will appear in the documents tab and you'll see the status go to "Queued". It will then start converting to HTML5. You'll see the status change if you click Refresh, it will go to "Converting" and finally "Ready". The file is now uploaded and ready to be edited further in Pitcher Admin or accessed in the device. (Note: Don't forget to save your changes!)


