Installation, Login, And Instance Selection on Android
Pitcher Impact Application is available for installation on android devices.
Pitcher Impact Android Supported Devices:
Devices with Android 5.0 (Lollipop) and above are supported.
Search the App in Google Play Store
Pitcher Impact App can be searched inside the Google Play Store using the Pitcher keyword
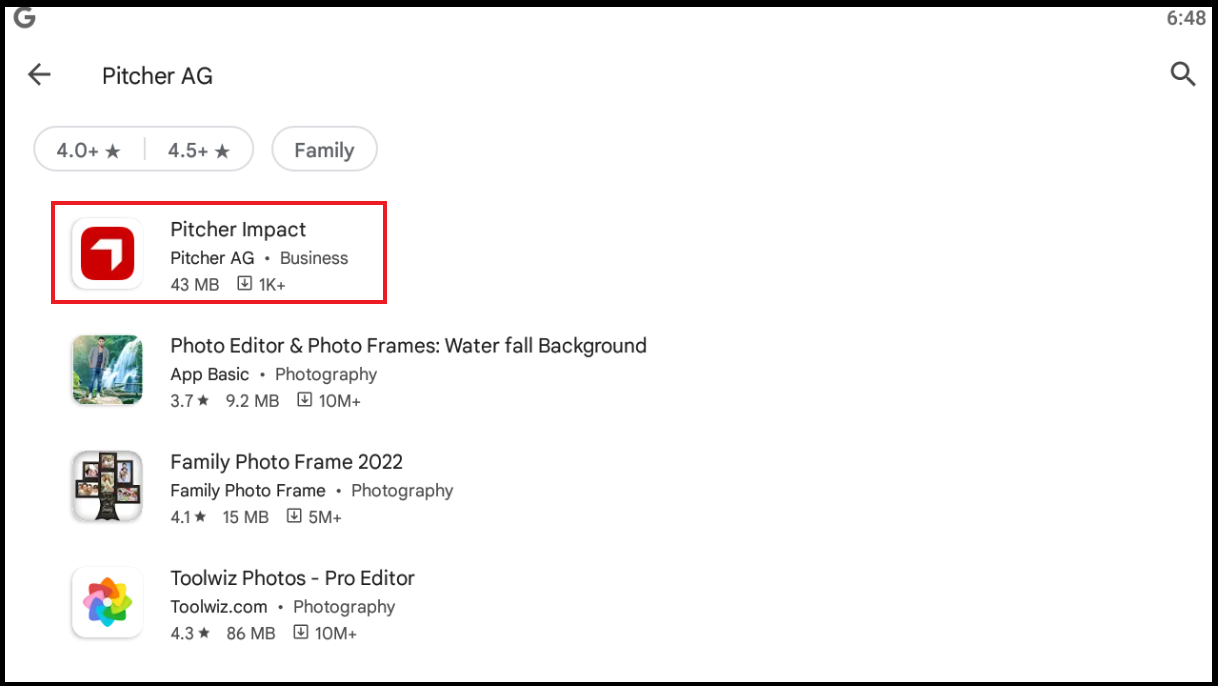
Searching application in google play store
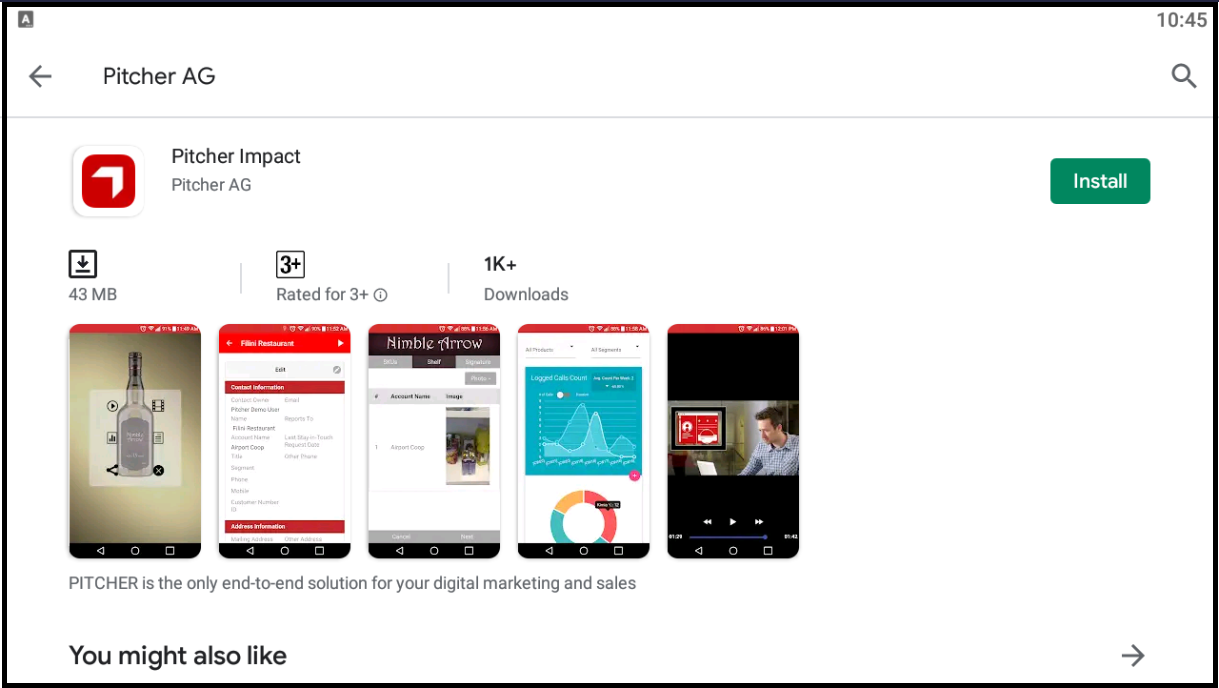
Install from Google Play Store
Tap on the install button to install the app.
Installing appllication
Run the Application and Accept Access Permissions
After installation please click on Pitcher icon to launch the app.
Allowing system specific access
This will be followed by series of permission access request by the application from the user. Allow all the permission requests.
Getting Access to Your Instance
Instances are small apps within Pitcher. Each app can have it's own user interface, features and own content. You as the user of Pitcher might have access to multiple instances, please check with your system administrator. There are multiple ways to access to your instance:
Via Username and Password
Login using Username and Password
Another way to access the list is via a username/password provided to you by the system administrator. To access the app using username/password pair, please click on Login with Password.
For the first time user the device needs to be online but afterwards the users can login offline as well.
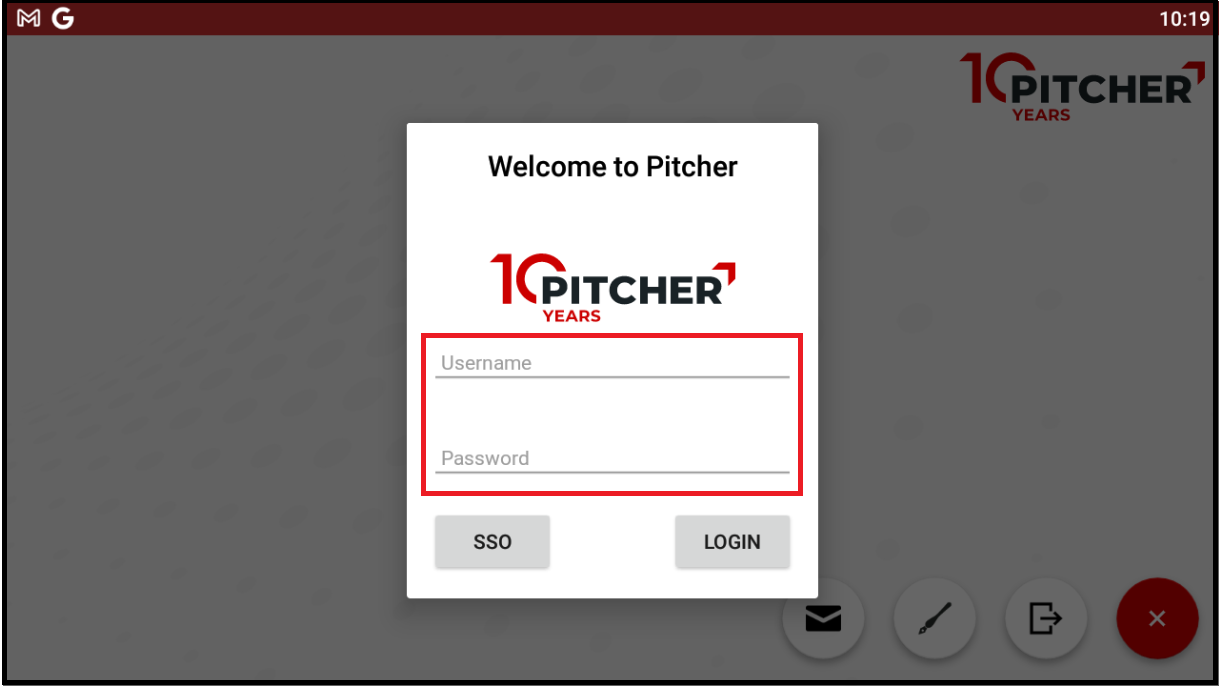
Username and password pop up window
Via SSO
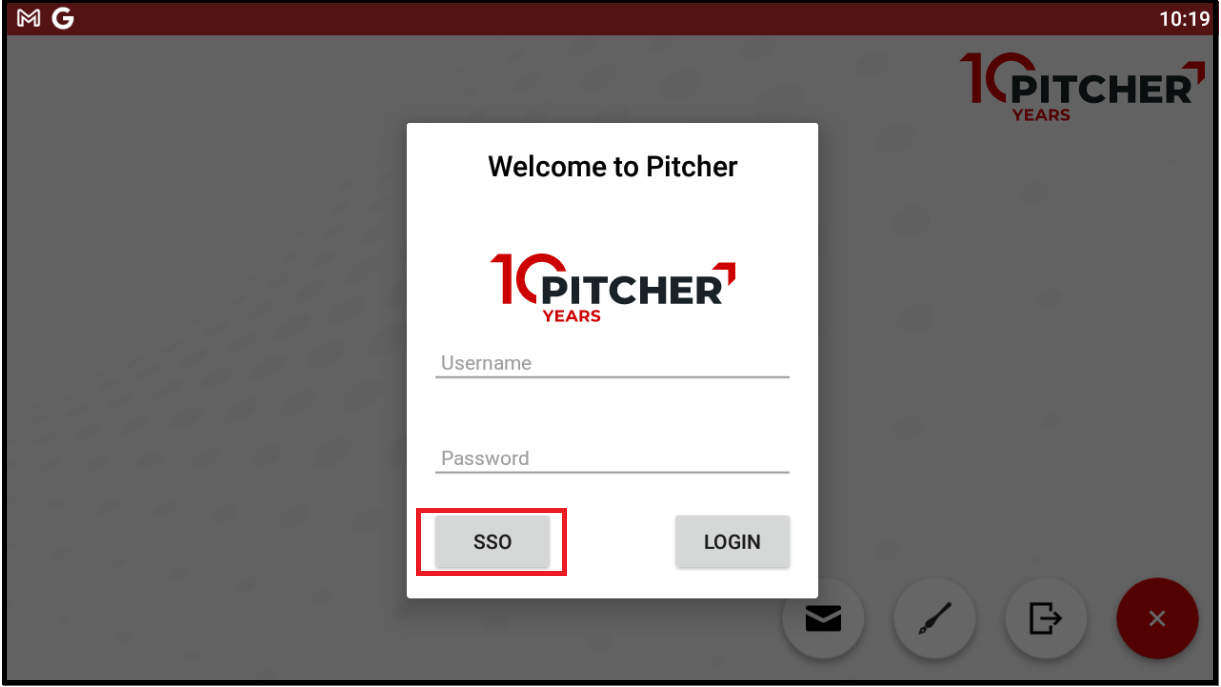
Login via SSO
The users can also opt for SSO login and select to login using the custom or organization-provided custom domain which will redirect the user to browser login for that domain and once the user provides the credential it will redirect back to the impact app.
Login using Email Address or Code
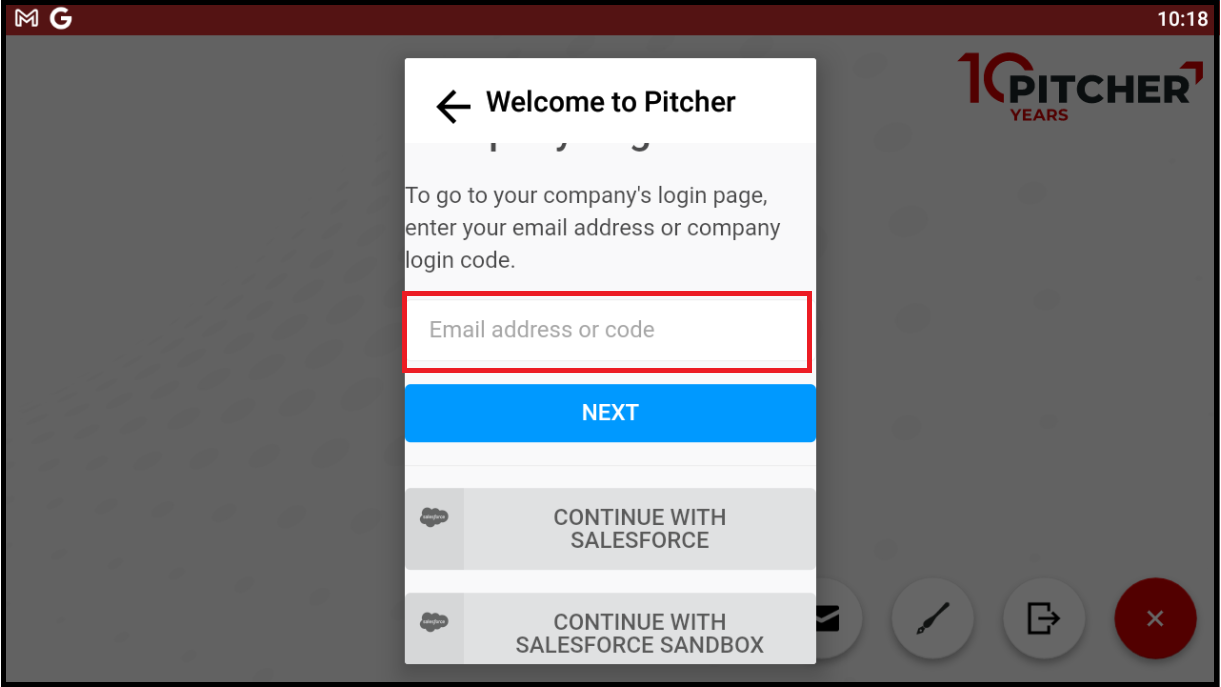
Login via email or code
The user can provide organization’s email or code provided by the organization’s admin and the login screen will redirect to browser login screen for that organization where user can provide the credential and after authentication, it will be redirected back to the application.
Login using CRM Credentials
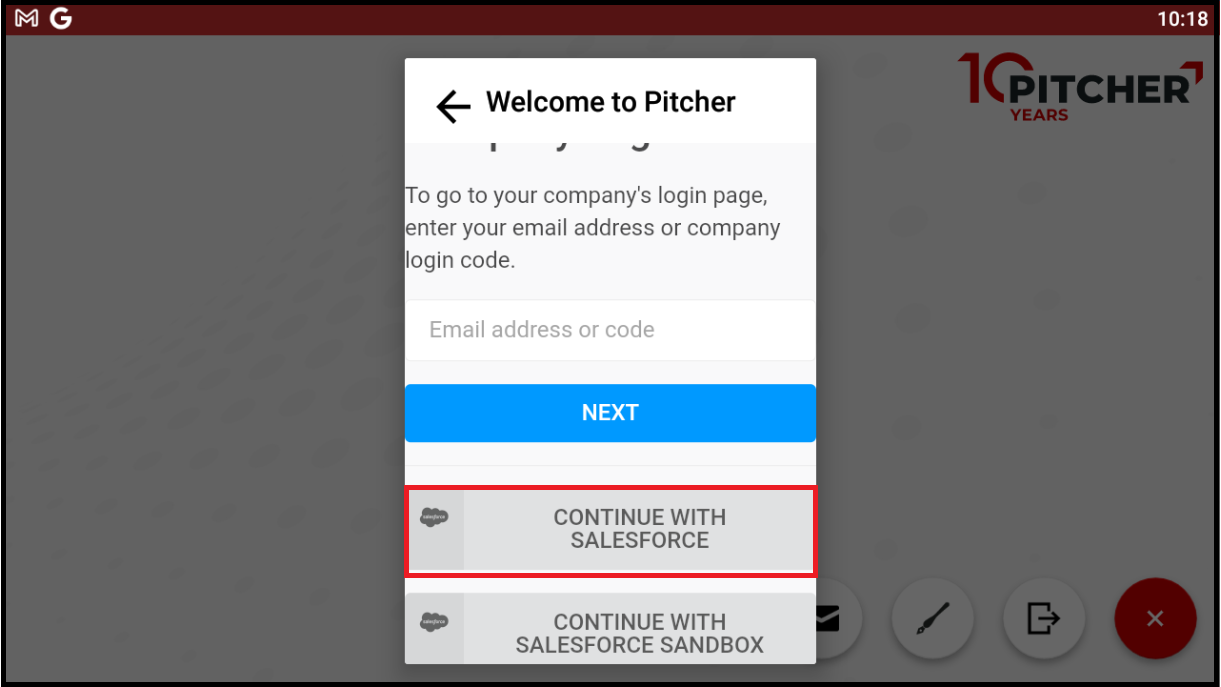
Login via CRM credentials
The user can also provide CRM credentials for login. The user can opt to login directly to production environment or sandbox environment of the CRM. On clicking one of the options as shown in the image above i.e., CONTINUE WITH SALESFORCE or CONTINUE WITH SALESFORCE SANDBOX will redirect the user to the login window of the CRM as shown below.
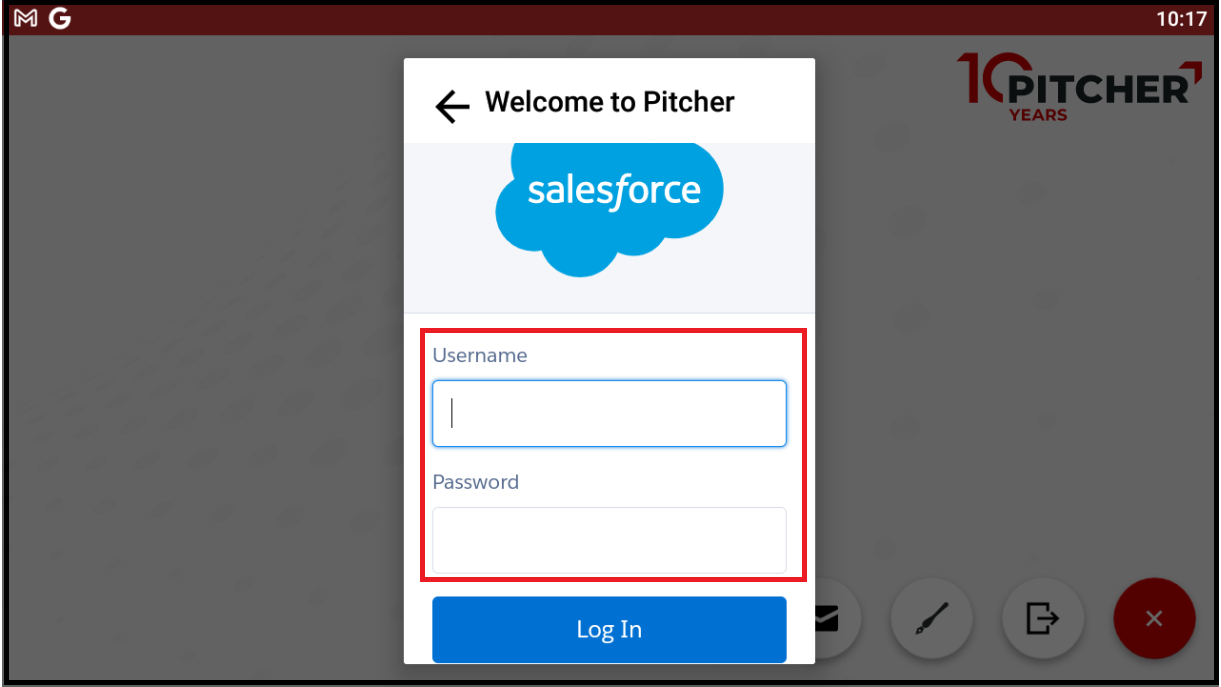
Login popup window for entering CRM credentials
Login using custom domain
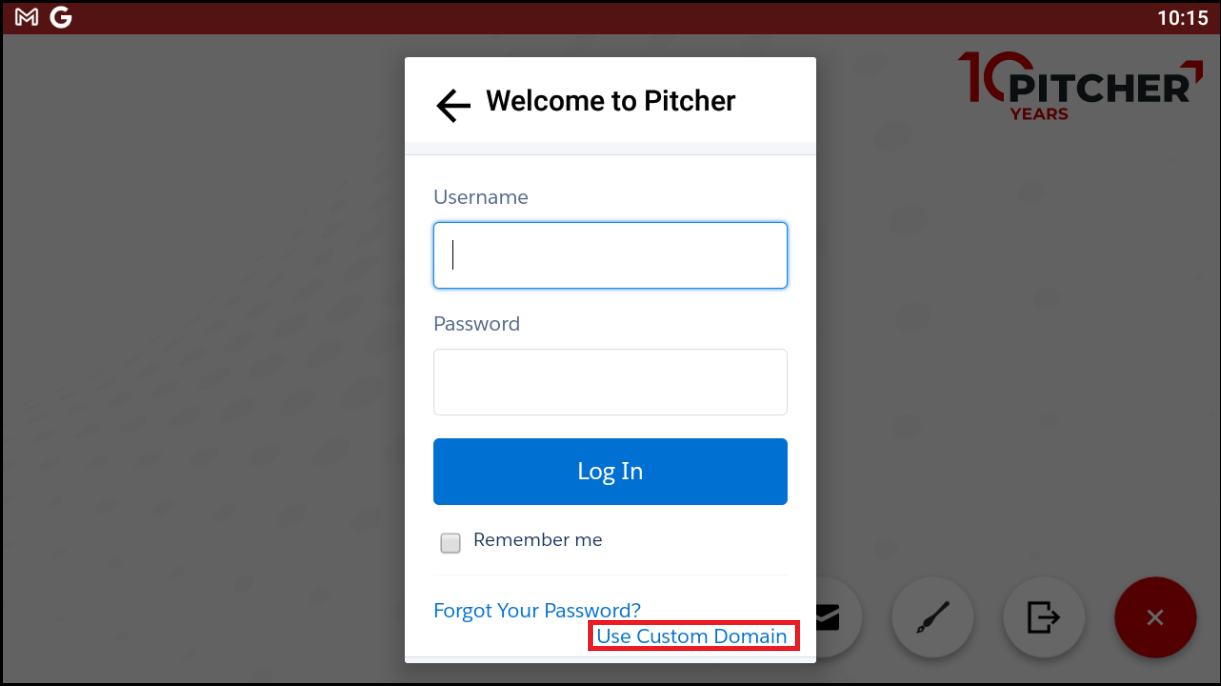
Login with custom domain
Alternatively, the user can also use custom domain option to login. The custom domain would redirect to another window for domain input from the user. Once the user provides the custom domain the application will redirect to browser where user can provide their credentials and after authentication and validation the users will be redirected back to the application.
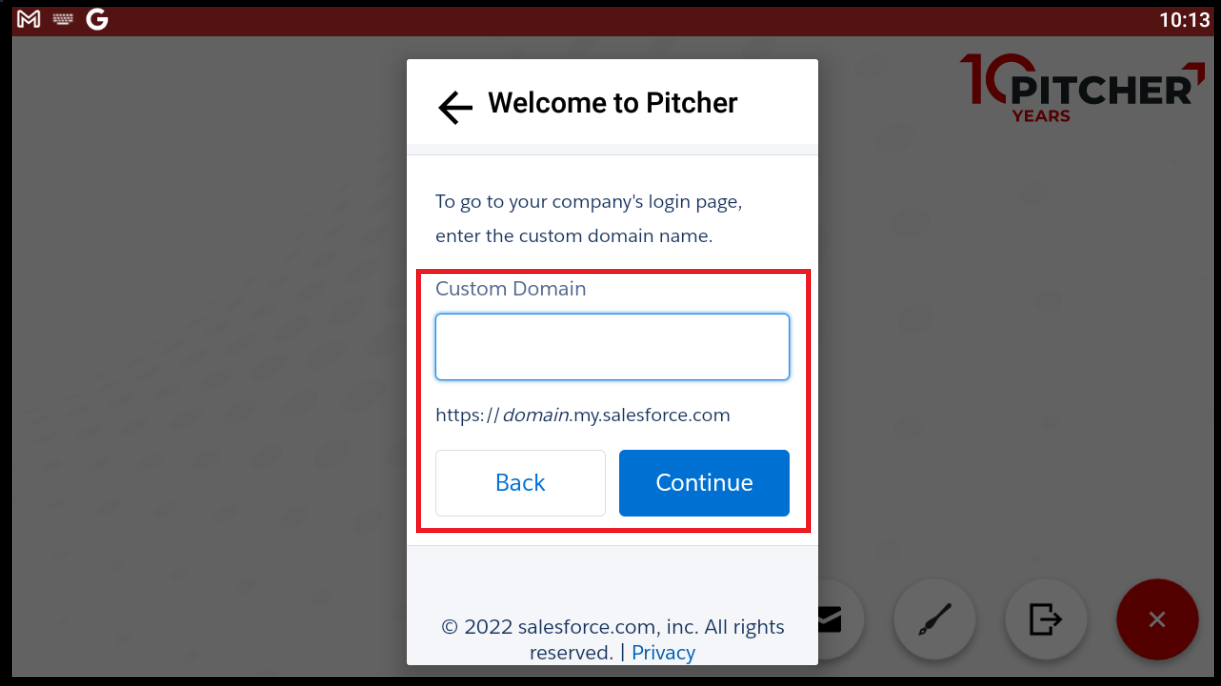
Access with Custom Domain window
Enter code provide by Administrator
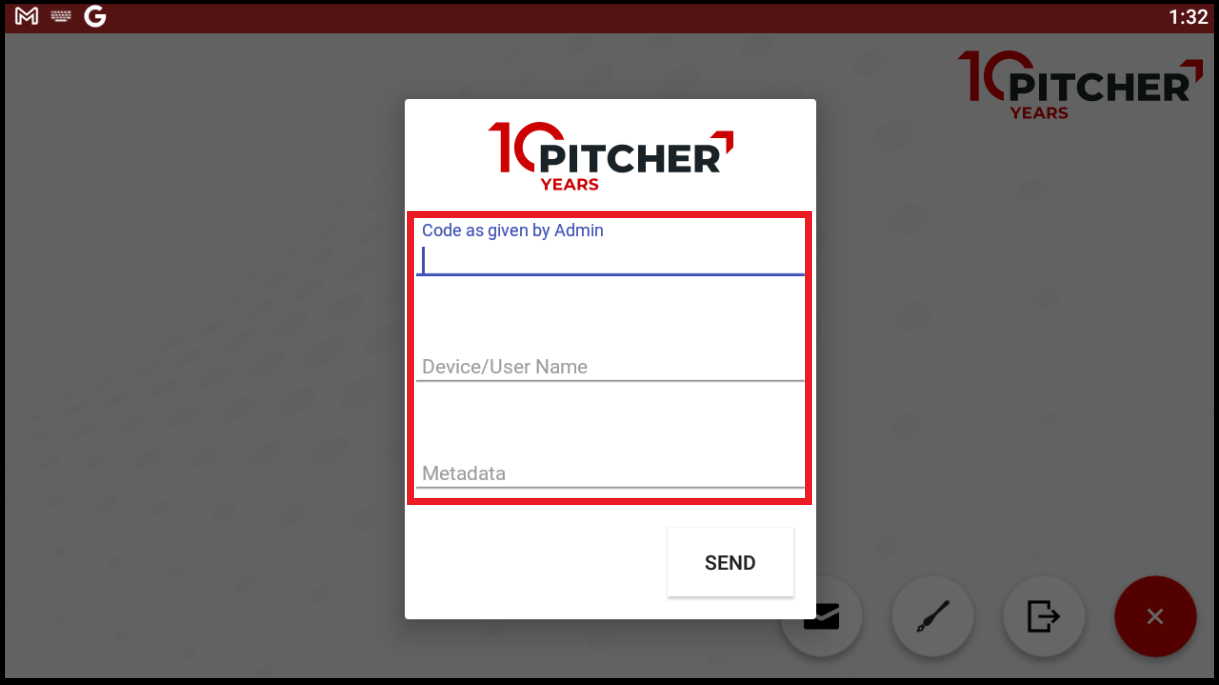
Access using device code sent by system admin
Enter the code provided by the administrator and the device name.
Click Send button
Wait until the instance appears on the left side to start to download the content.
If the instance or list of instances does not appear even after getting the confirmation from the admin, then it is to be ensured that the device is online and the list is refreshed.
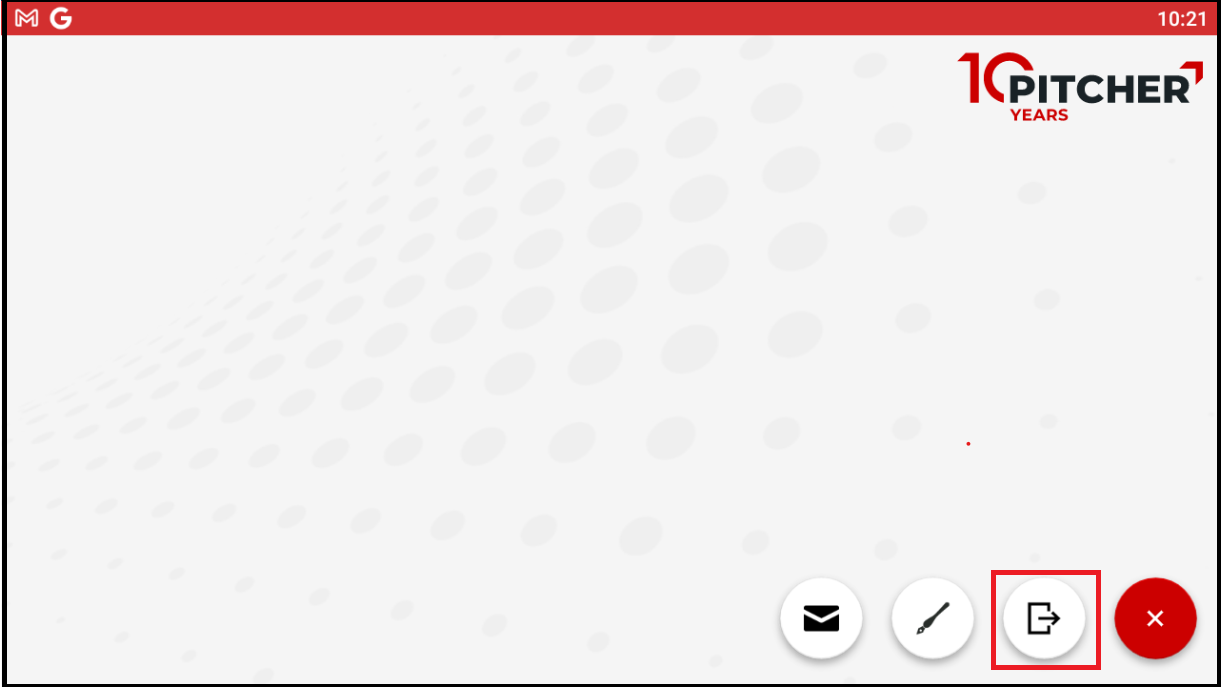
Via Send Device Code
For sending the device code, clicking on the plus button at the right bottom of the screen will open three options as shown in the image below. Clicking on the first option will open a default system
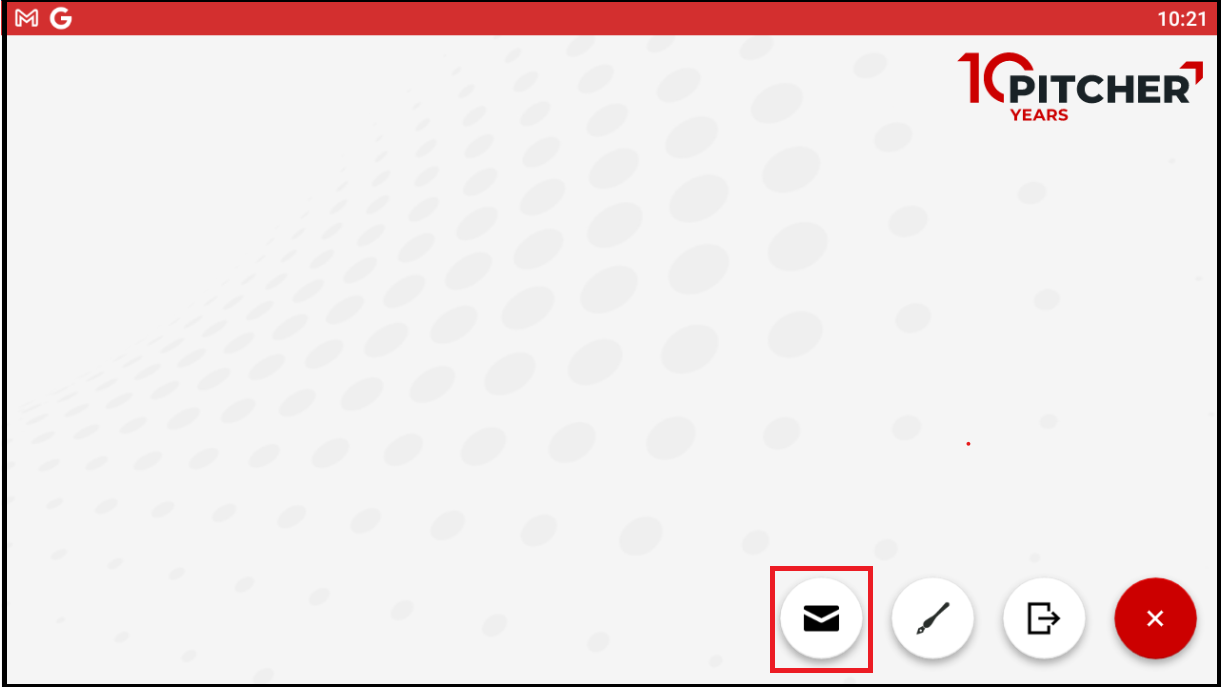
access via send device code on the android device
The device will ask for user’s preference for sharing the code via various options as shown in the image. Click on the default email client.
on
An email template will open with the device code as shown in the below image.
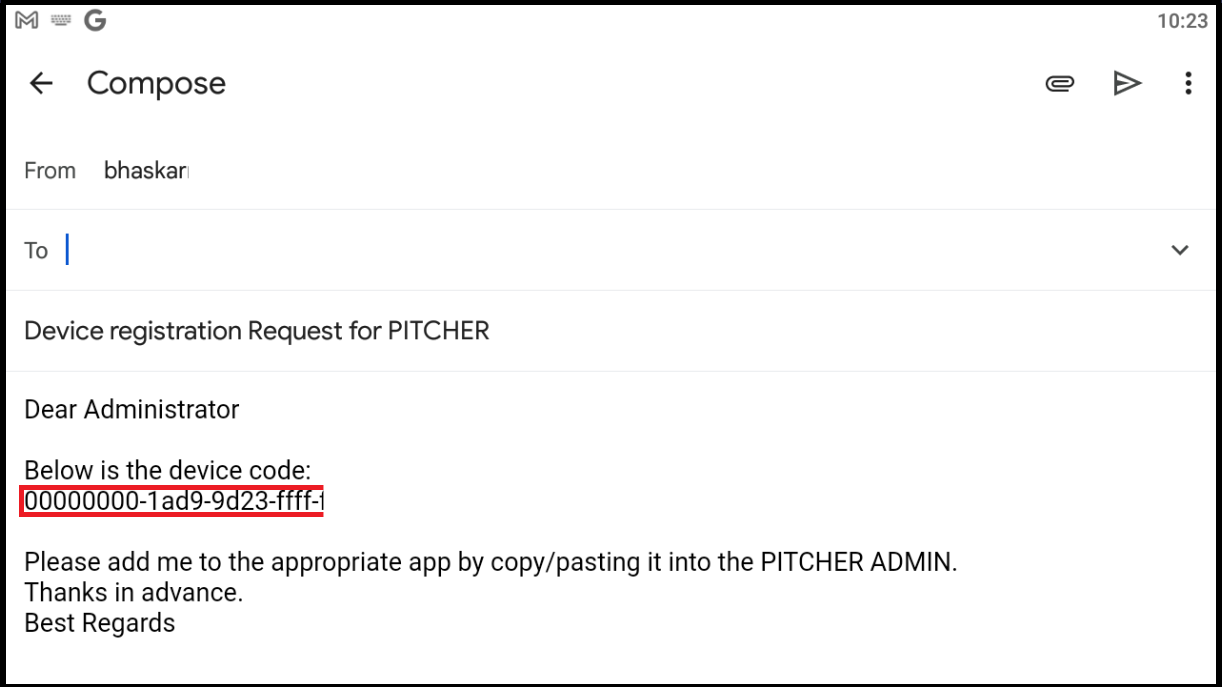
Email template with the device code to be sent to the system admin
The list on the left is a list of instances the user can access. System Admin can be contacted for more detailed information.
In case this list is empty, Send button can be clicked which will ask for the user’s choice and then user can open the default email with device code. This email can be sent to the system admin.
If the user has access to only one instance, this window will not be visible. To make it visible, please refer to settings section.
If the instance or list of instances does not appear even after getting the confirmation from the admin, then it is to be ensured that the device is online and the list is refreshed.
Downloading Updates
Select Instance
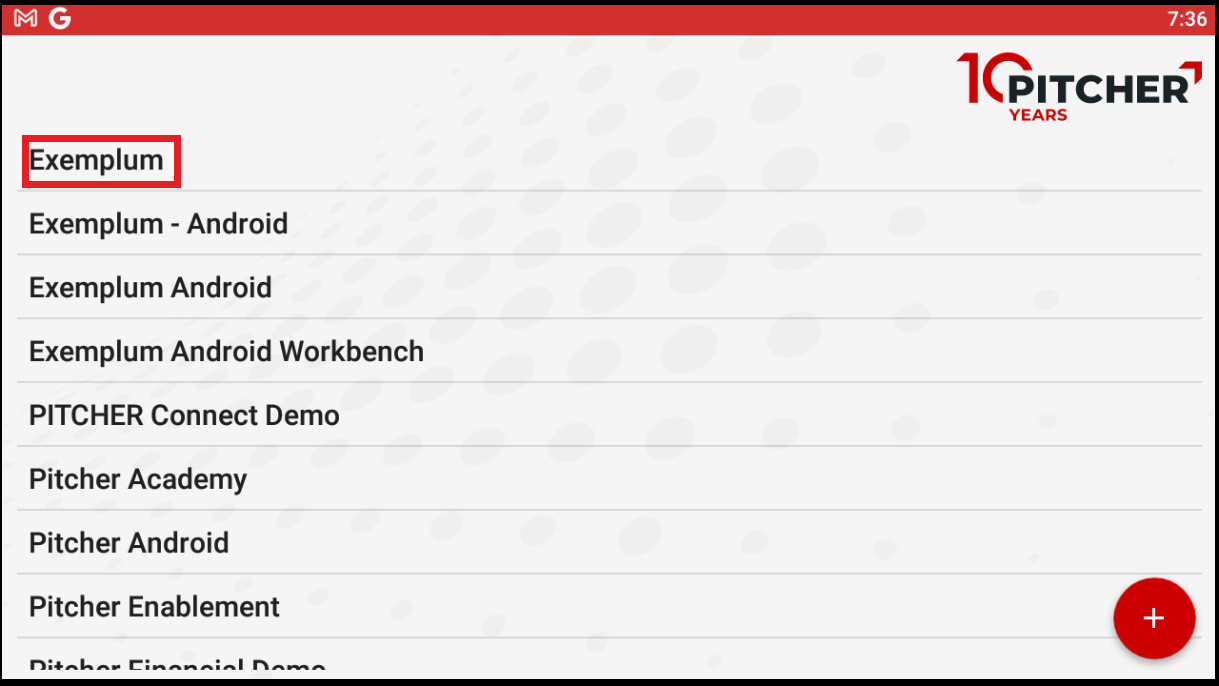
Select instance from the list of instances
Once the user has used one of the above options to login into the app list of instances or instance will appear on the left hand side of the window. Selecting the instance will open window for downloading updates as shown below
Download Updates
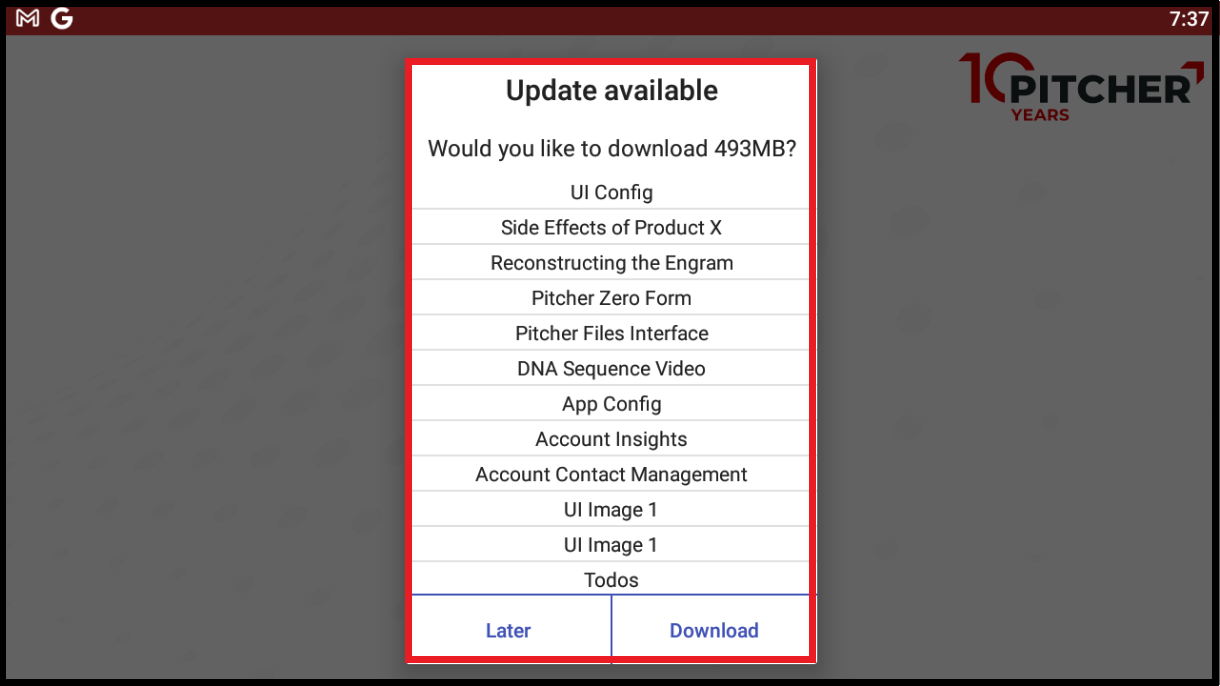
Download updates for the instance
The download window will display list of items that will be downloaded into the application. The user can always choose Later and download later, or initiate the download immediately.
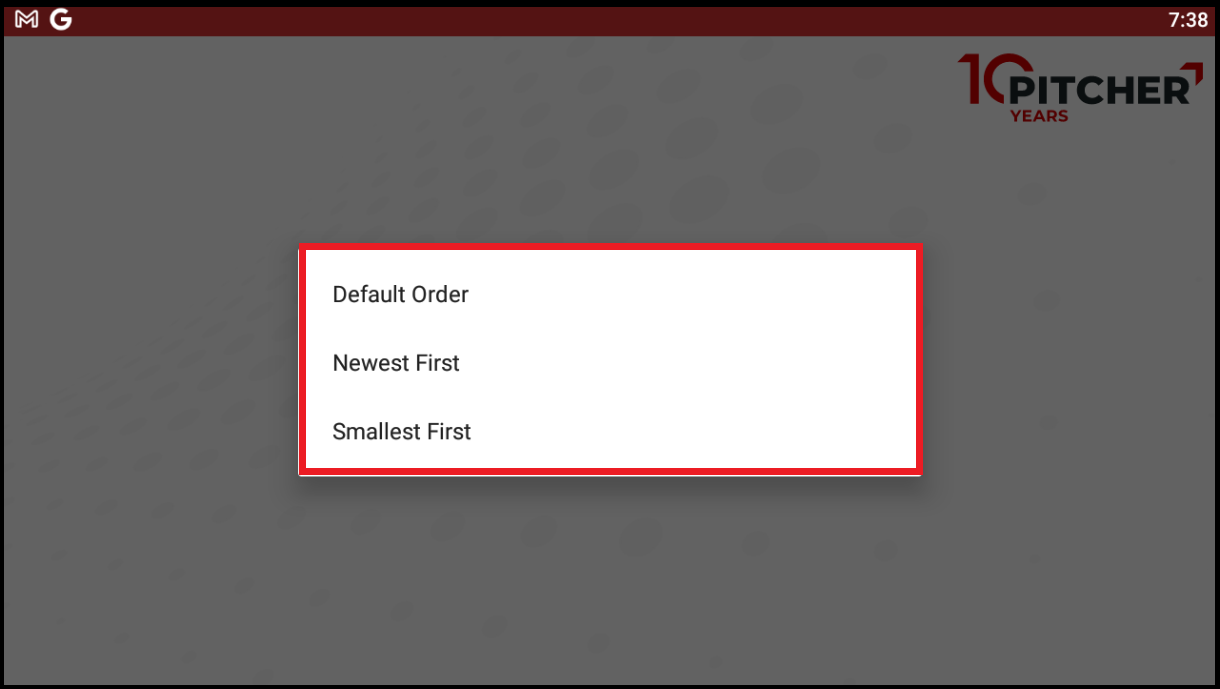
Order for the updates download
If the user opts to download immediately a second window will ask for user’s choice for downloading order. If the user selects Default order the items will be downloaded as displayed in the list.
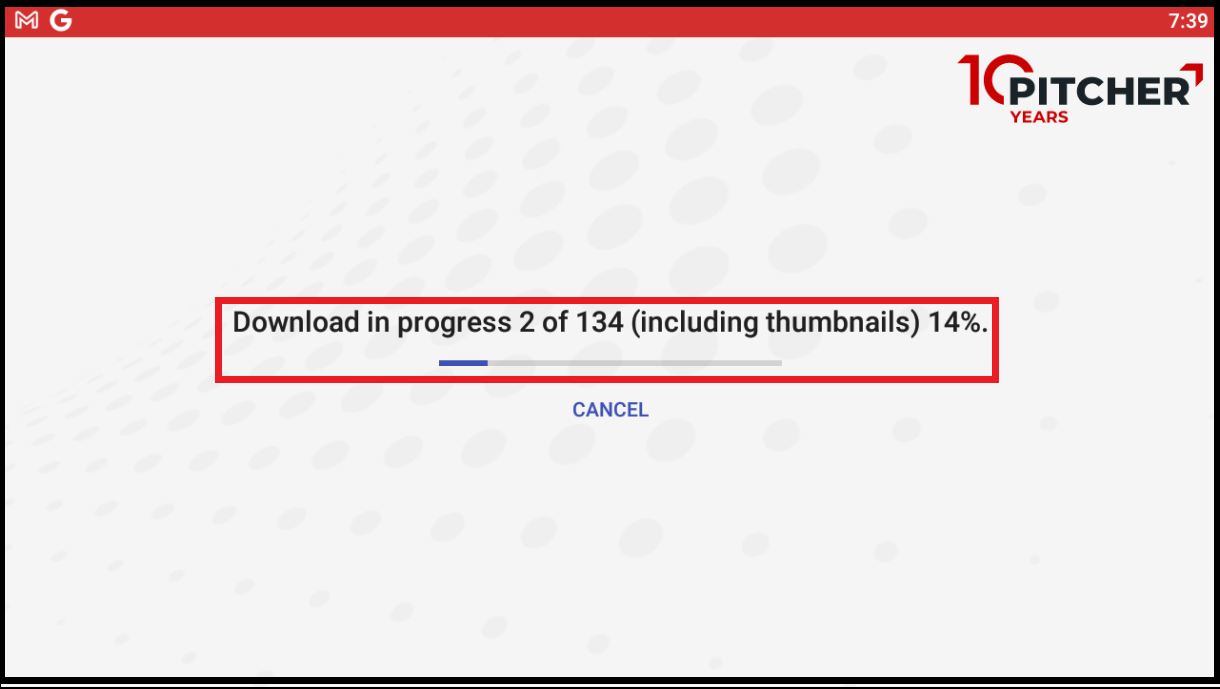
Instance updates in progress
During the download process, the user can opt to cancel the download at any time and resume later from the point where the download was left.
Delete Instance
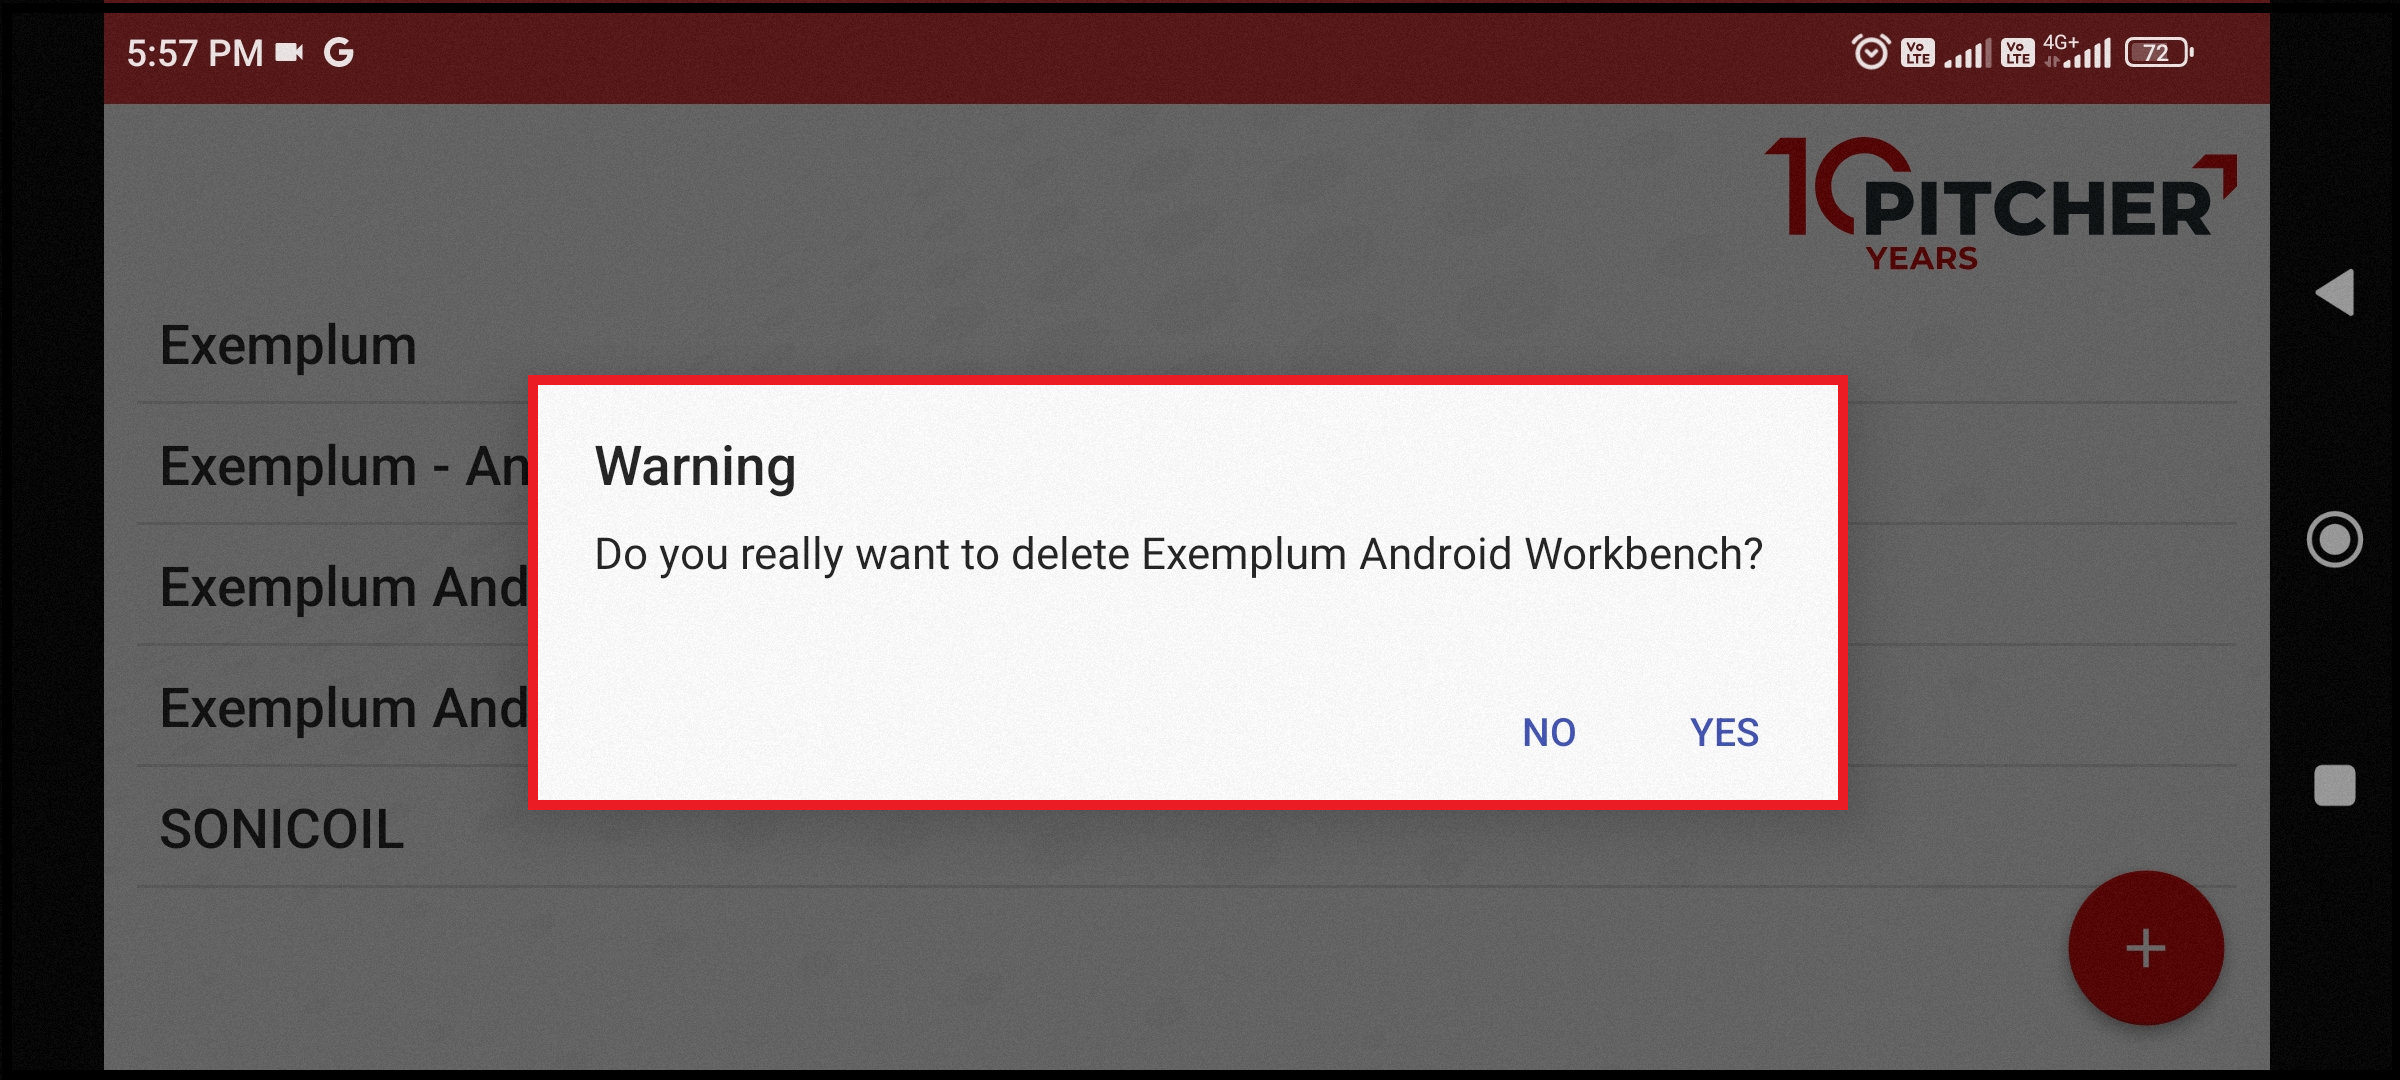
Delete instance warning
A long tap on any instance from the list will open a pop window which will ask for the confirmation from the user as shown above.
If the files cannot be downloaded then device Time Zone settings must be checked. The documents have an expiring date which is linked to the actual device date.
Also, the device battery status must be checked along with the Battery saver settings.