Install Custom Fonts
In this page we explain the steps needed to add custom fonts provided by a customer to Conversion Engine. On some presentation applications (PowerPoint, etc.), users make use of embed fonts feature just like a plug-in attached to the presentation. If the font is not installed in the conversion engine previously, presentations that make use of custom/embedded fonts can have style and layout changes for text.
Instructions
Make sure you have credentials for development.pem from Infrastructure credentials vault on your local system. If not please contact IT support to provide the credentials.
Connect to ce_syncer.pitcher.com.
Unzip the folder containing all the fonts.
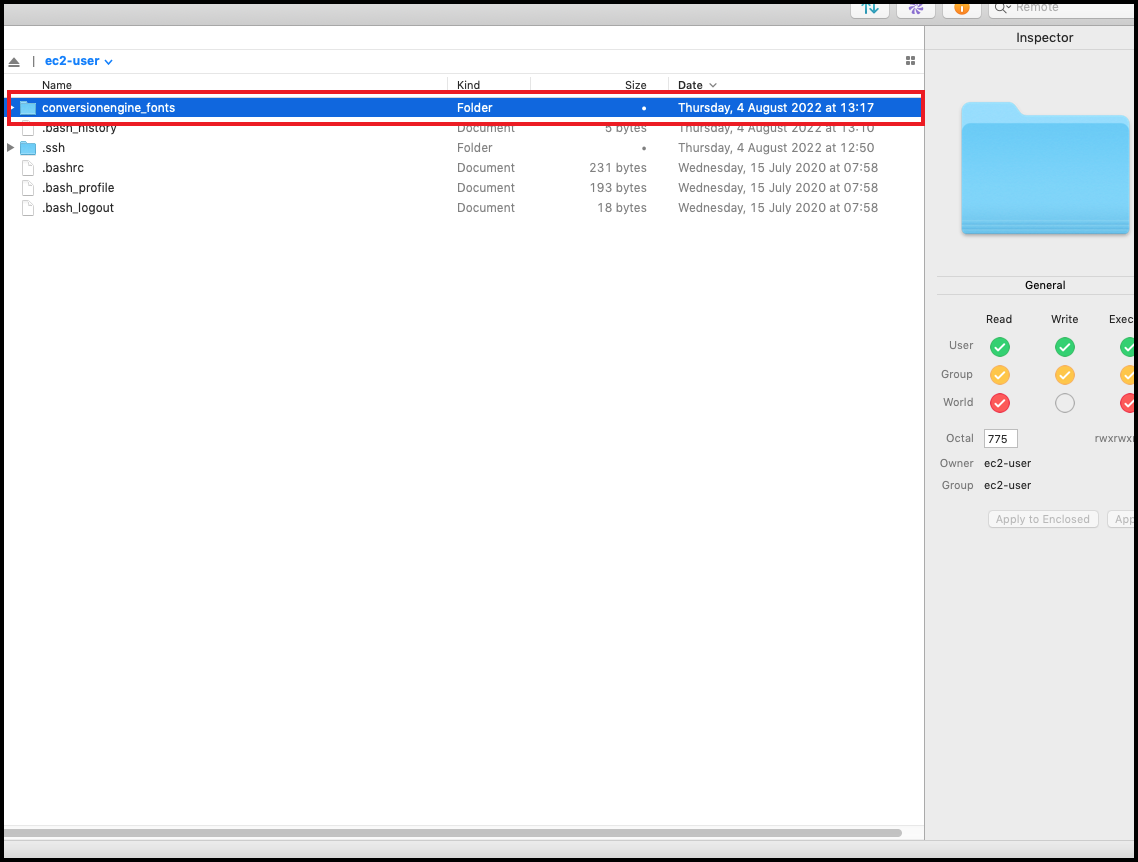
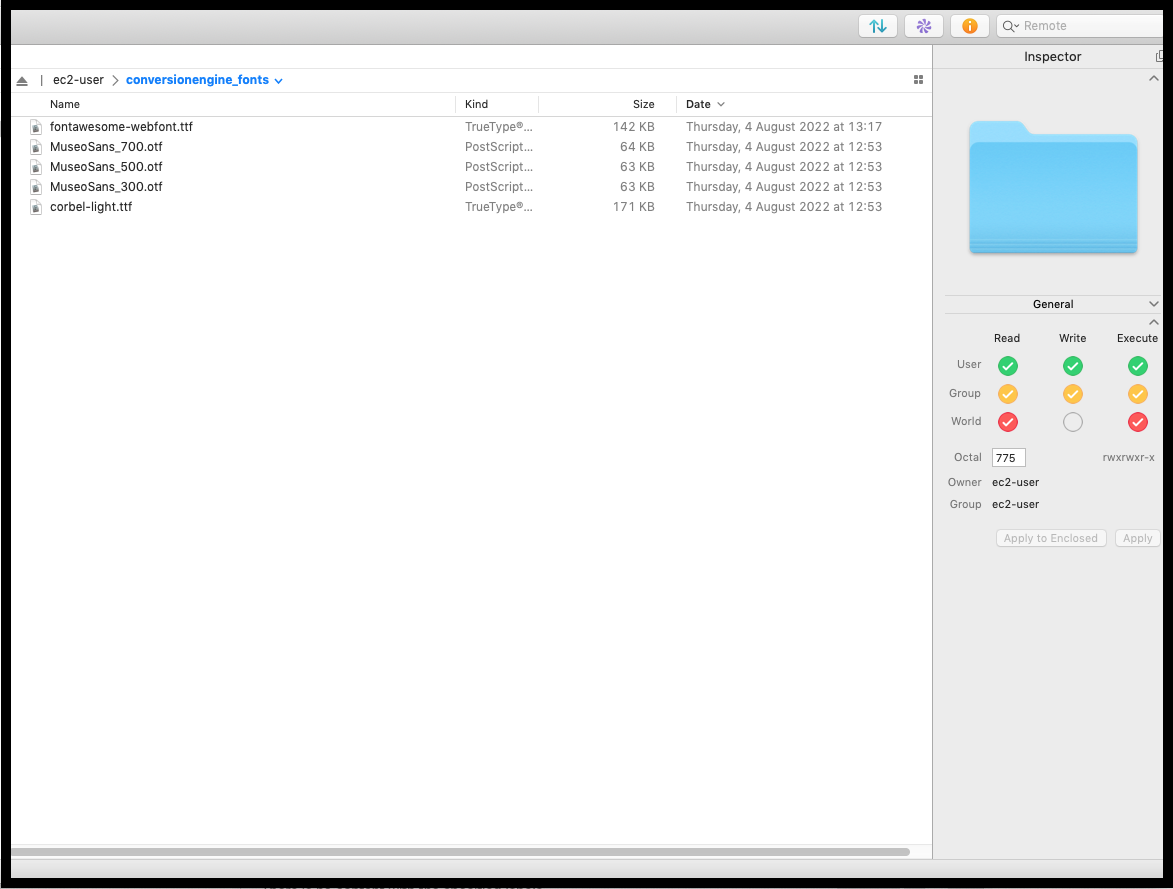
Upload all fonts (in unzipped format, no folders) to conversionengine_fonts folder.
A cronjob works every 15 minutes in Conversion Engines that will sync fonts in the folder. This works on all Conversion Engines. If there is no error then the uploaded Custom Fonts will automatically be updated in the next 15 minutes after uploading.
Also, we may add the new font name to this excel to check which fonts had been already installed.
Existing Fonts
Pitcher Conversion Engine uses a predefined list of fonts. Please visit the following link for the list of fonts that are built into the conversion engine:
https://en.wikipedia.org/wiki/List_of_typefaces_included_with_macOS