Detailed Calls Management in Windows
Planning Detailed Call allows to schedule detailed calls selecting pre-content materials based on customer segmentation and report pre-call notes. Planned calls will be synced to the CRM.
Planning
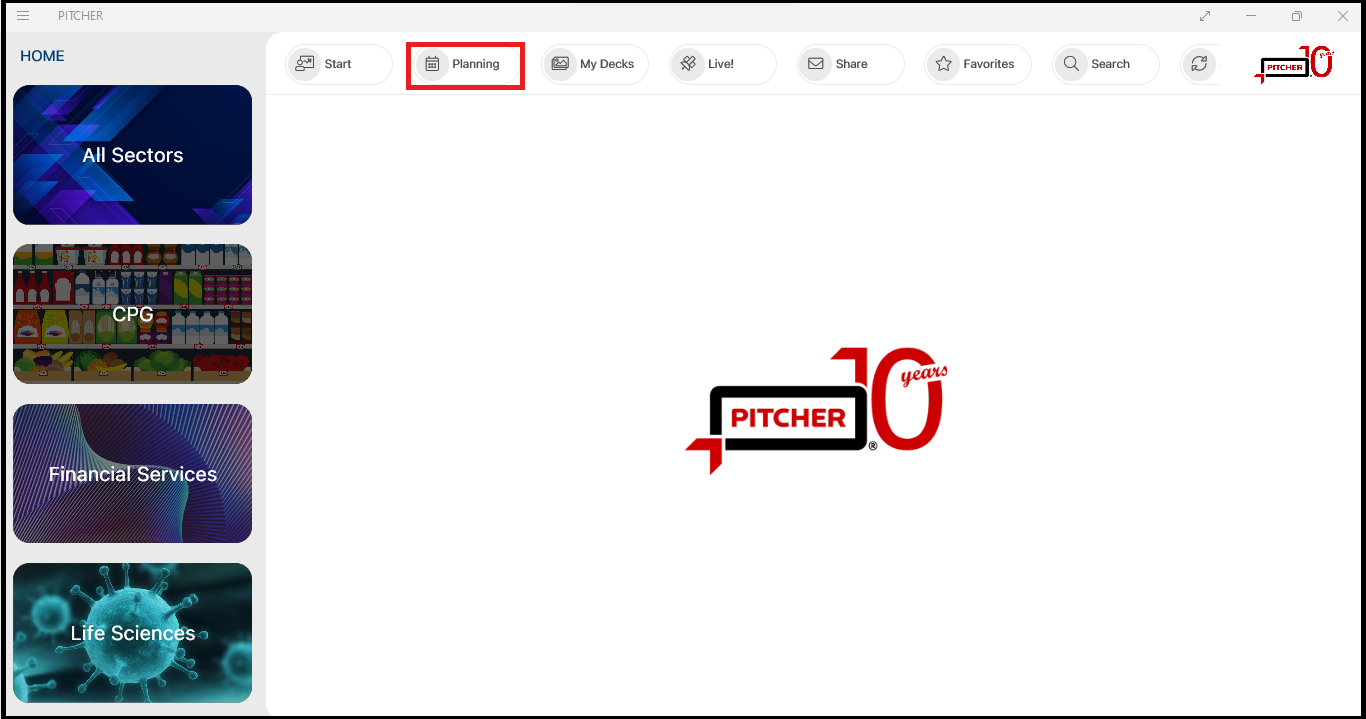
Select The Planning Button
The Planning button can be found on the home screen. With the Planning button Detailed call can be planned.
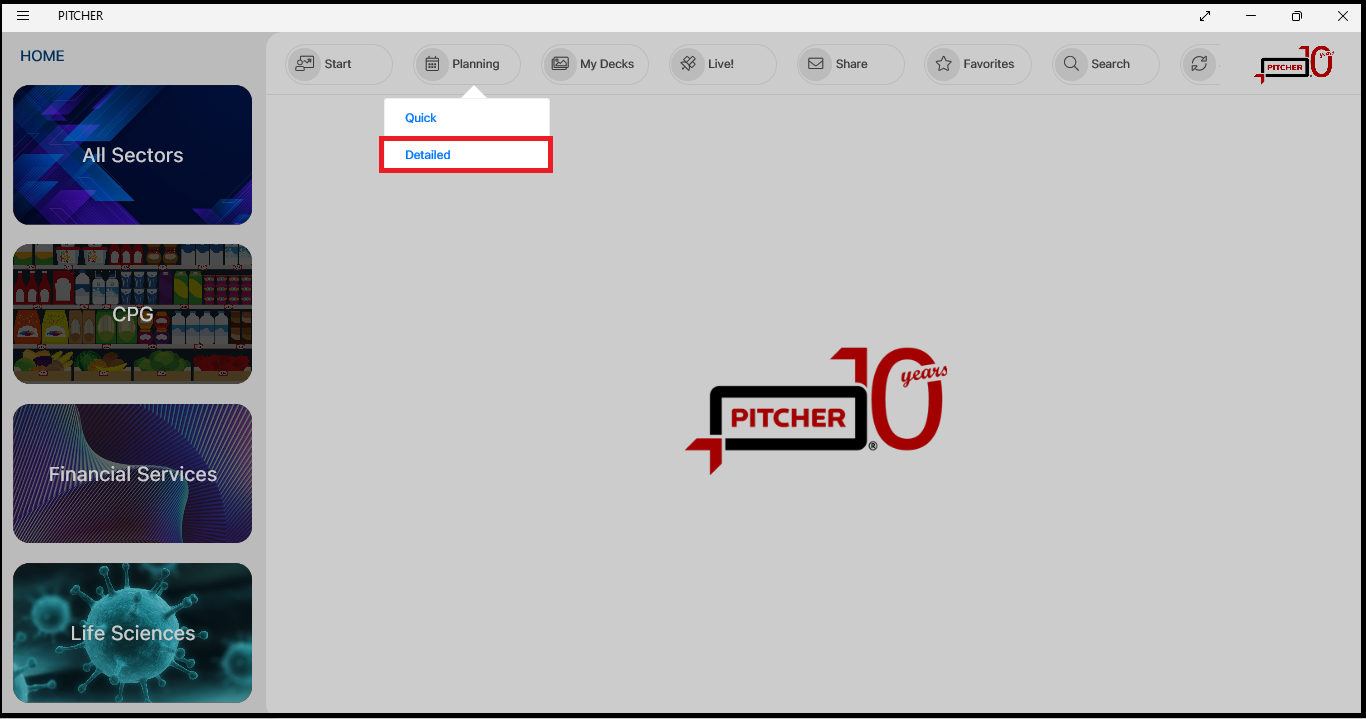
Choose the Detailed option
After clicking the Planning button, two options would be displayed for the user to select. Detailed option needs to be selected for planning Detailed call.
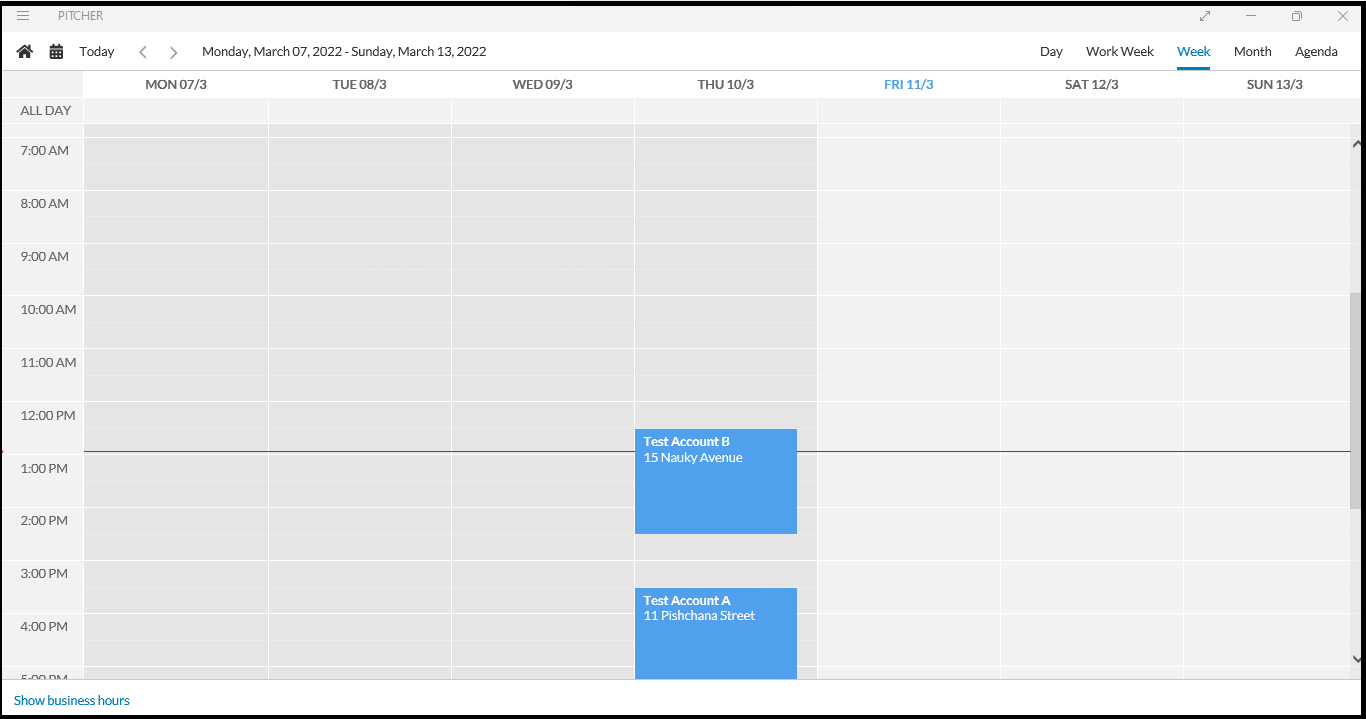
Choose call date for the planned call
Once the user clicks on the Detailed option a calendar will open where user can select the date and time for the call.
Pre Call Note/Form
Once the user double taps on the entry in calendar, A Pre Call note/form opens which allows user to add/edit various details
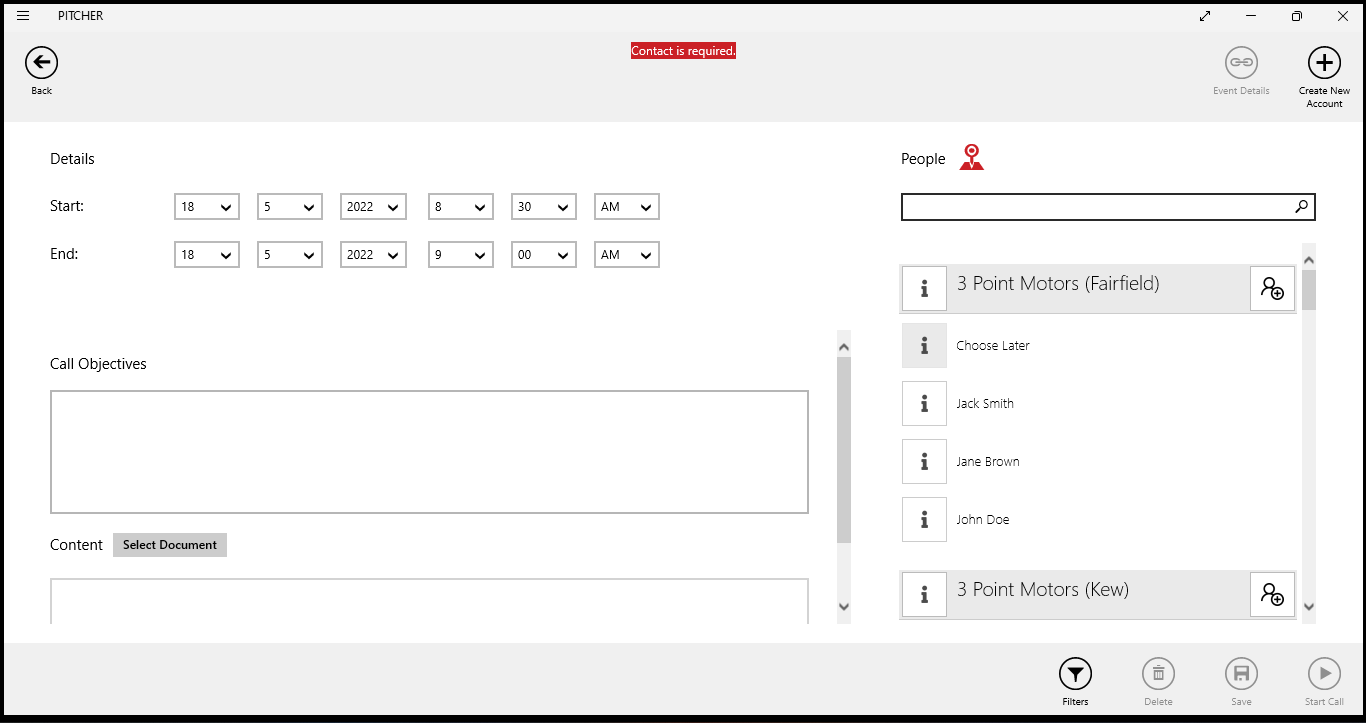
Choose Contact
It allows to select contact from the displayed list or by searching the contact in the search bar. It also allows to adjust start and end date as well as time.
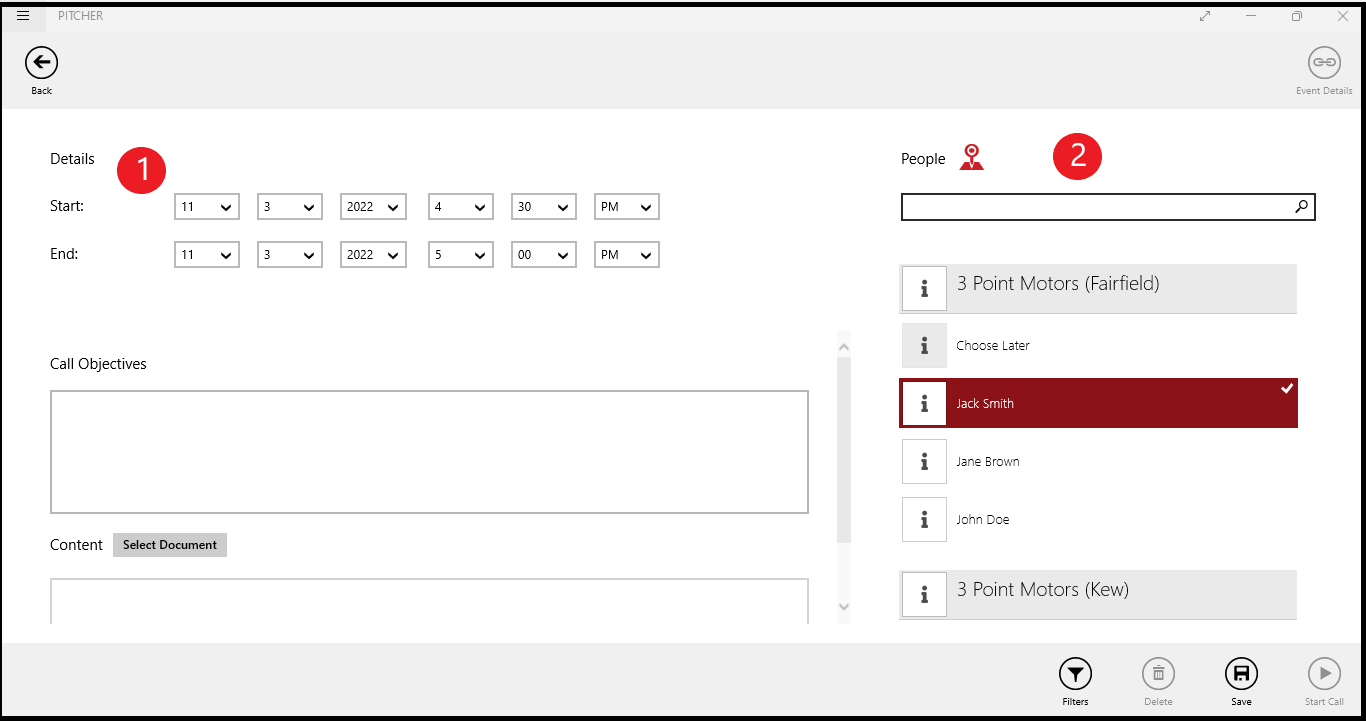
Start date ,time and also End date, time can also be adjusted from here.
Contact/Contacts can be either selected from the list or can be searched in the search bar.
The Map
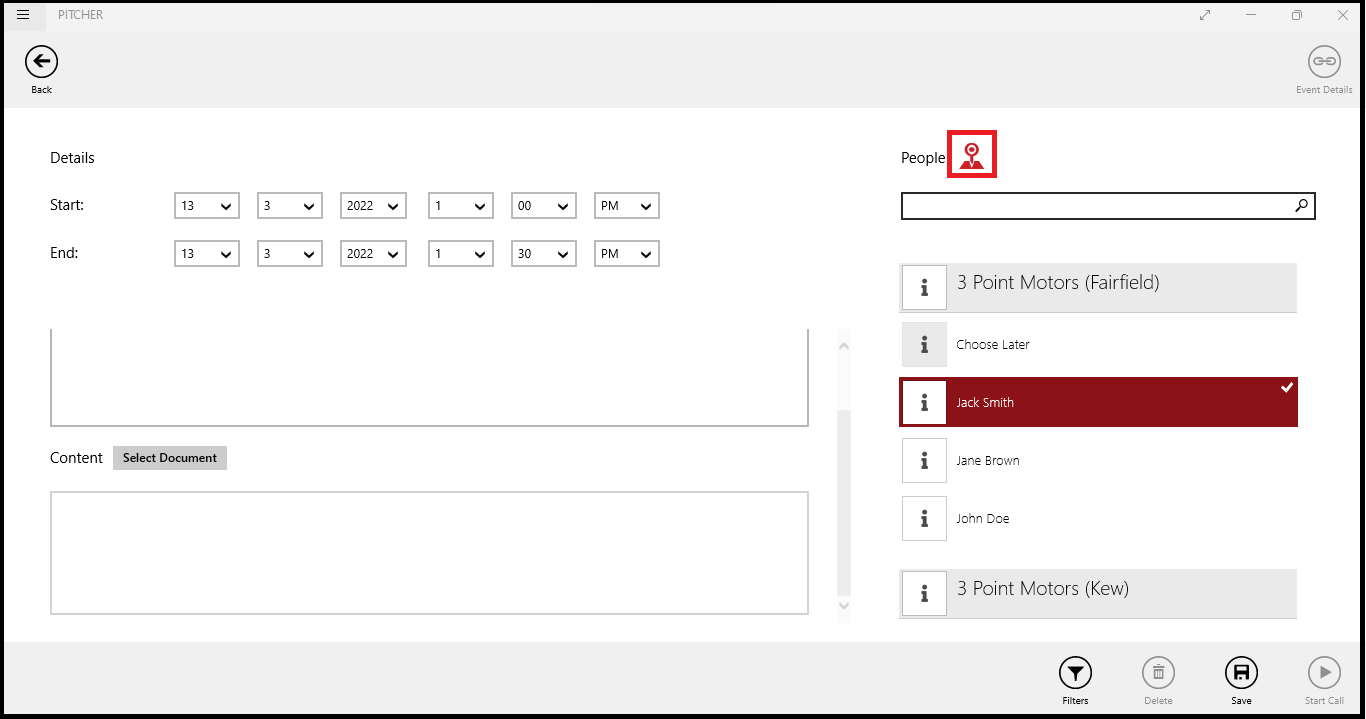
The map can be opened by clicking the pin button. Map serves various purpose. See the details below
Map Details
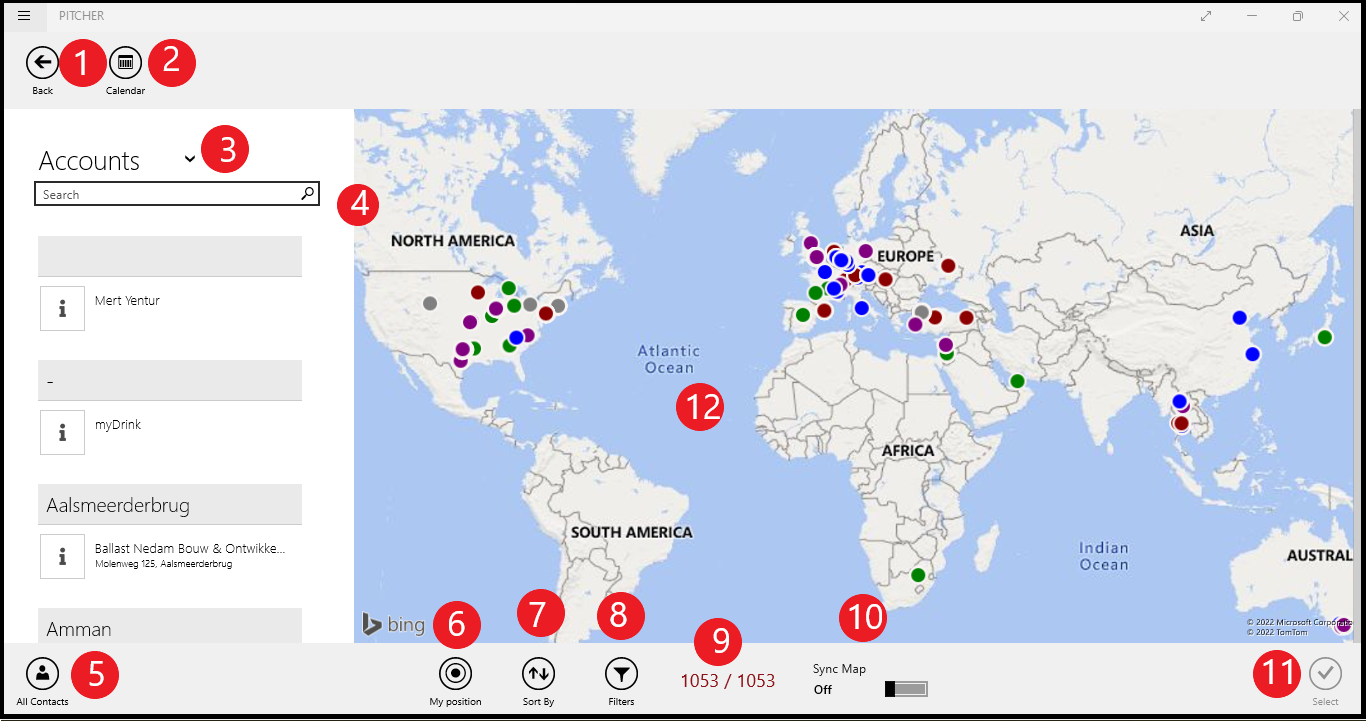
Back - Takes the user back to planning page.
Calendar - Opens the system default calendar
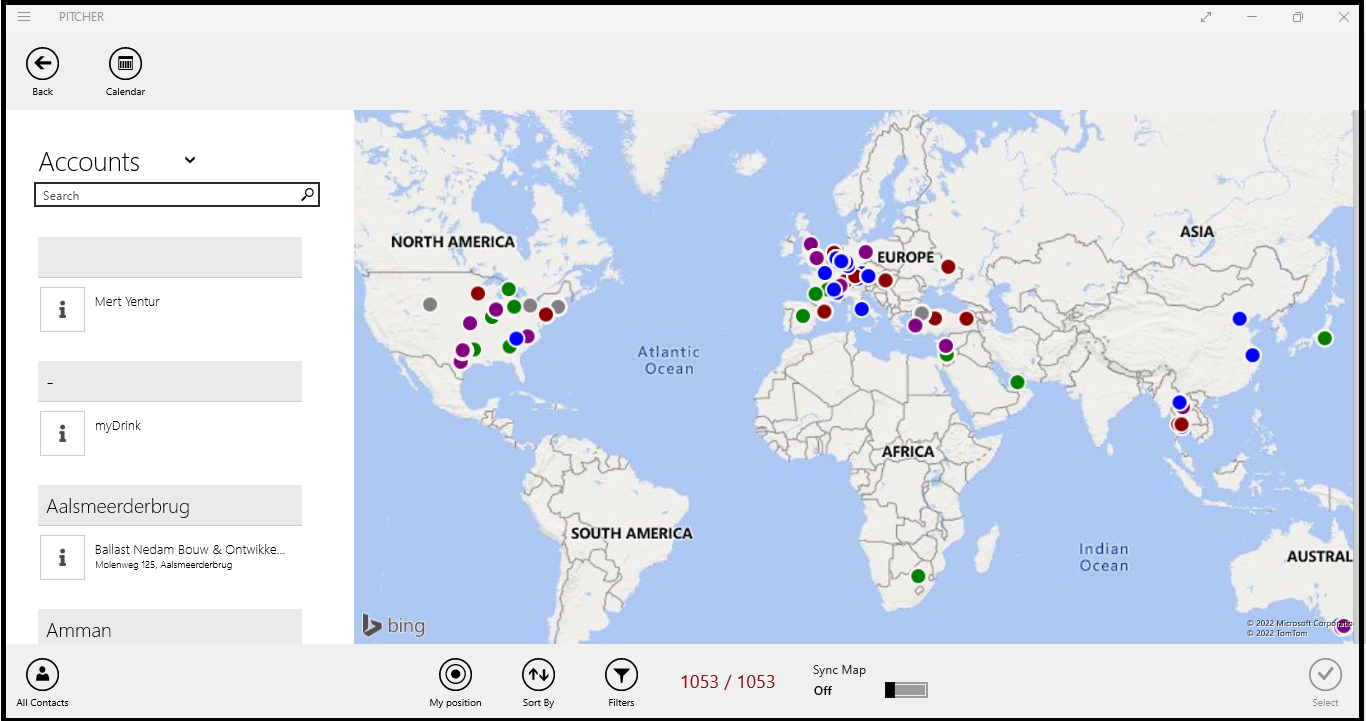
Accounts/Cities/Contacts - Allows the user to list accounts, cities and contacts.
Search Bar - Allows the user to search accounts, cities and contacts.
All Contacts - Lists all the contacts
My position - displays the user’s current location on map.
Sort By - Sorts the accounts alphabetically
Filters - Provides the filter for the accounts. Accounts not visited are displayed if selected. Filters applicable are all, 30, 60, 90 and 120 days.
No. of accounts - Displays the number of accounts on the map
Sync Map - when the sync map is on , the app only list accounts whose coordinates are viewed in the map at that point.
Select - Becomes activated after contact has been selected and then it is clicked to confirm the contact selection.
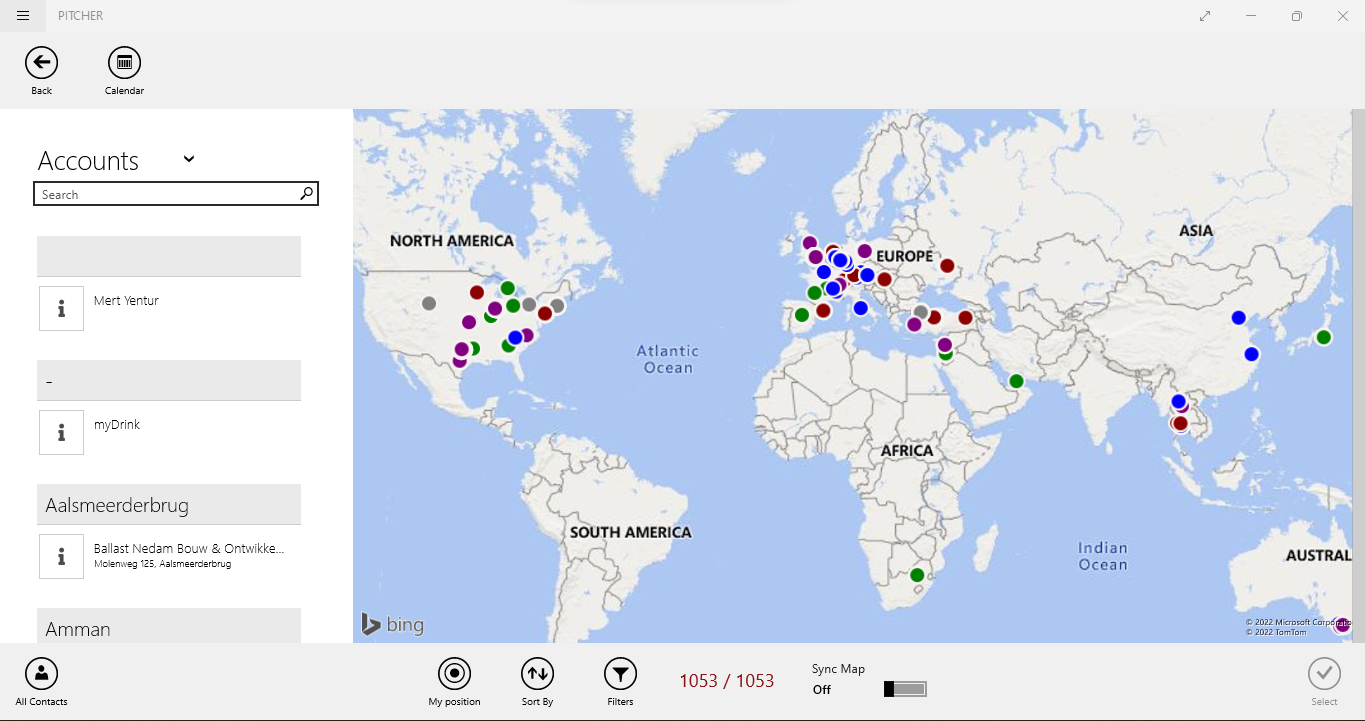
Map - Main map displayed.
Map Use Cases
Only Map option is clicked
If map option is clicked without any selected contact then all the accounts will be displayed on the map
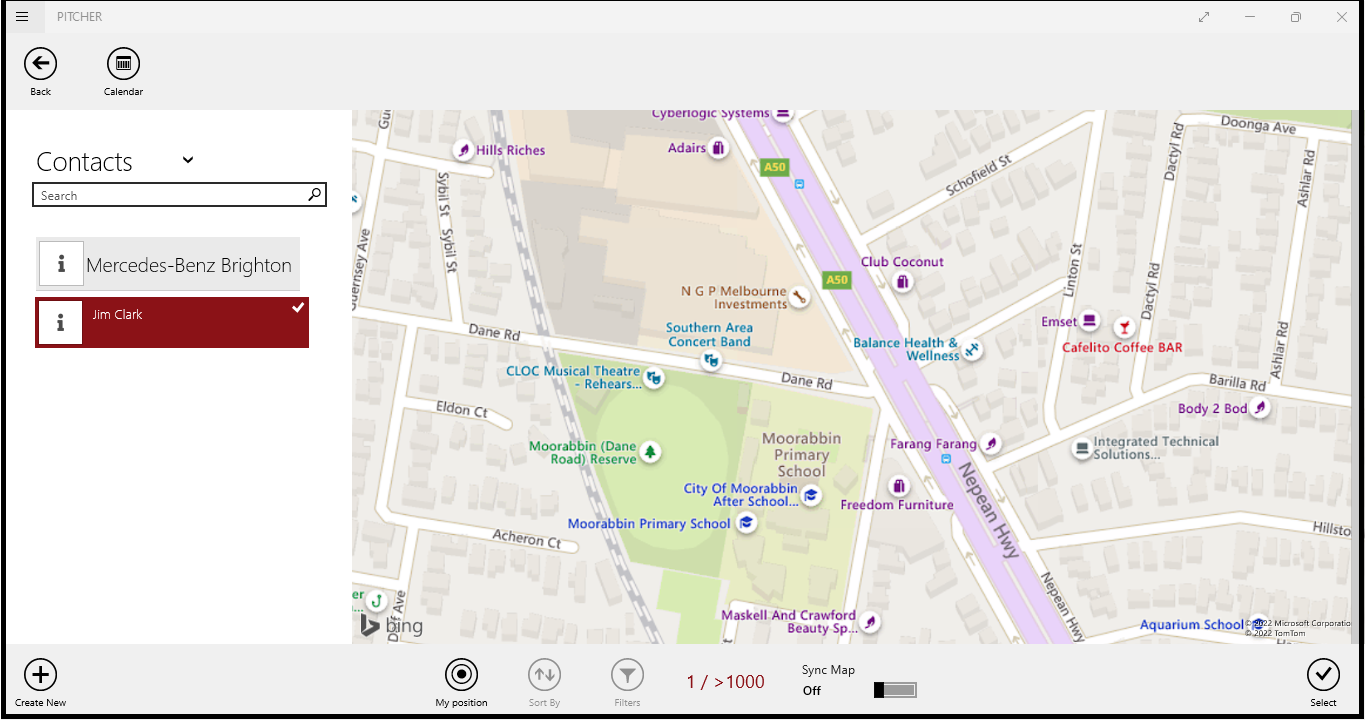
When Contact is selected and Map option is clicked
Then the contact’s location would be displayed on the map.
Search the account
The user can search the account inside full list of cities or/and inside all account menu list
Sort Accounts Alphabetically
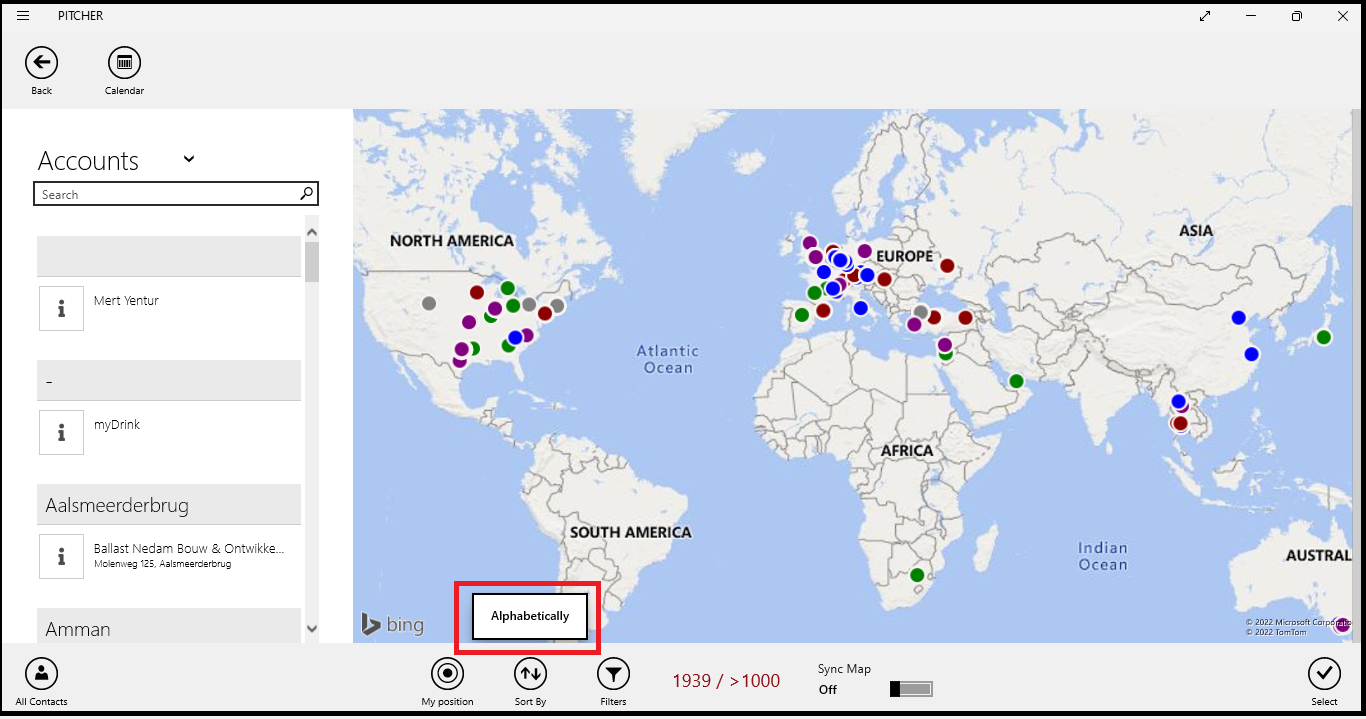
Accounts can be sort alphabetically.
Filter Criteria
Accounts can be filtered based on not visited.
In order to select contact from the account, search for the account and then click on the contact. Once the contact/contacts have been selected, click on select button.
The user can also create new contact.
Create New Contact
The user can also create new contact using the option Create New
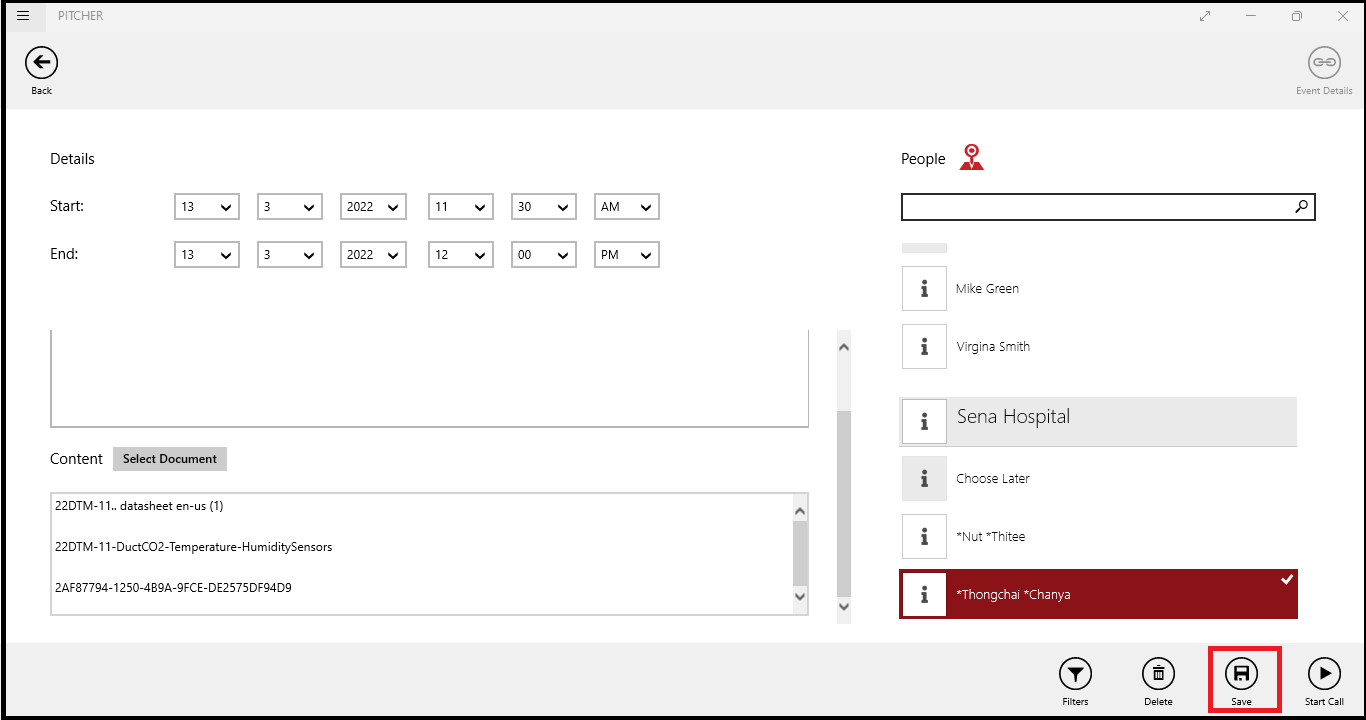
Call Objective
Give the call objective
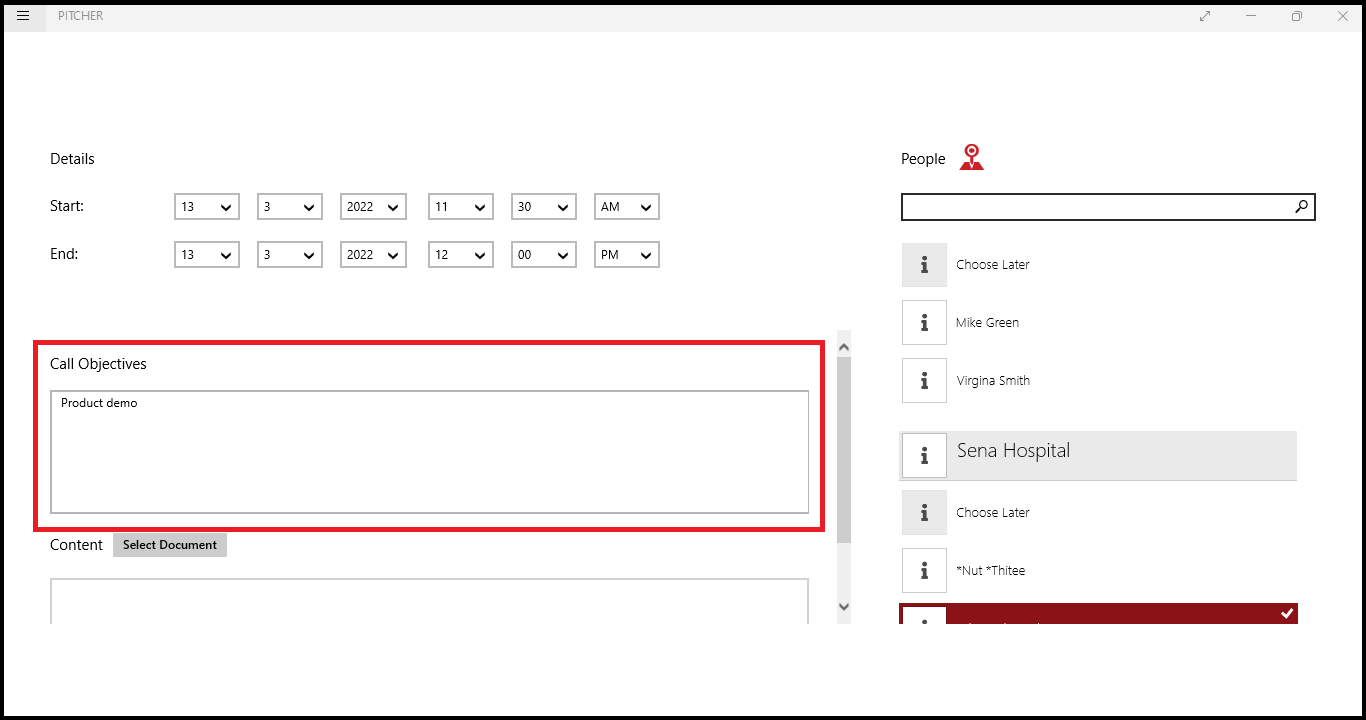
Select Document
This option allows the sales representative to attach content that will be shared with the user during the call.
Select Document to add specific content to show during this call.
It is possible to add specific content for each contact selecting the contact first
Finalize Call
To finalize the call save button has to be clicked.
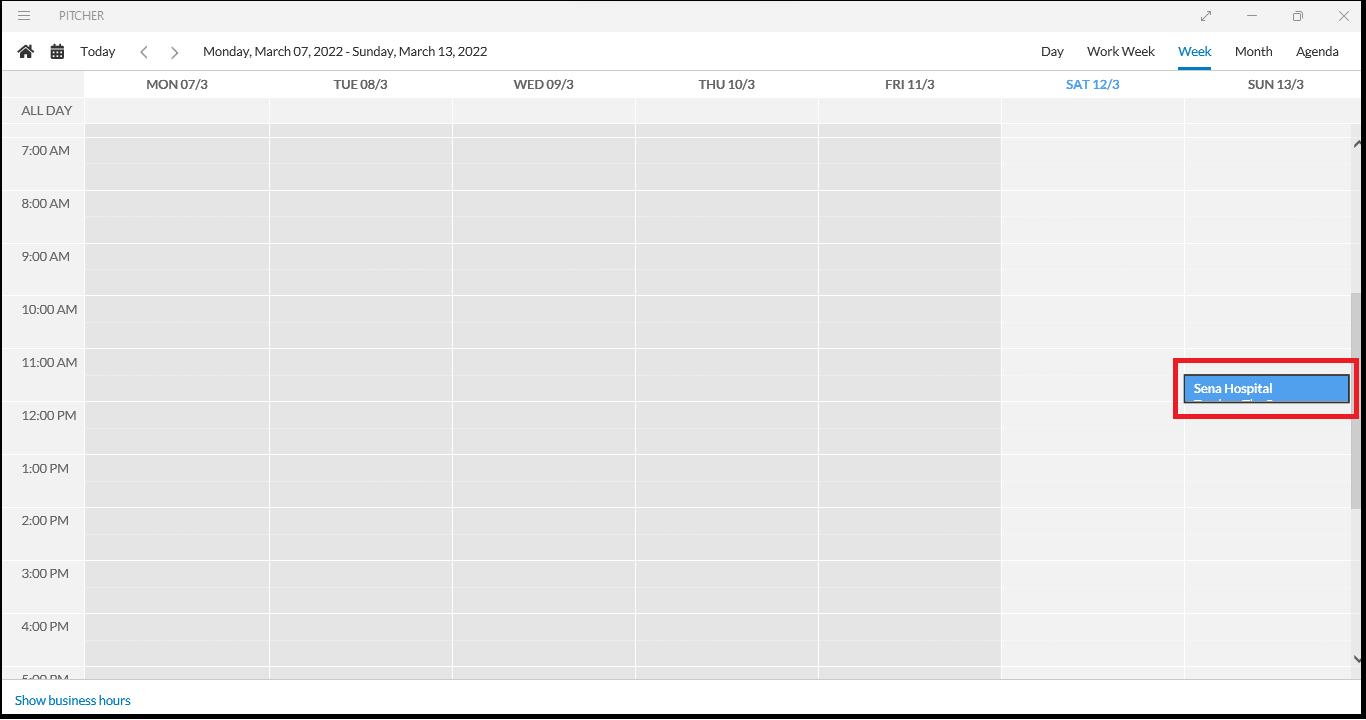
Check the Finalized Call in the Calendar
Once the call is finalized it will appear on the Calendar.
Replanning
Calls can be replanned using various options as described below
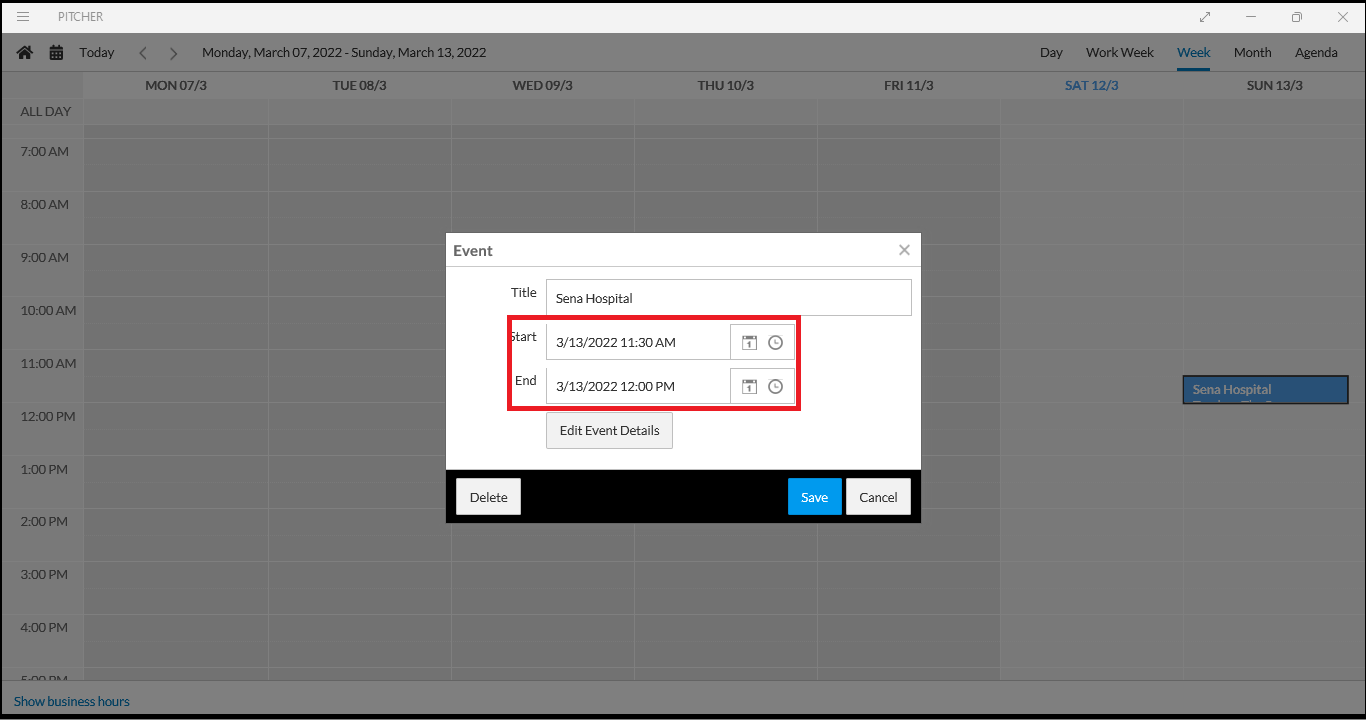
Edit The Call
The start and end time for the call can be edited by double clicking the call.
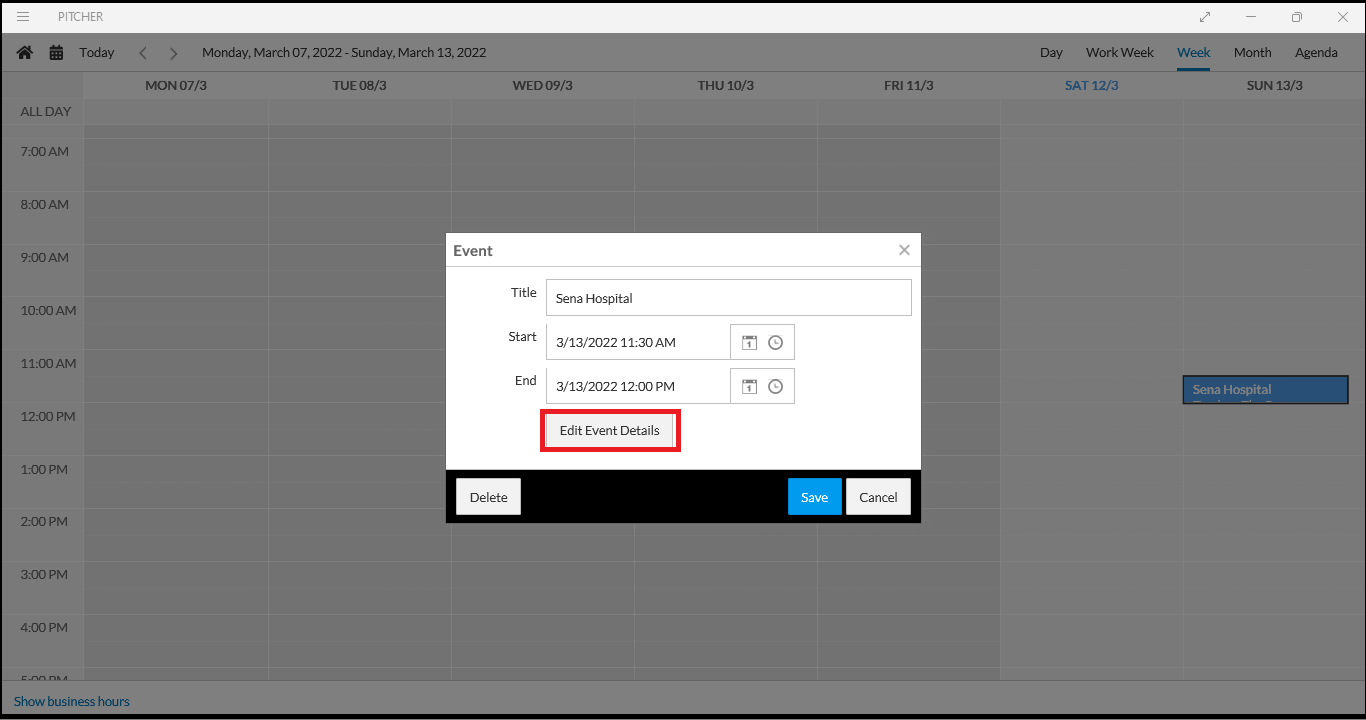
In order to edit the details of the call, click on the Edit Event Details which will open the call for further editing.
Delete The Call
There various ways through which a detailed planned call can be deleted.
via cross mark
On the calendar position the cursor on the call a x mark will appear, if clicked it will ask for confirmation to delete the call.

Via Double Clicking The Call
A detailed planned call can also be deleted by clicking on the call and a window will open for editing the call.
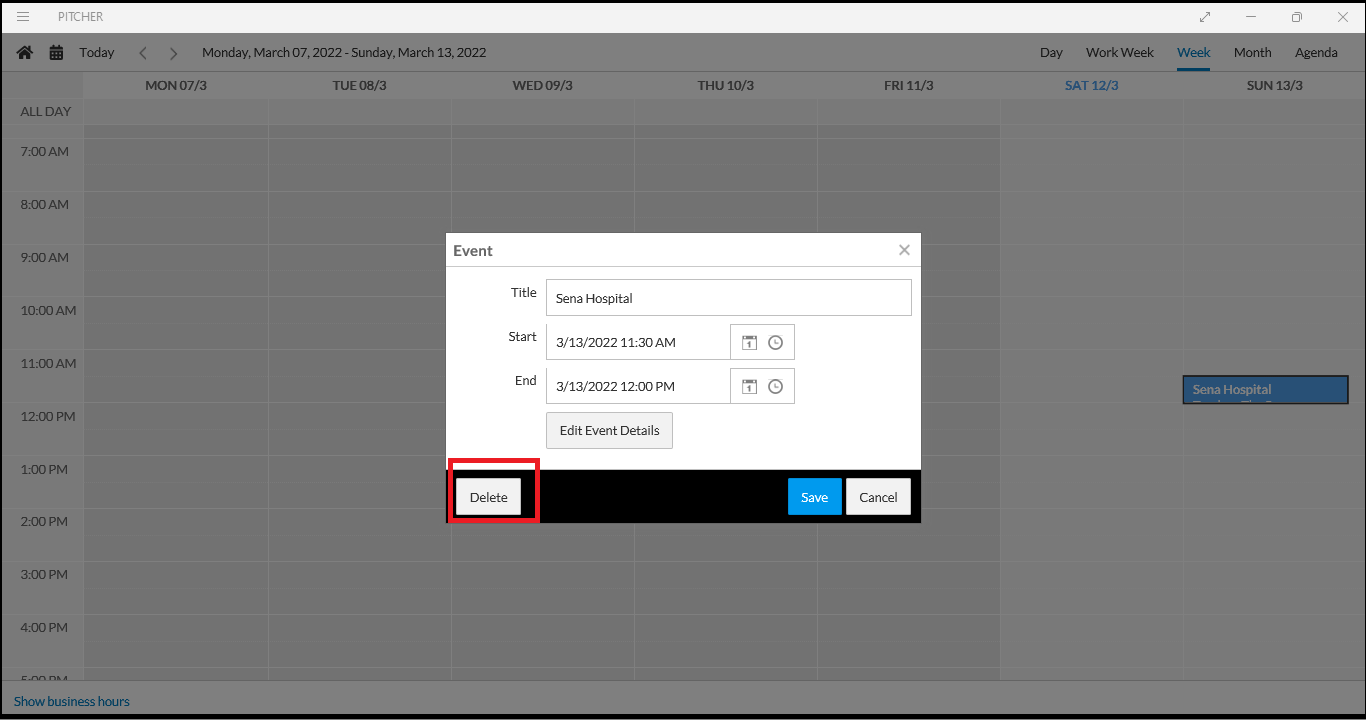
Via Edit Event Details
When Edit Event Details button is clicked Call details will be shown and the call can be deleted from there as well.
Start The Call
The call can be started by using one of the following options:
Via Start Button On Home Screen

Via Call Details Window
If there is a need to edit the call before starting it then the details of the calls can be checked and the call can be started by clicking the start button on call details window.
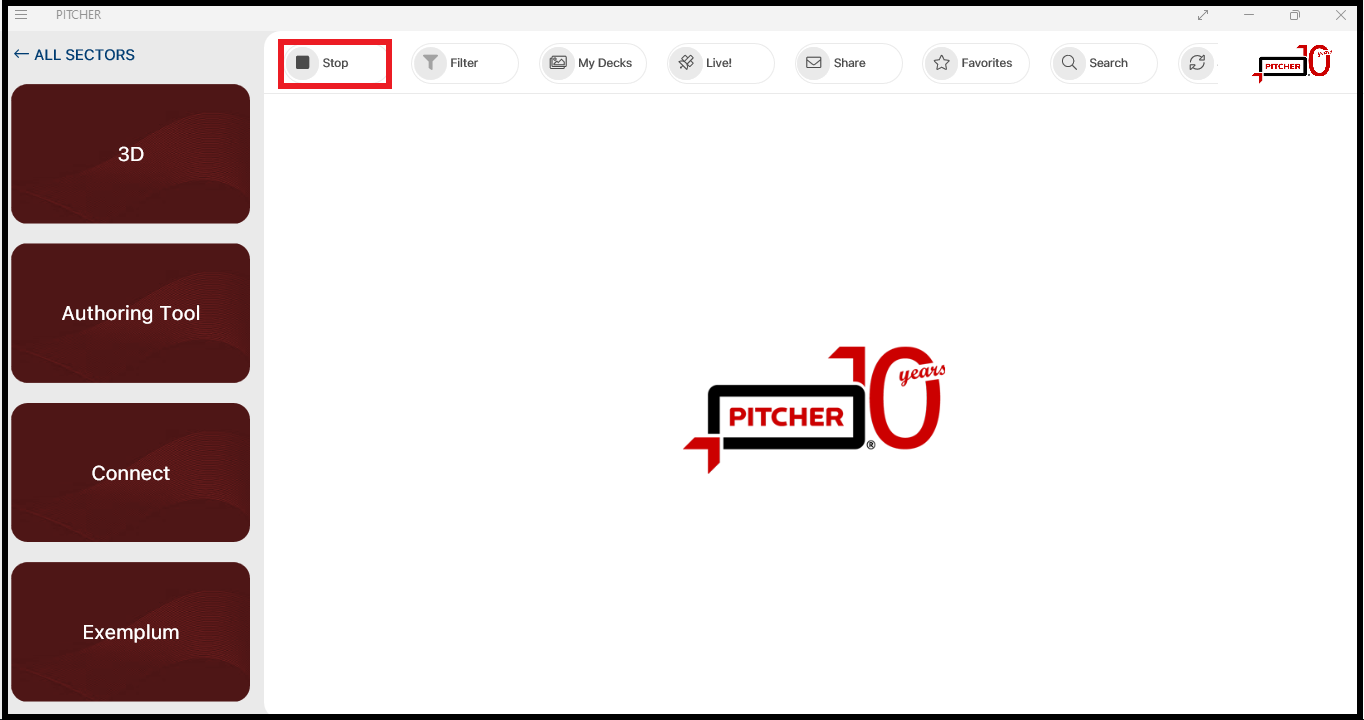
Stop The Call
Call can be stopped by clicking the stop button.
Post Call Form
After the stop button has been clicked a post call form is opened.
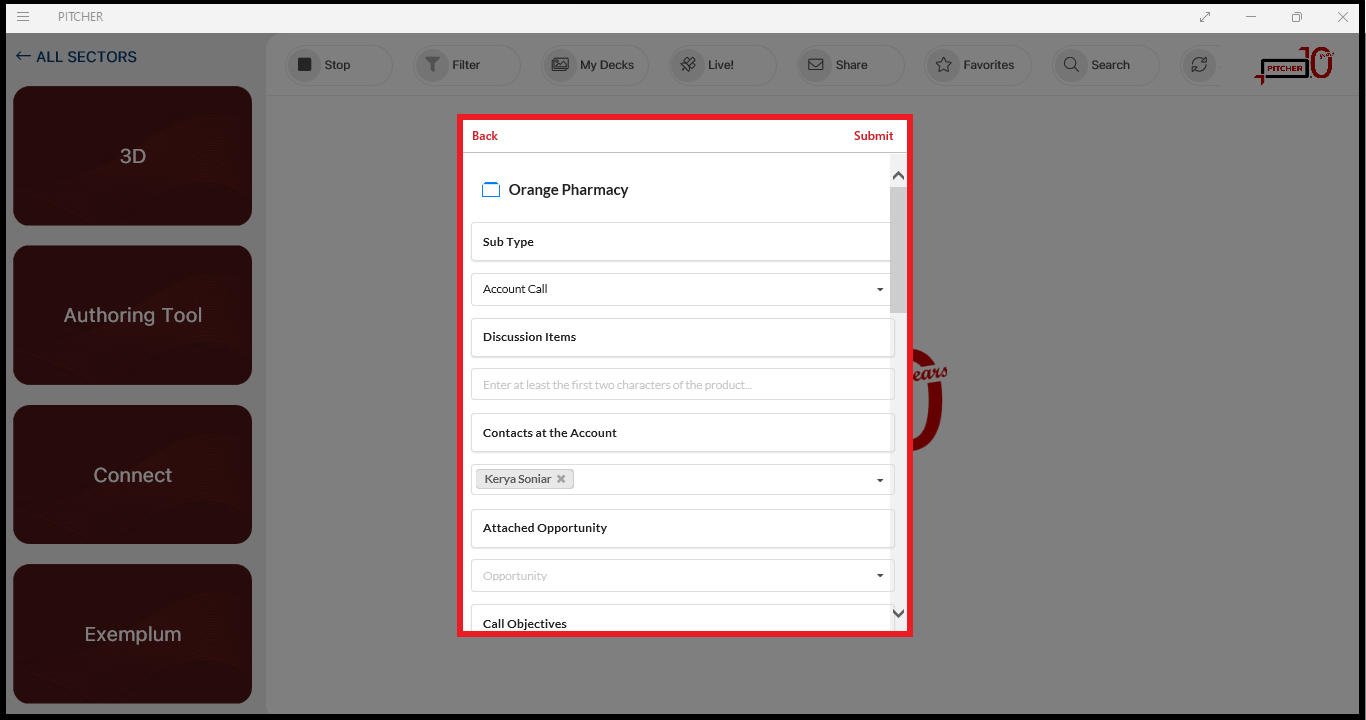
User can fill in the details and submit the post call form. The Back button provides various options.
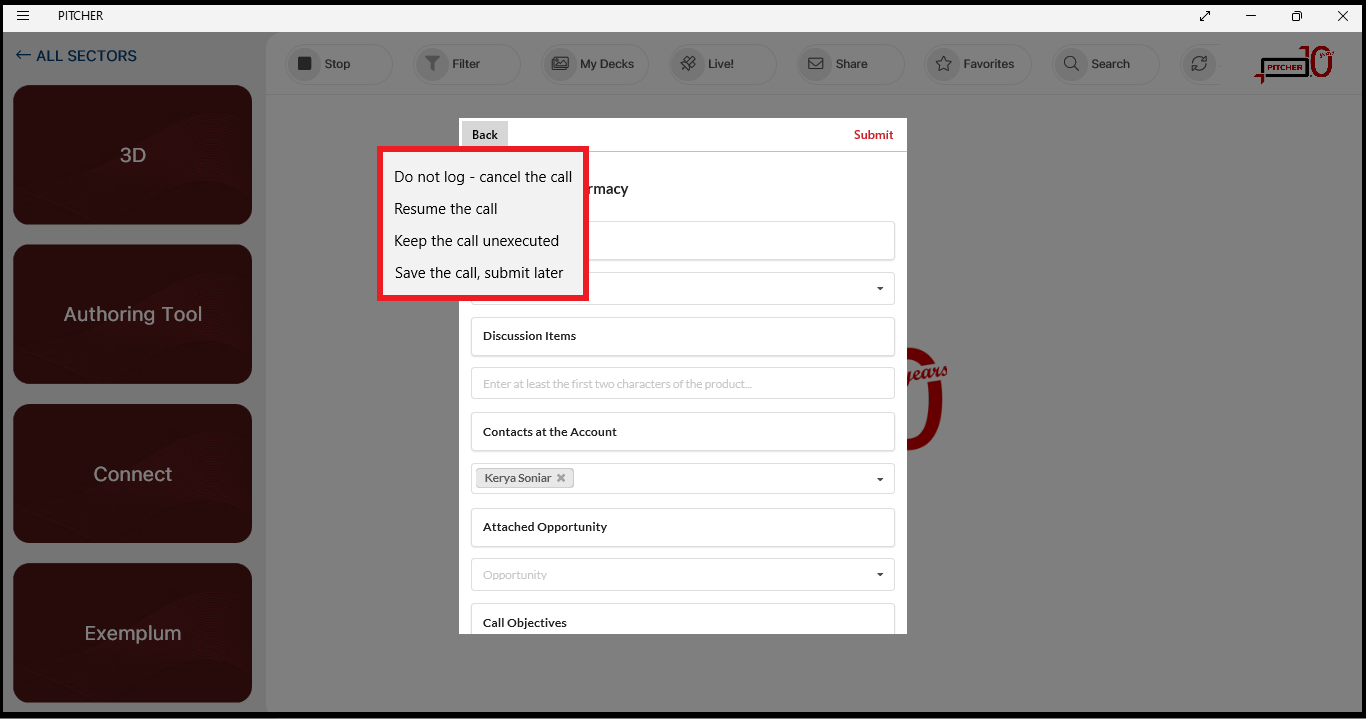
The Back Button offers the user following options:
Do not log the call and cancel the call
Resume the call and submit the post call form later.
Keep the call unexecuted
Save the call and submit post call form later.