Creating Custom Decks
Users can create custom decks from Pitcher Admin, which are available to all eligible Sales Reps on Pitcher Impact.
Note: The custom decks are only available for Sales Reps on Pitcher Impact if they have access to the files in the custom decks.
Follow these steps to create custom decks from Pitcher Admin:
Add a New Tag
Create new tags in Pitcher Admin and provide a valid name.
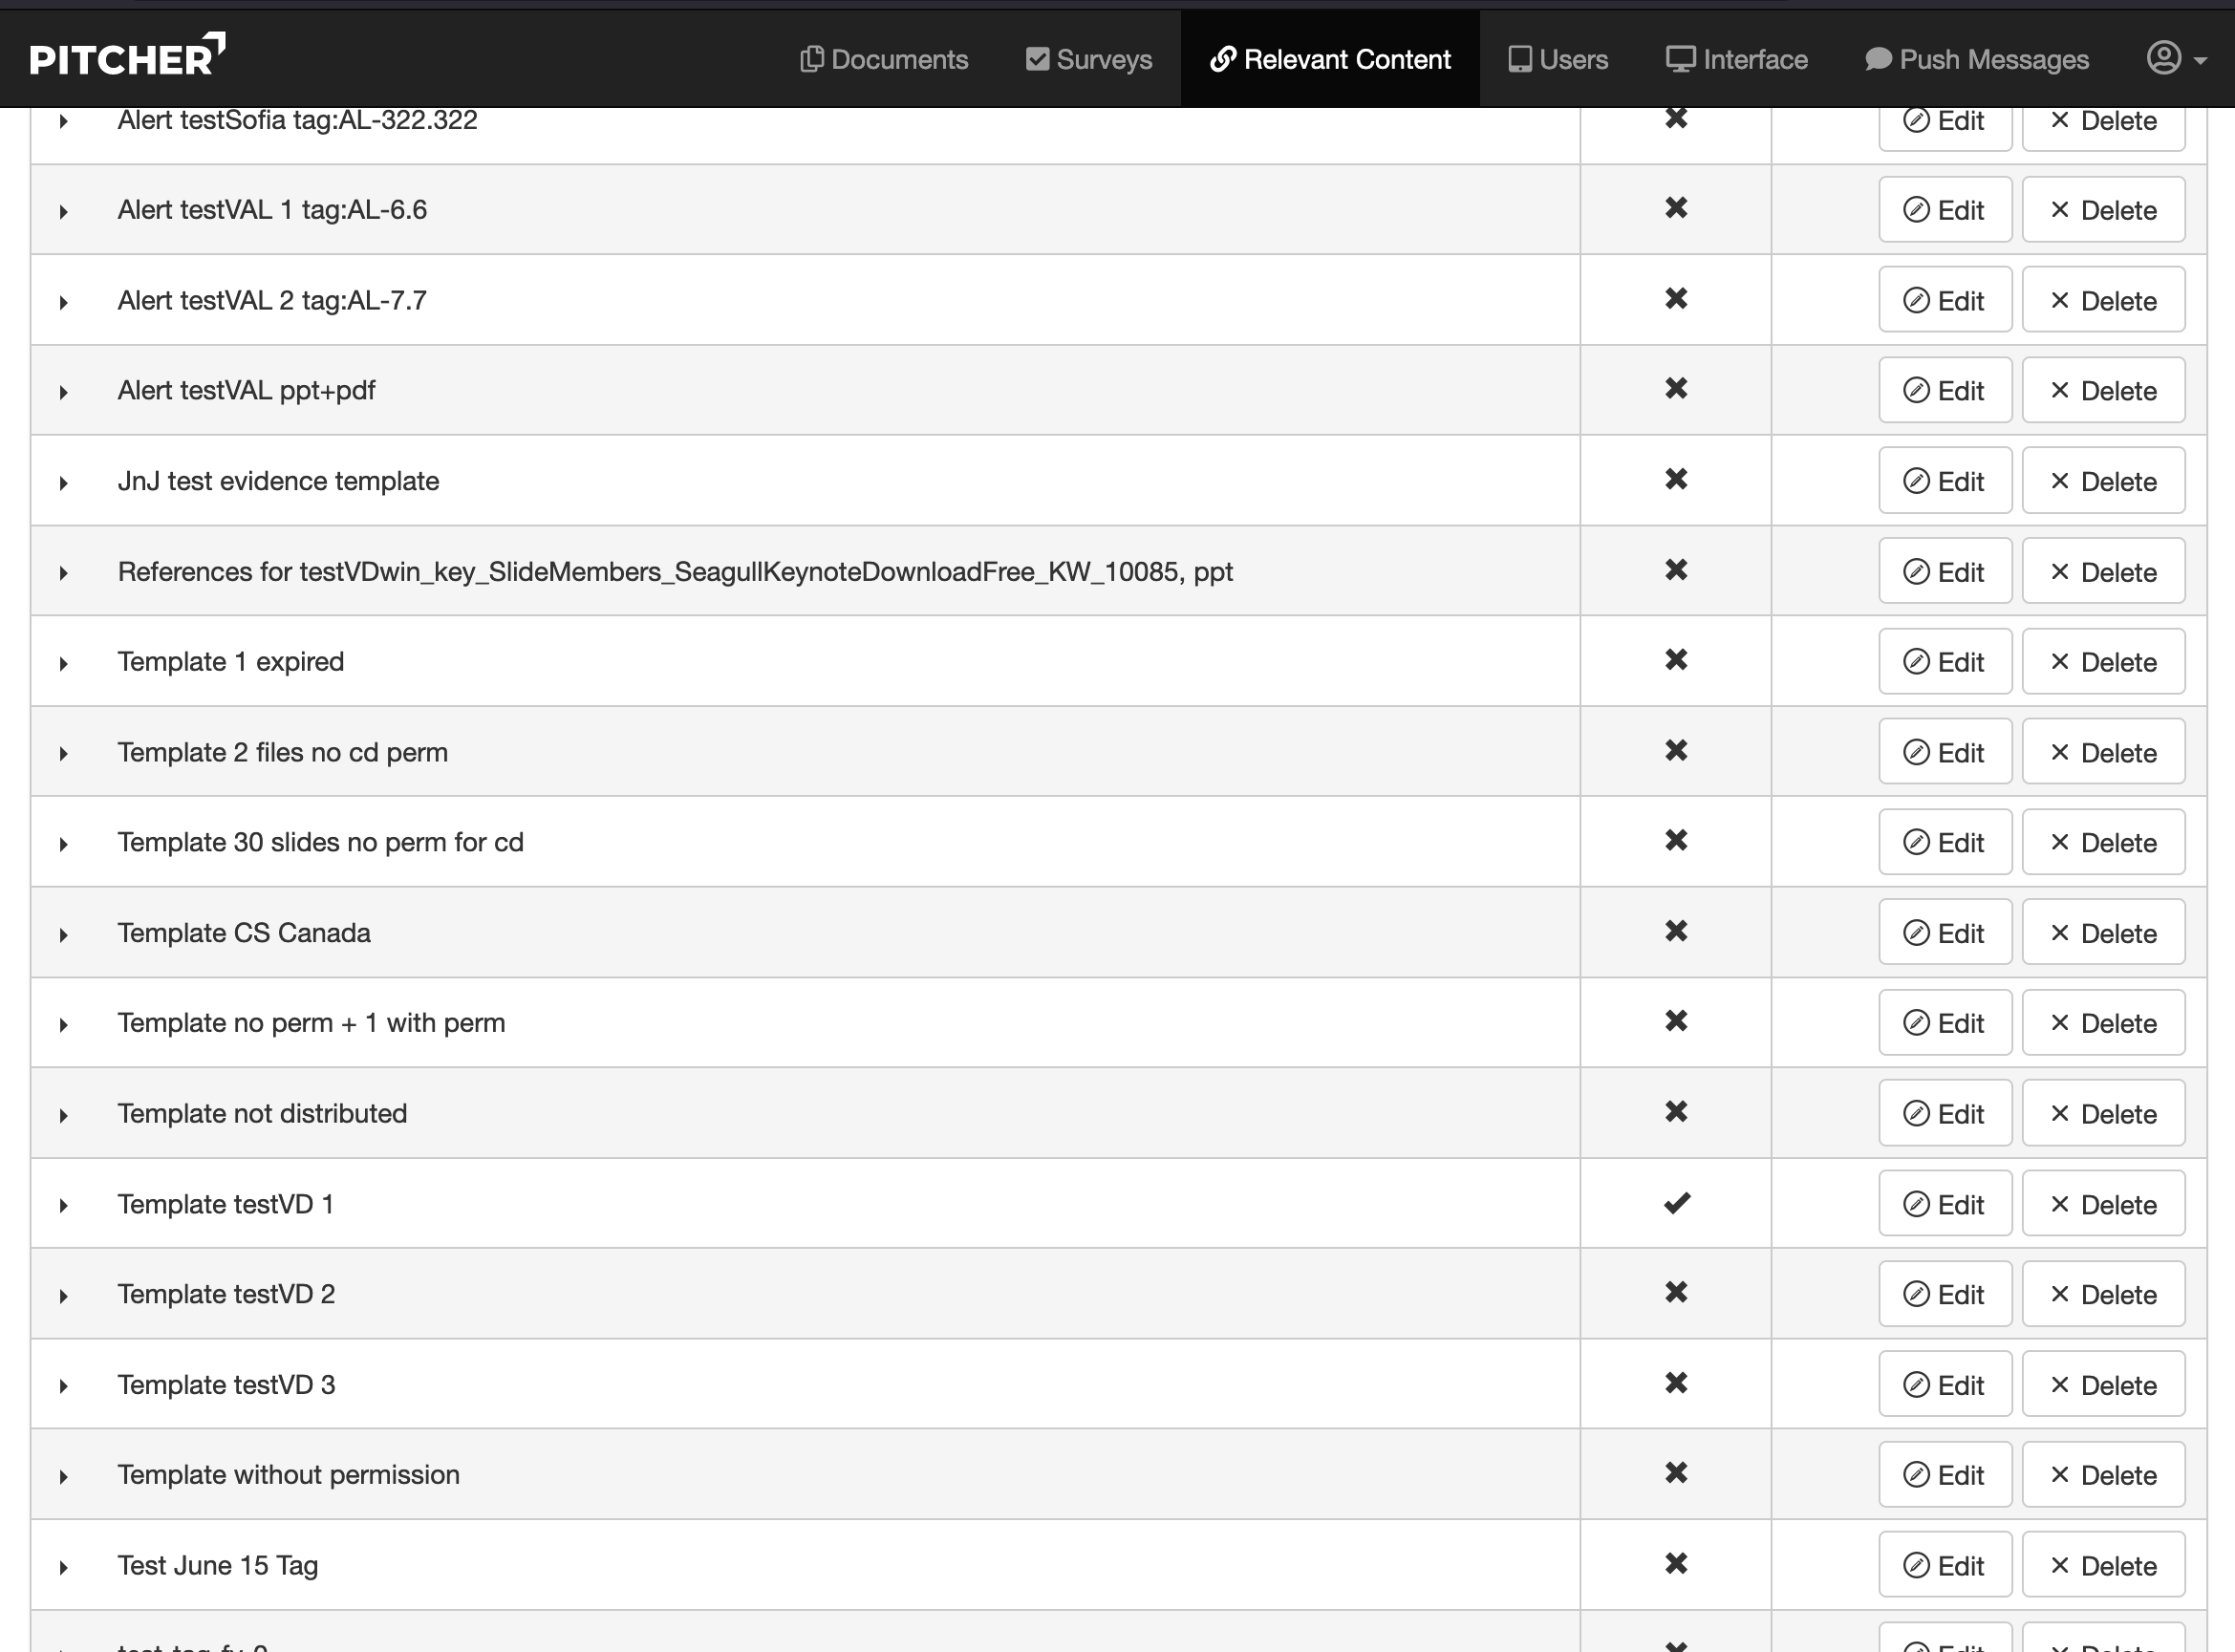
Navigate to the Relevant Content page in Pitcher Admin. The Relevant Content table displays.
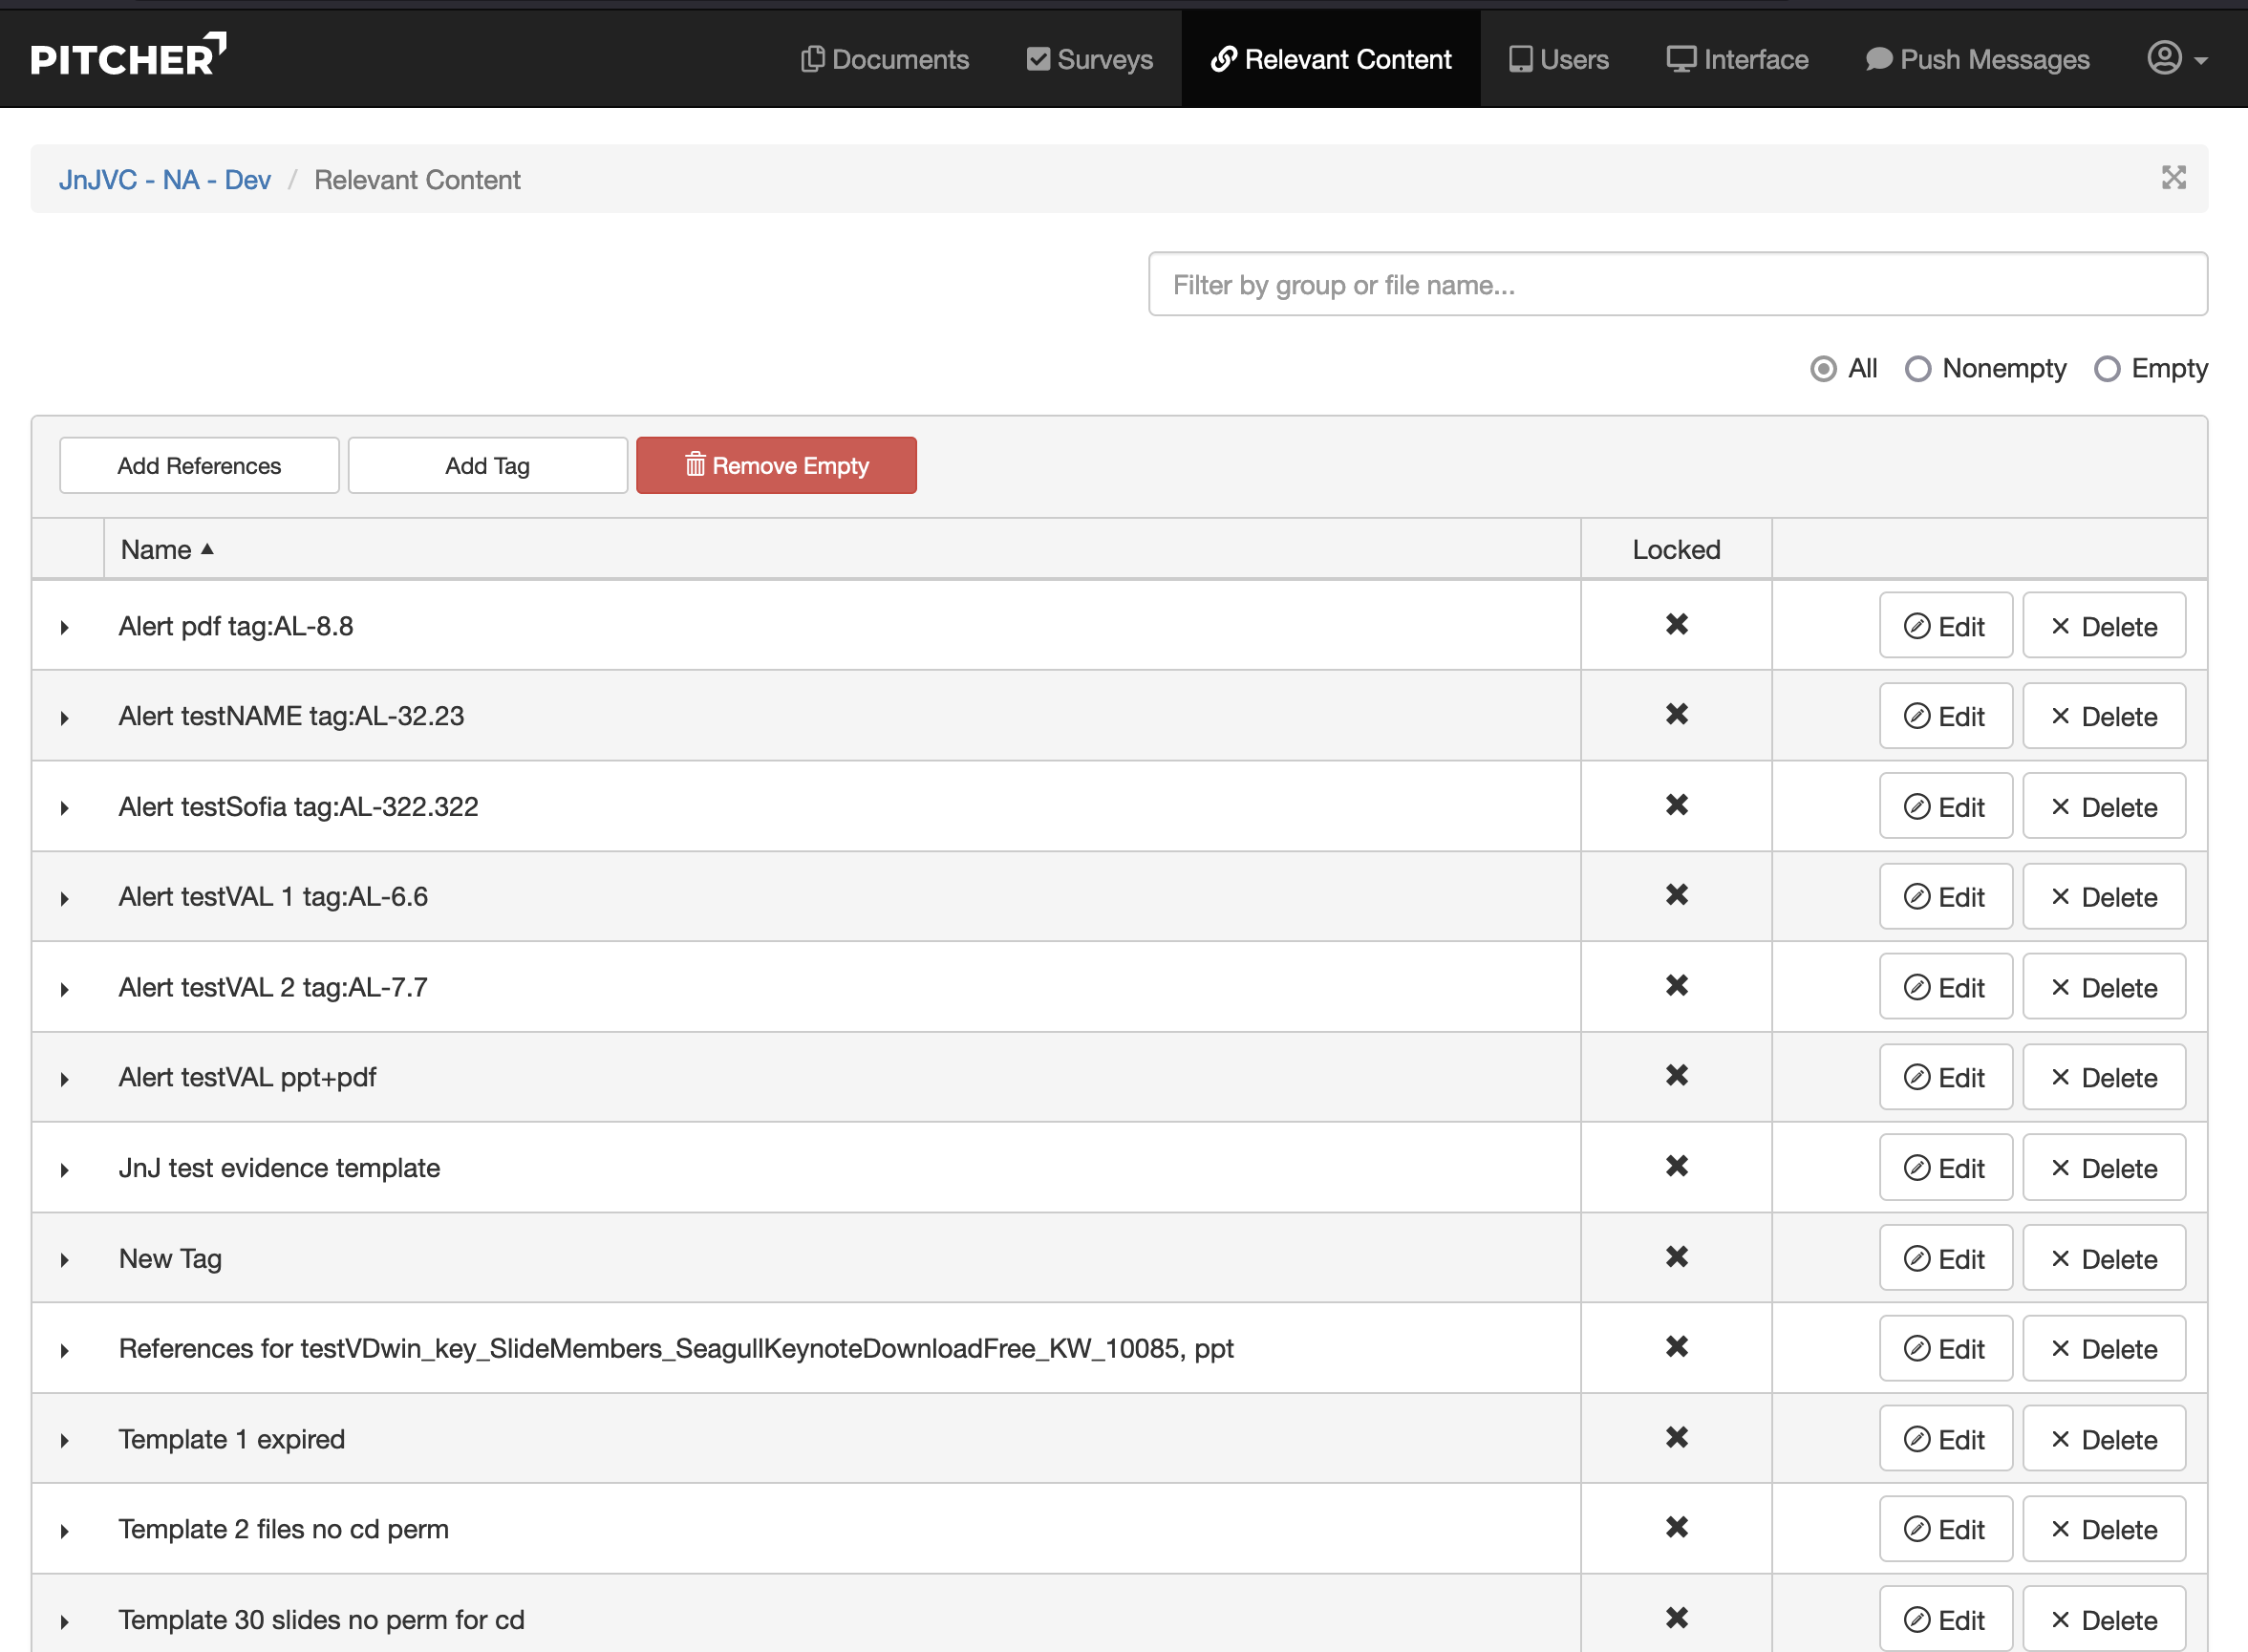
Click Add Tag. A tag with the name New Tag is added to the Relevant Content table.
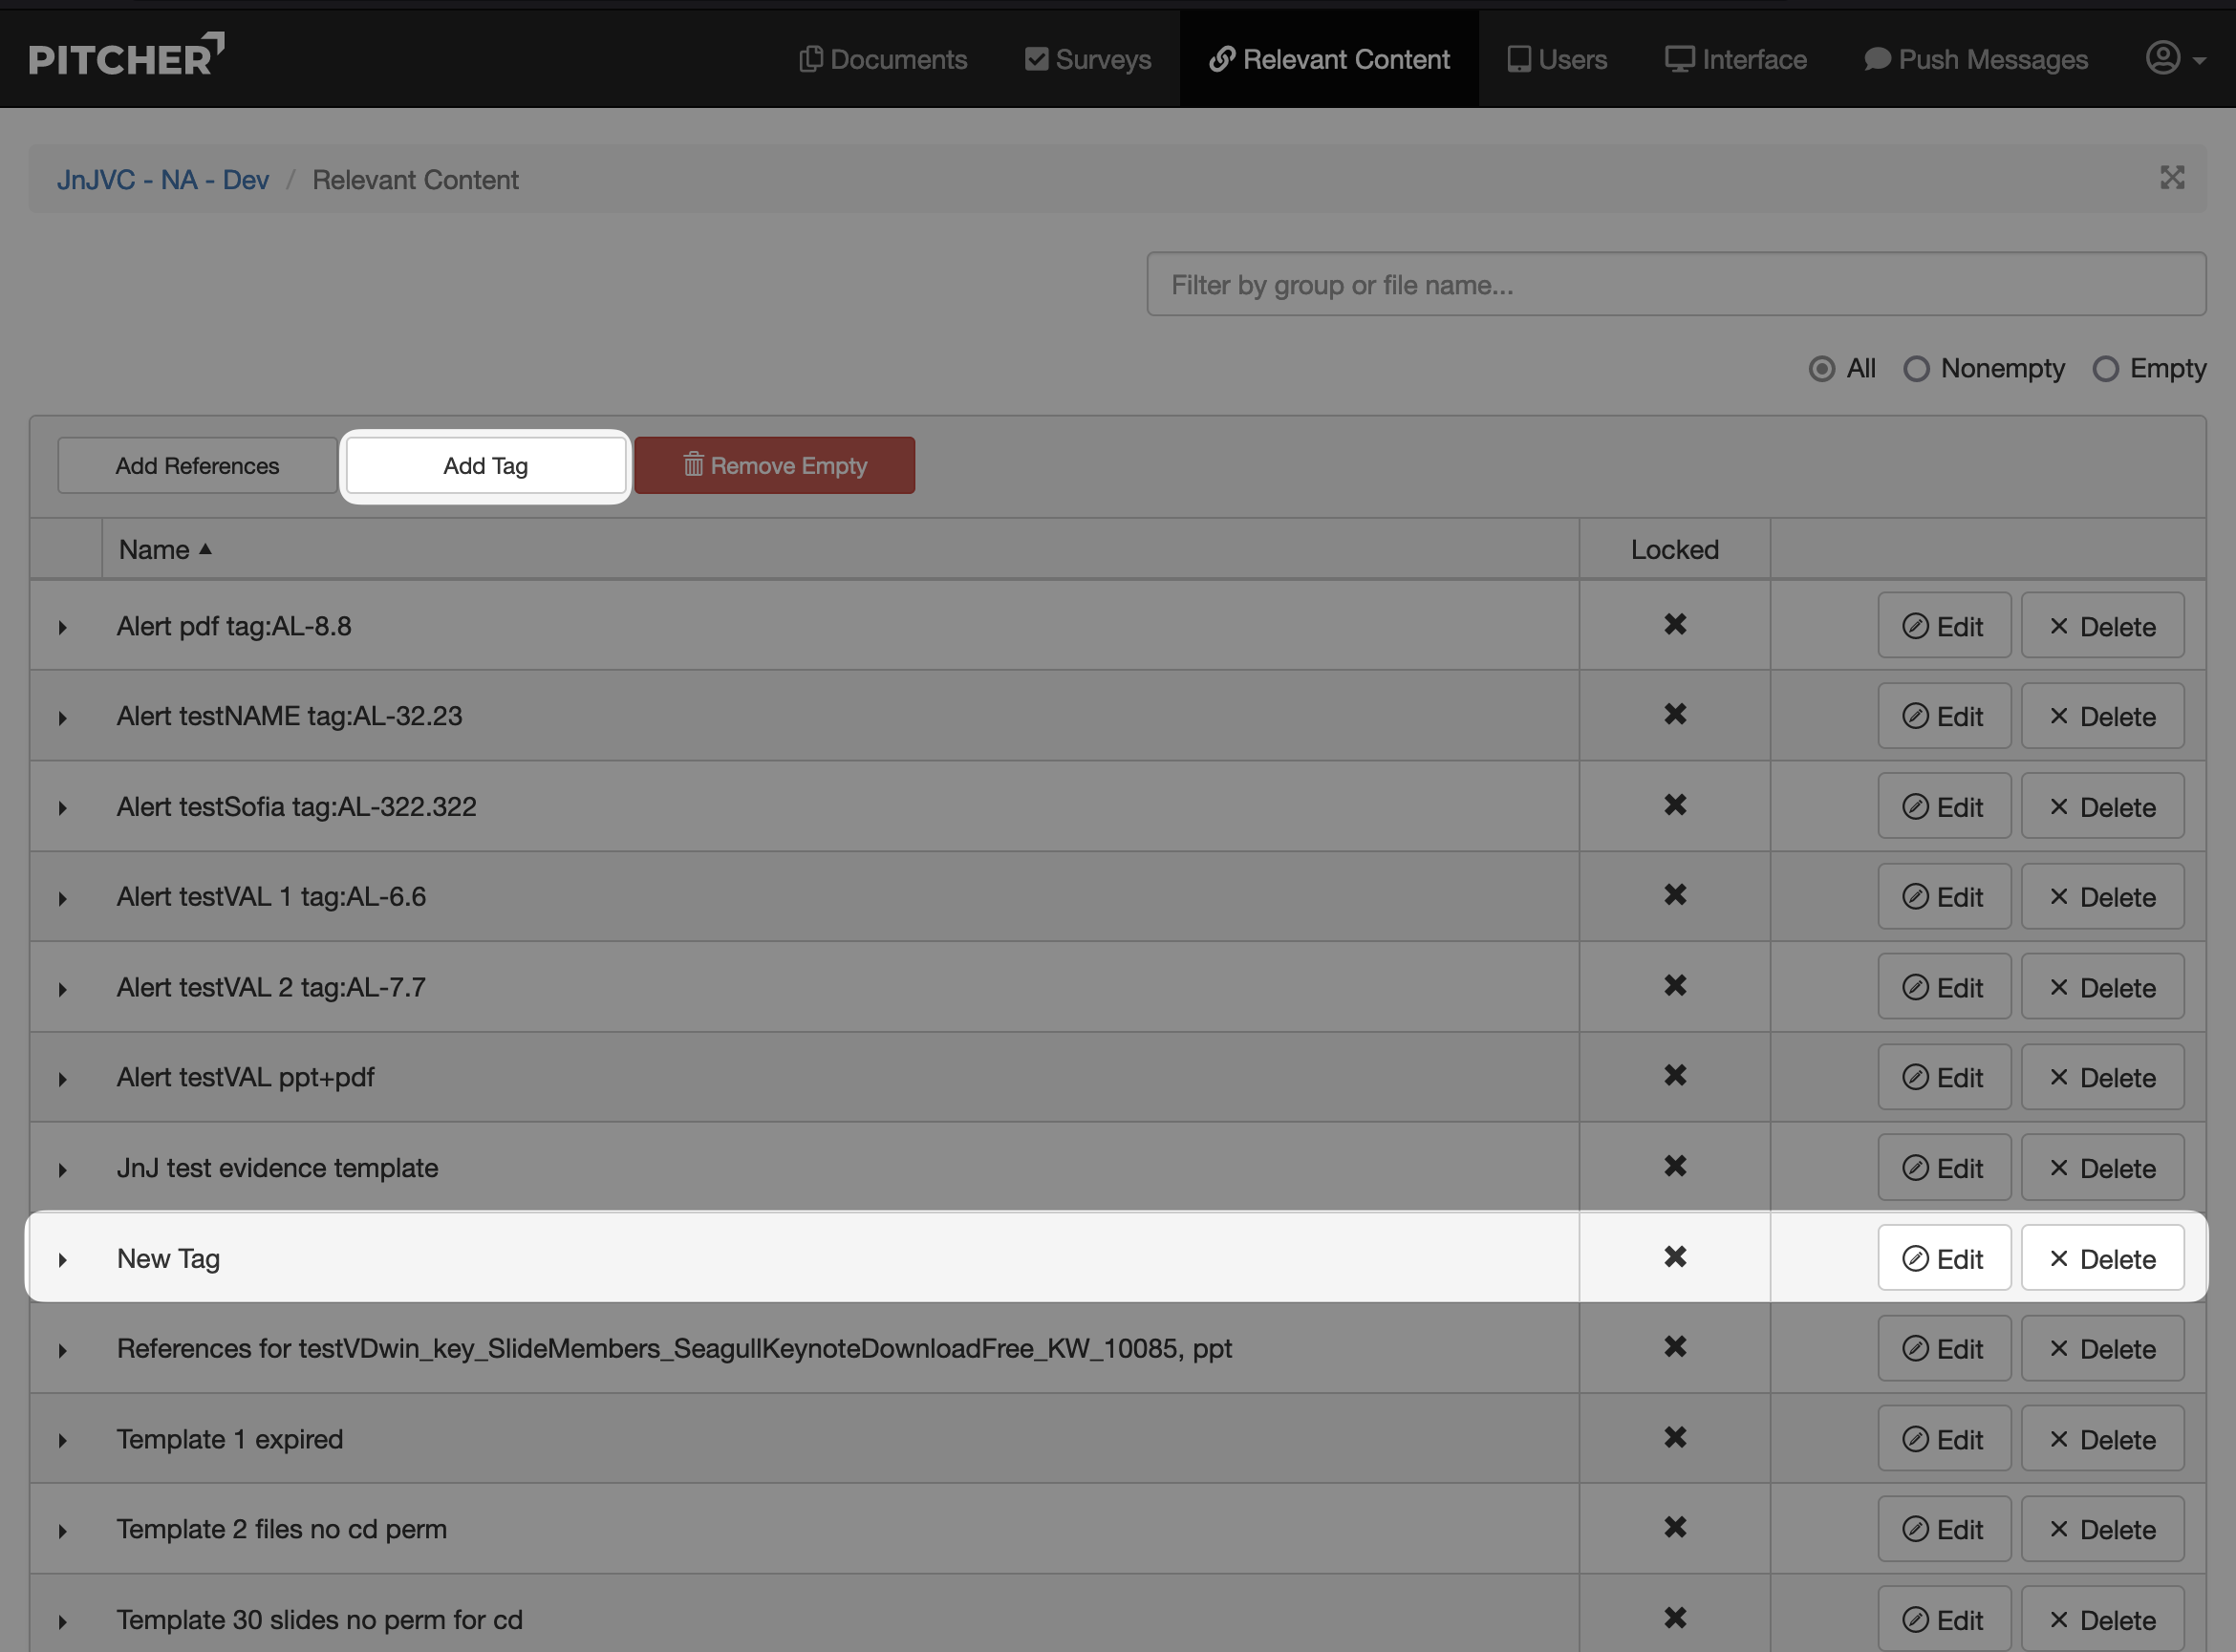
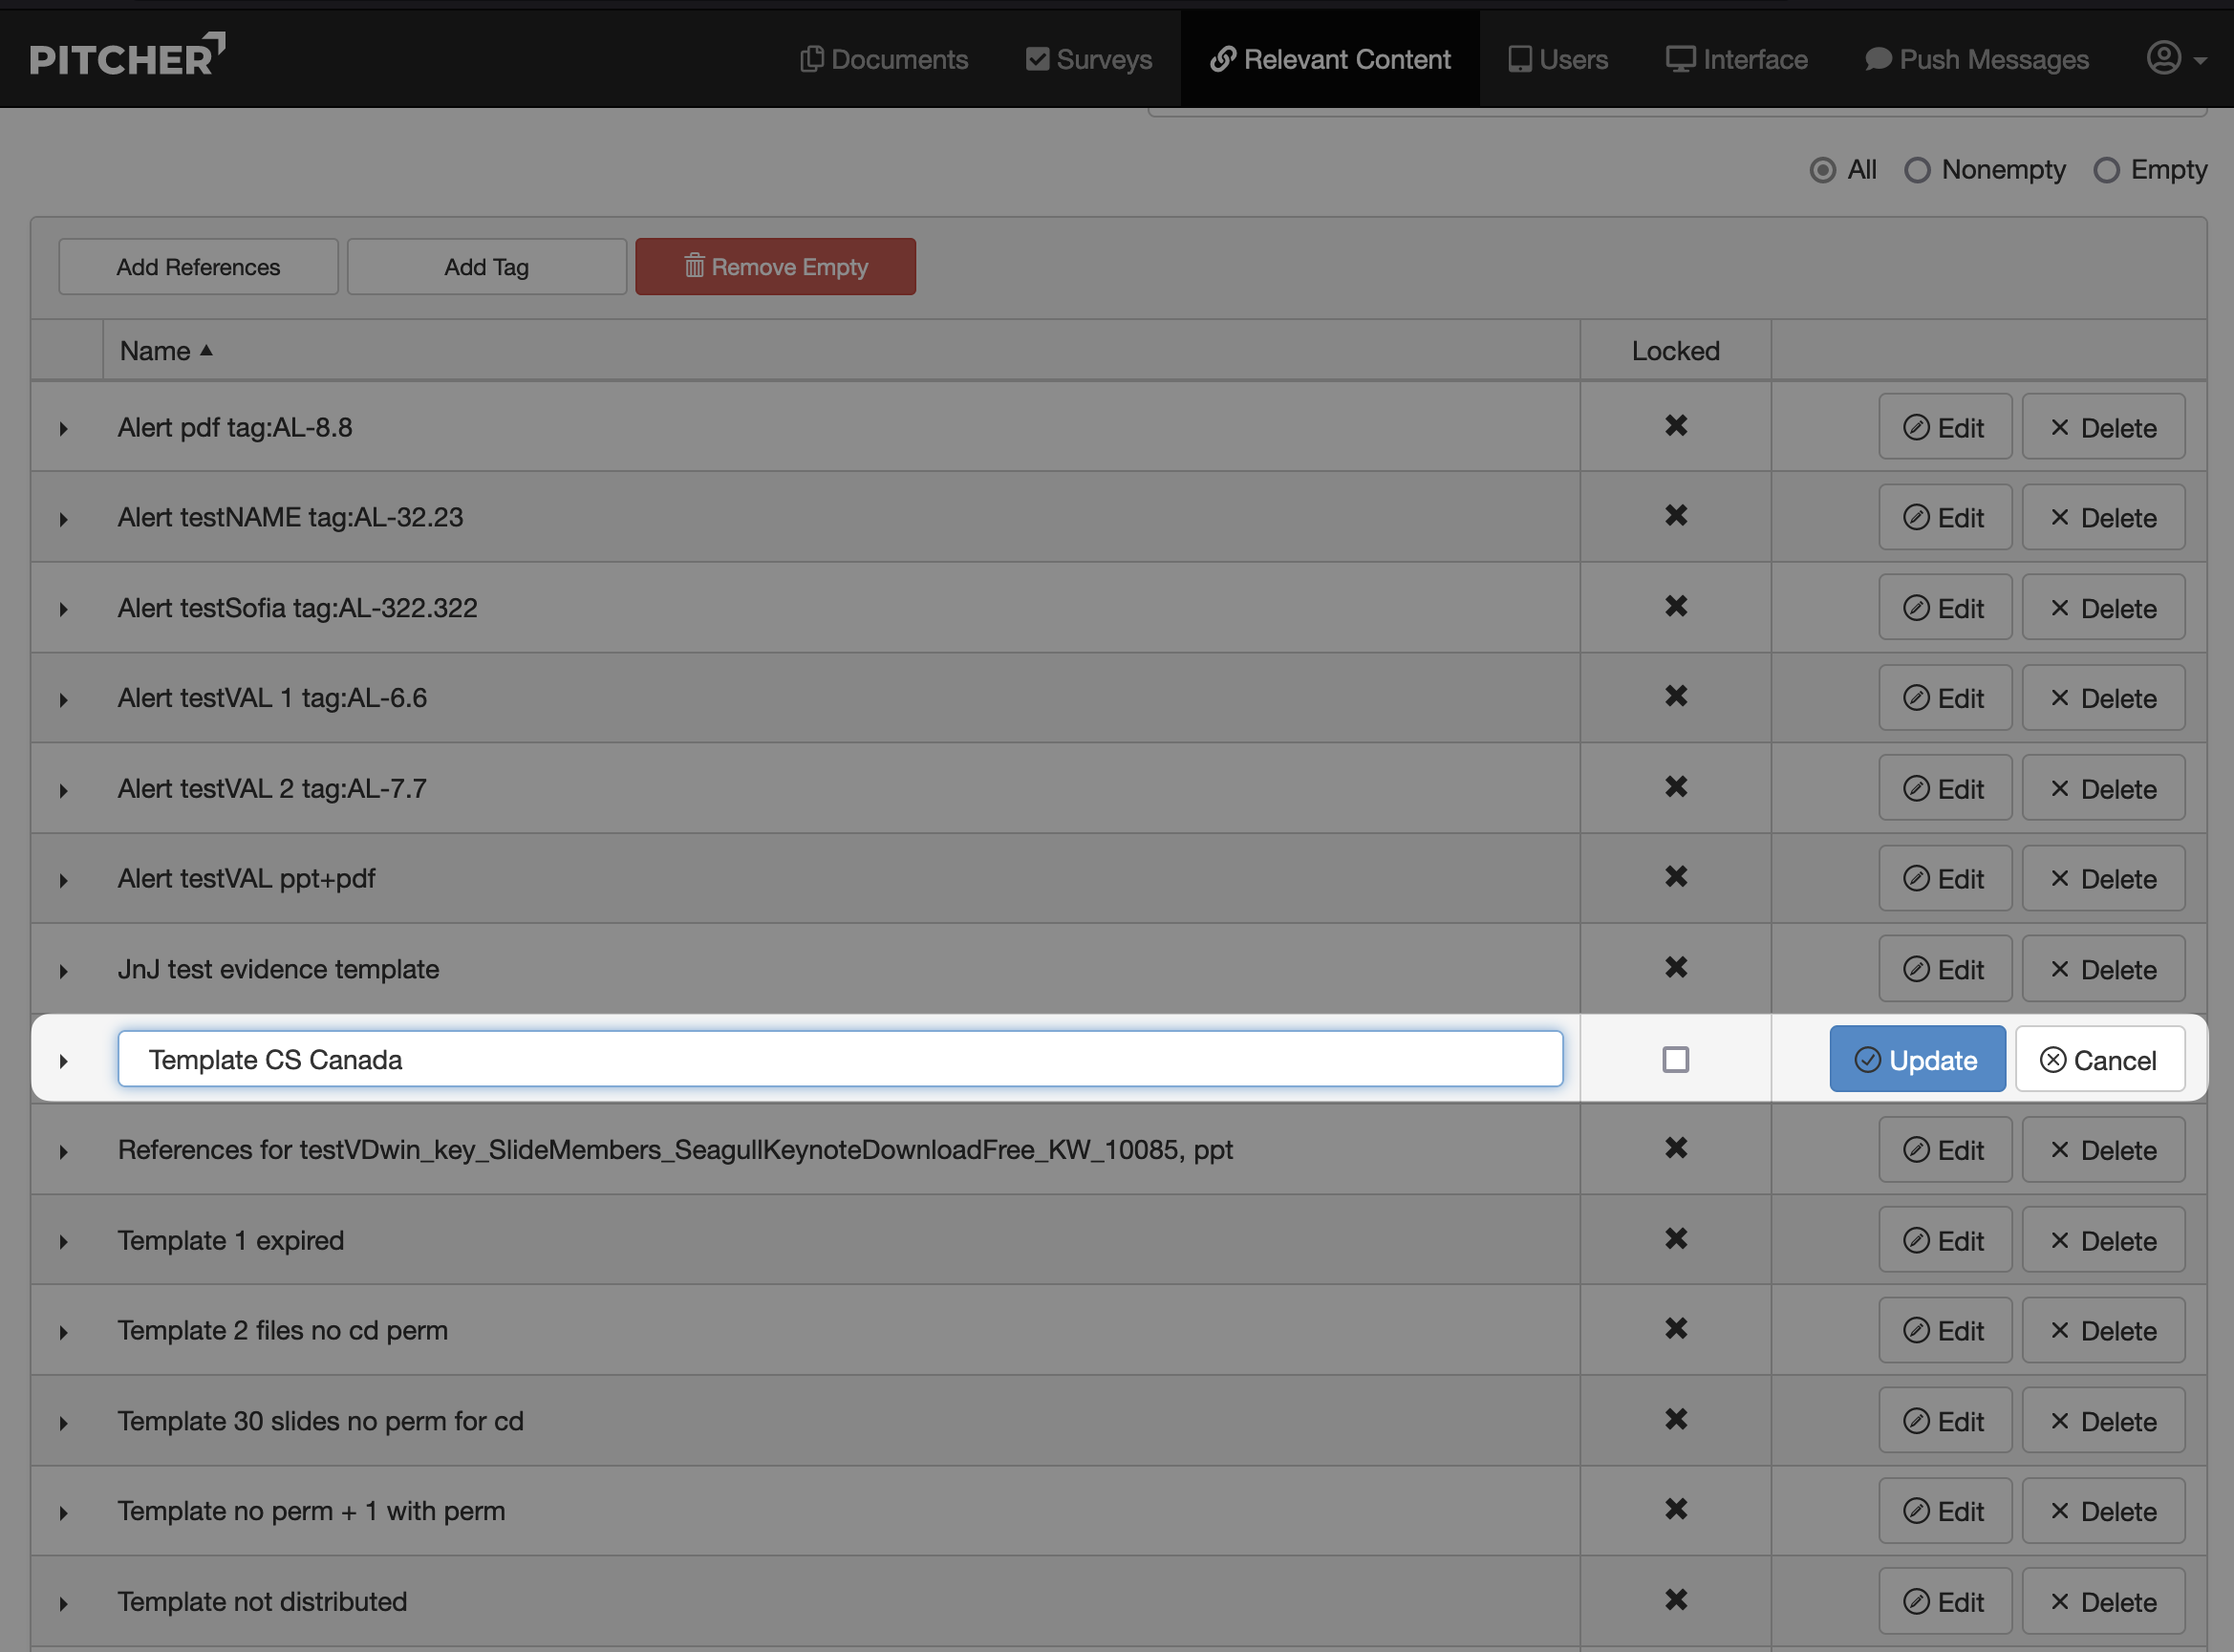
Click Edit for the newly added Tag. A Tag Rename input displays.
Your Pitcher Impact may have been configured to expect a specific pattern for tag names for custom decks. Please check with your Admin to know if that is the case.
Examples:
Template <Tag Name>
Template Americas
Template EU
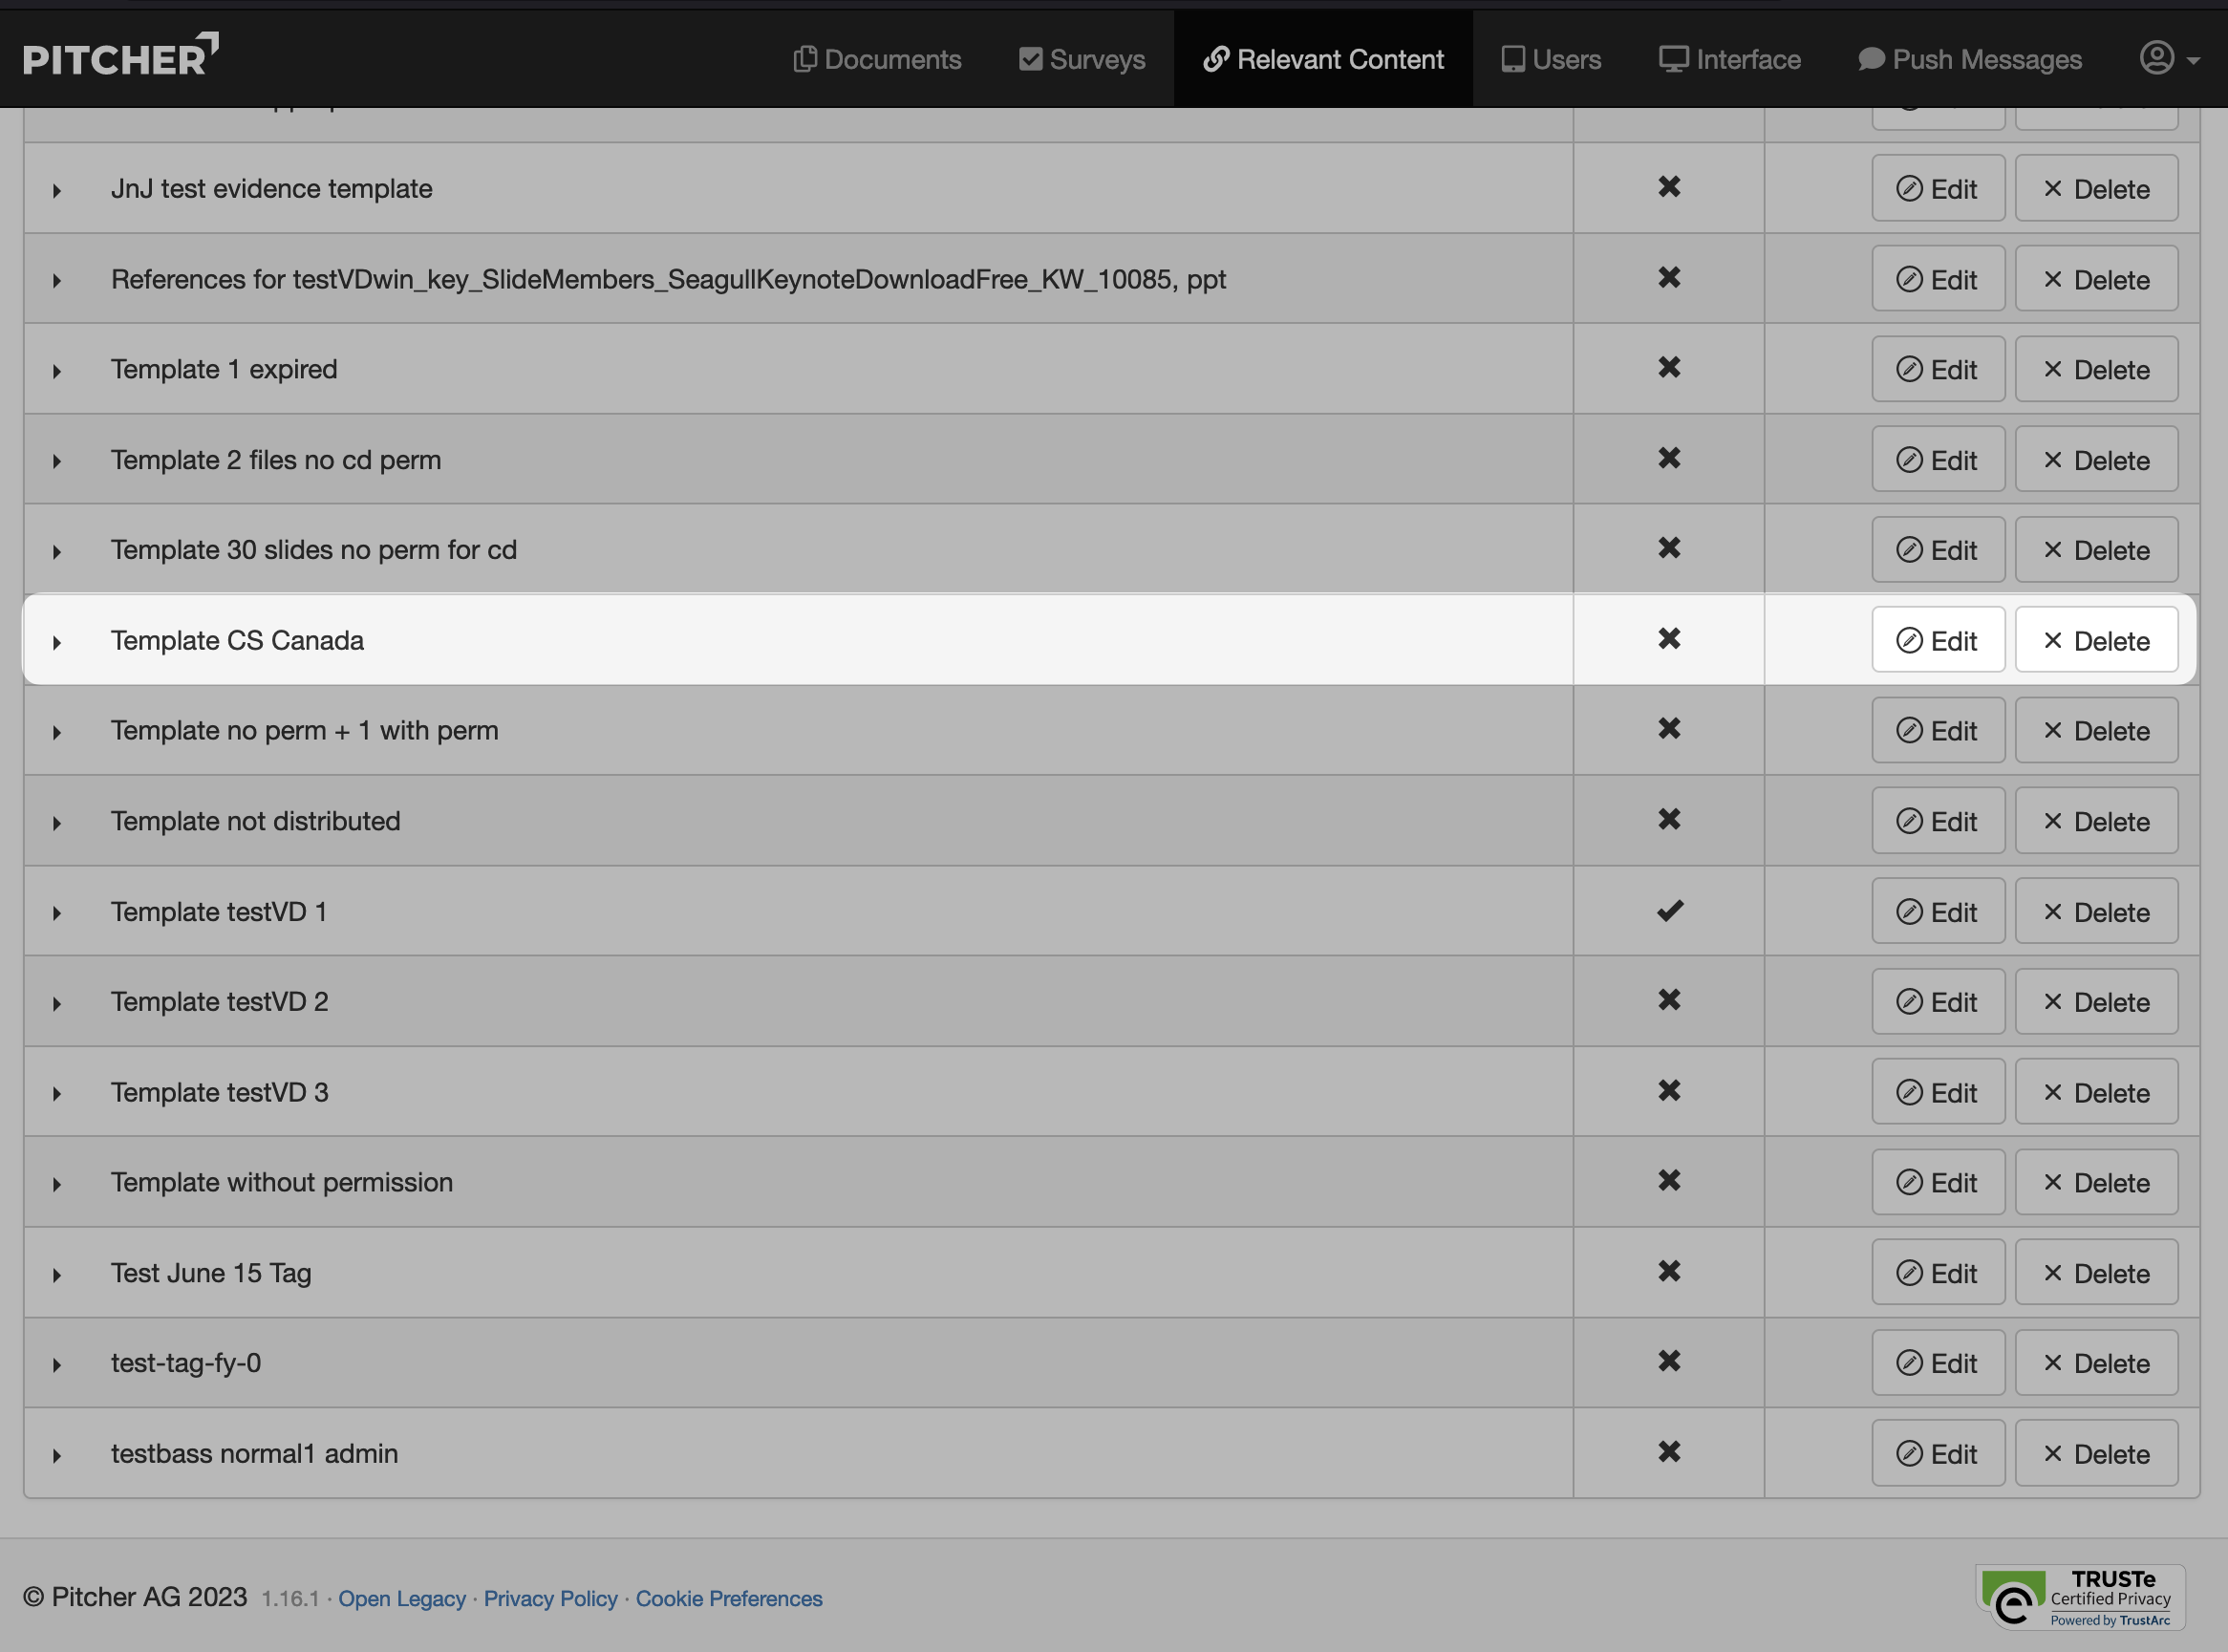
Enter the required tag name in the input and click Update.
Add Files to Tag
Add presentation files and PDFs to the Tag created in the previous step.
Navigate to the Relevant Content page in Pitcher Admin. The Relevant Content table displays.
Click the expand button (>) on the left of the tag name. The Add File form displays.
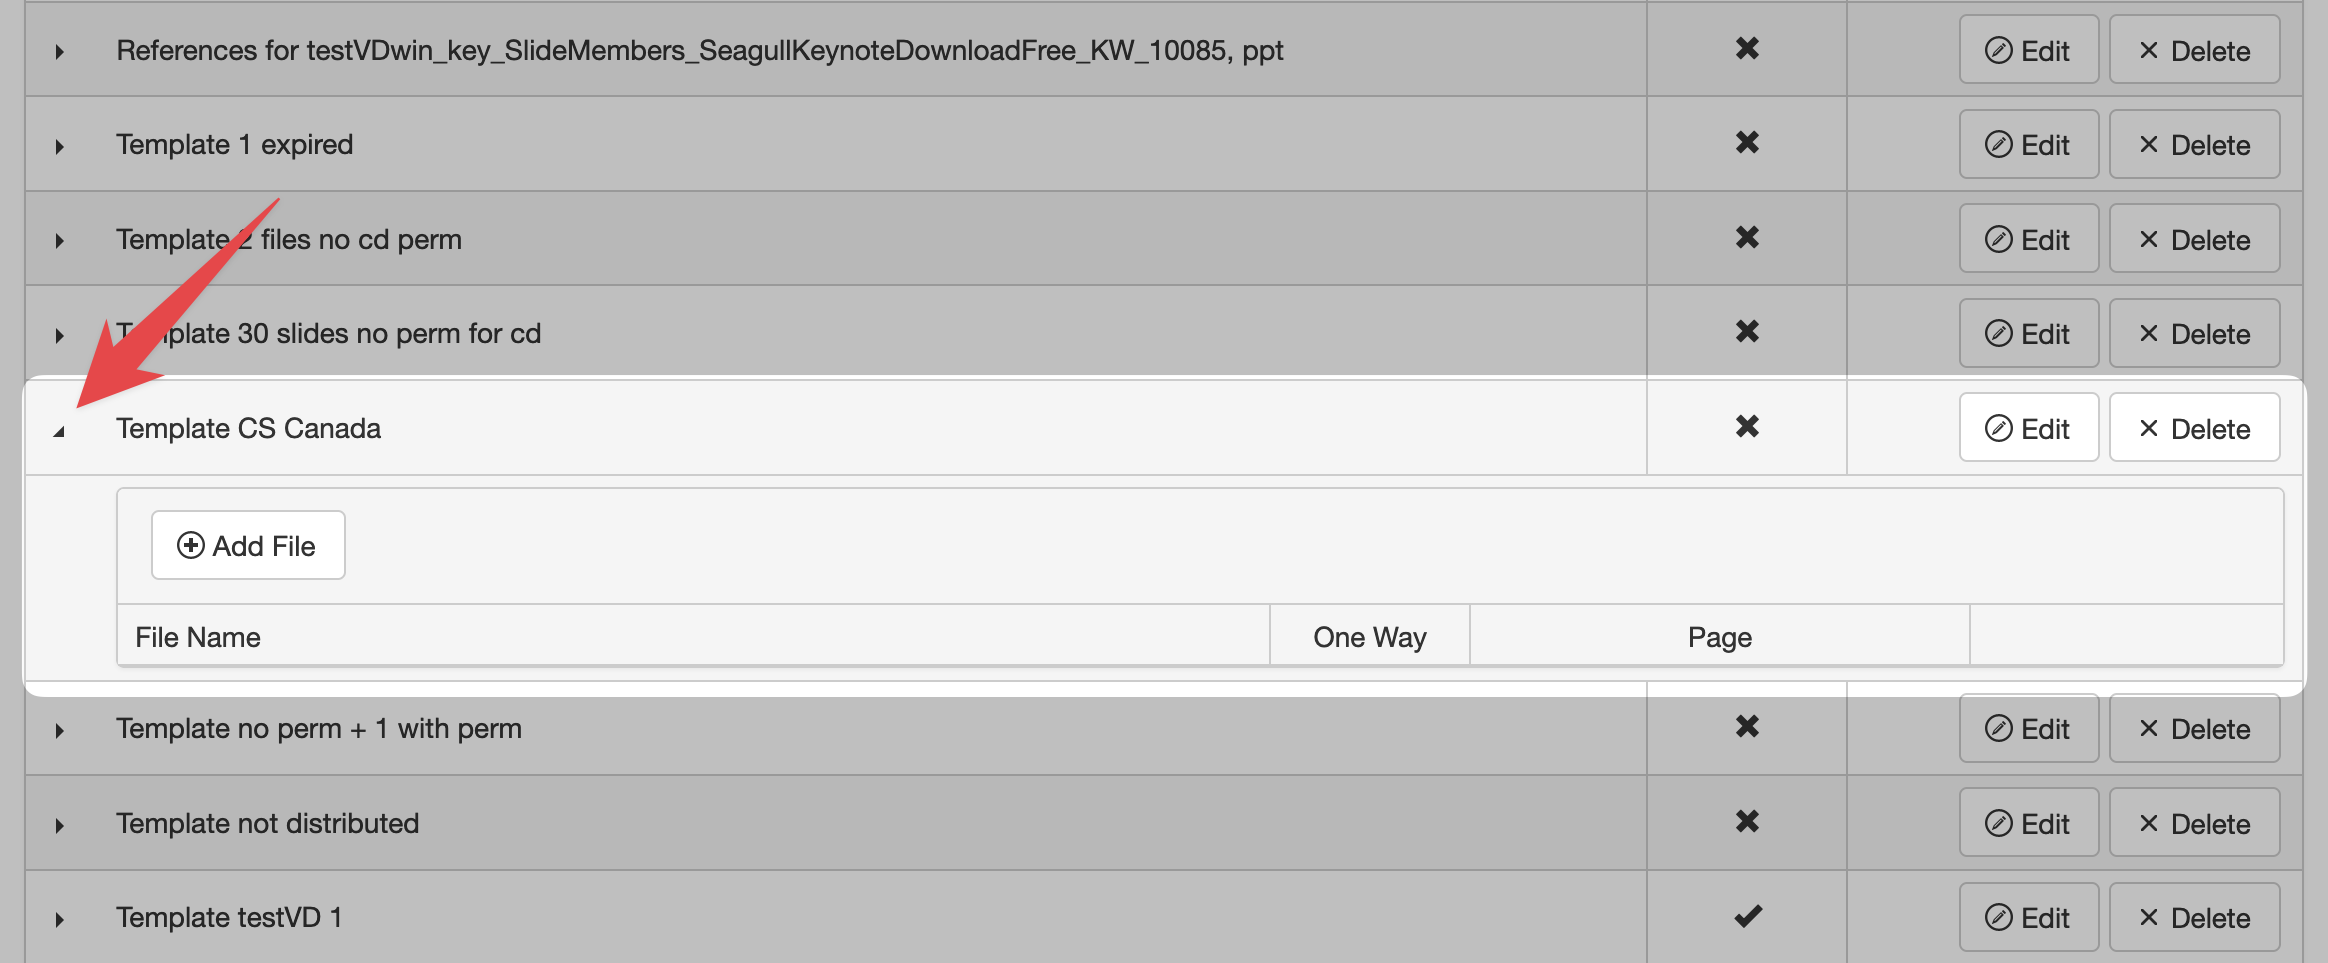
Click Add File. The new file selection input displays.
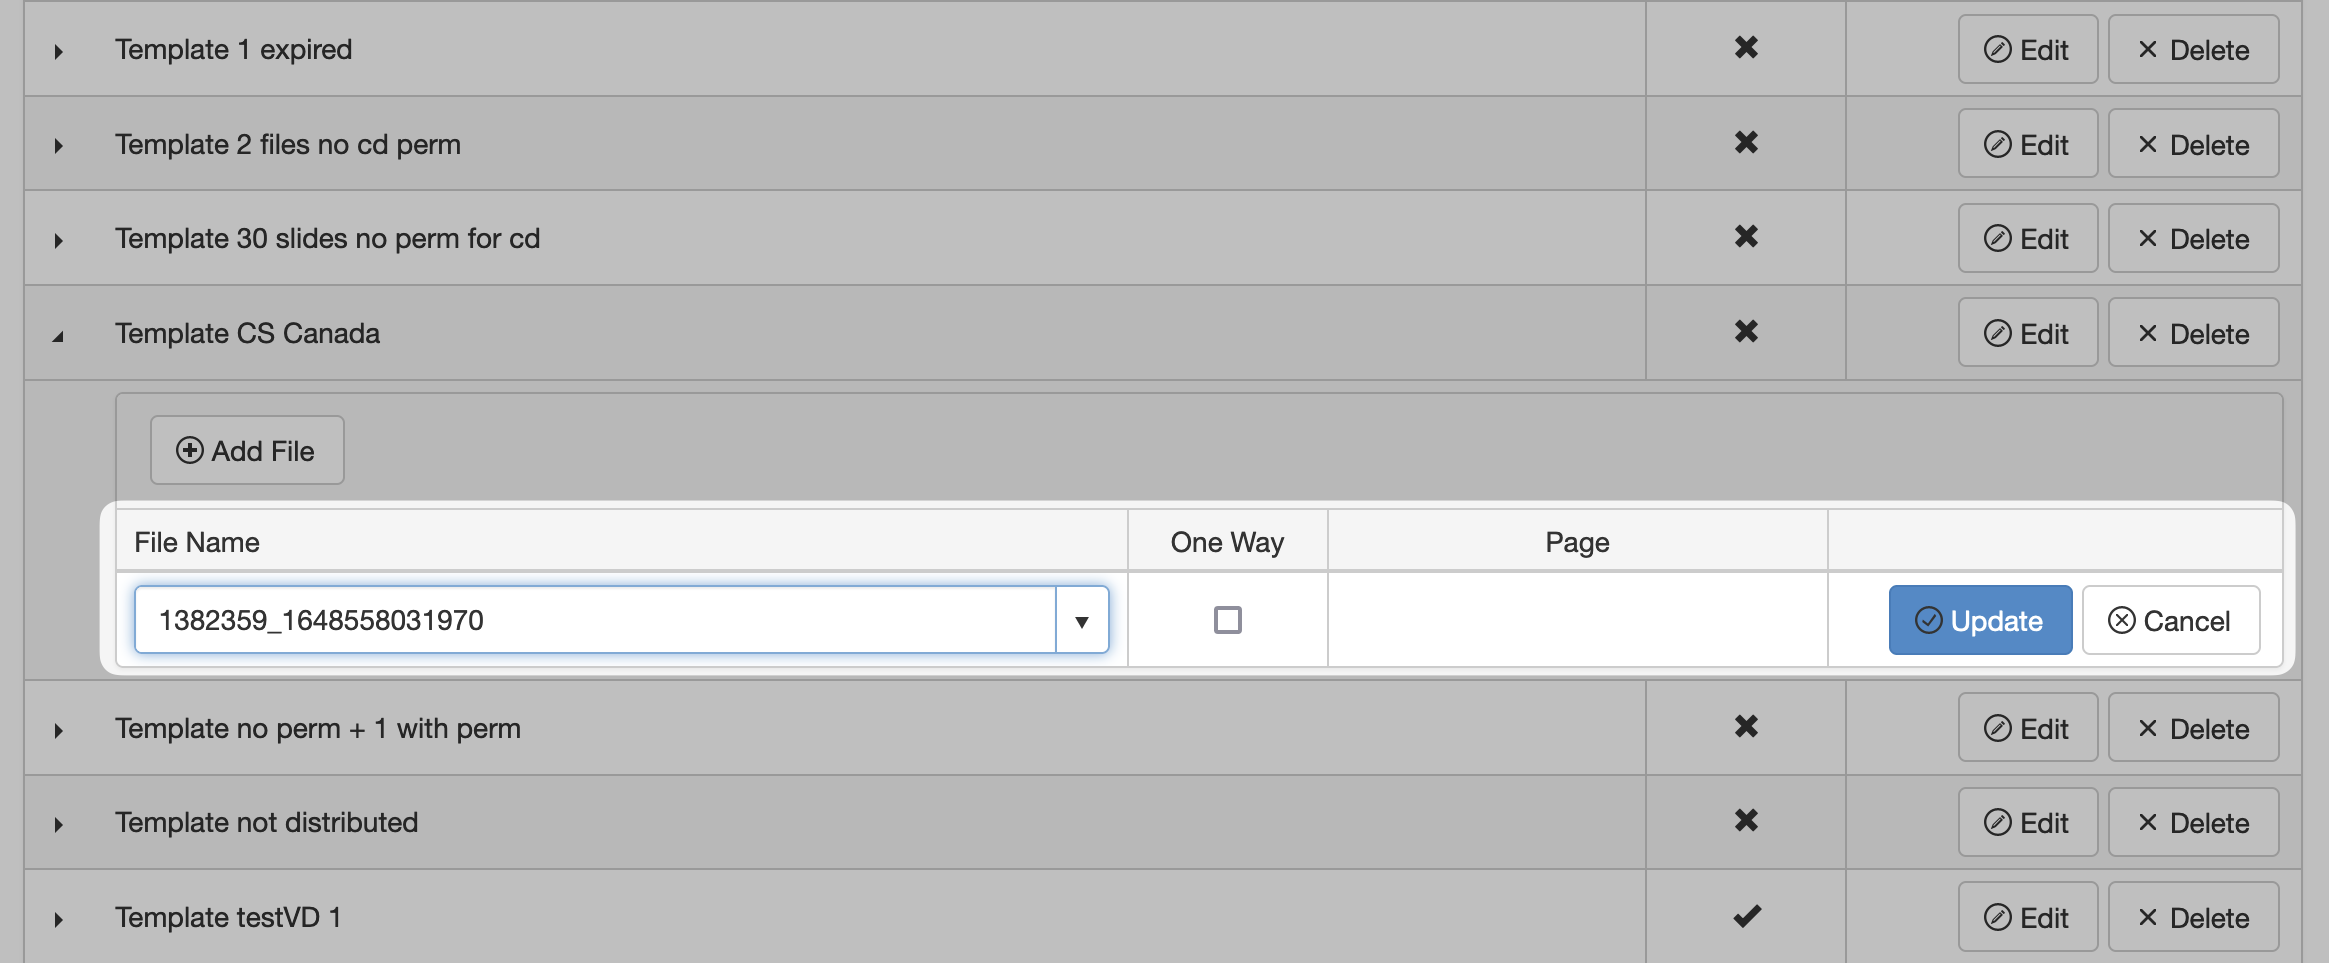
Select the required file from the File Name dropdown list.
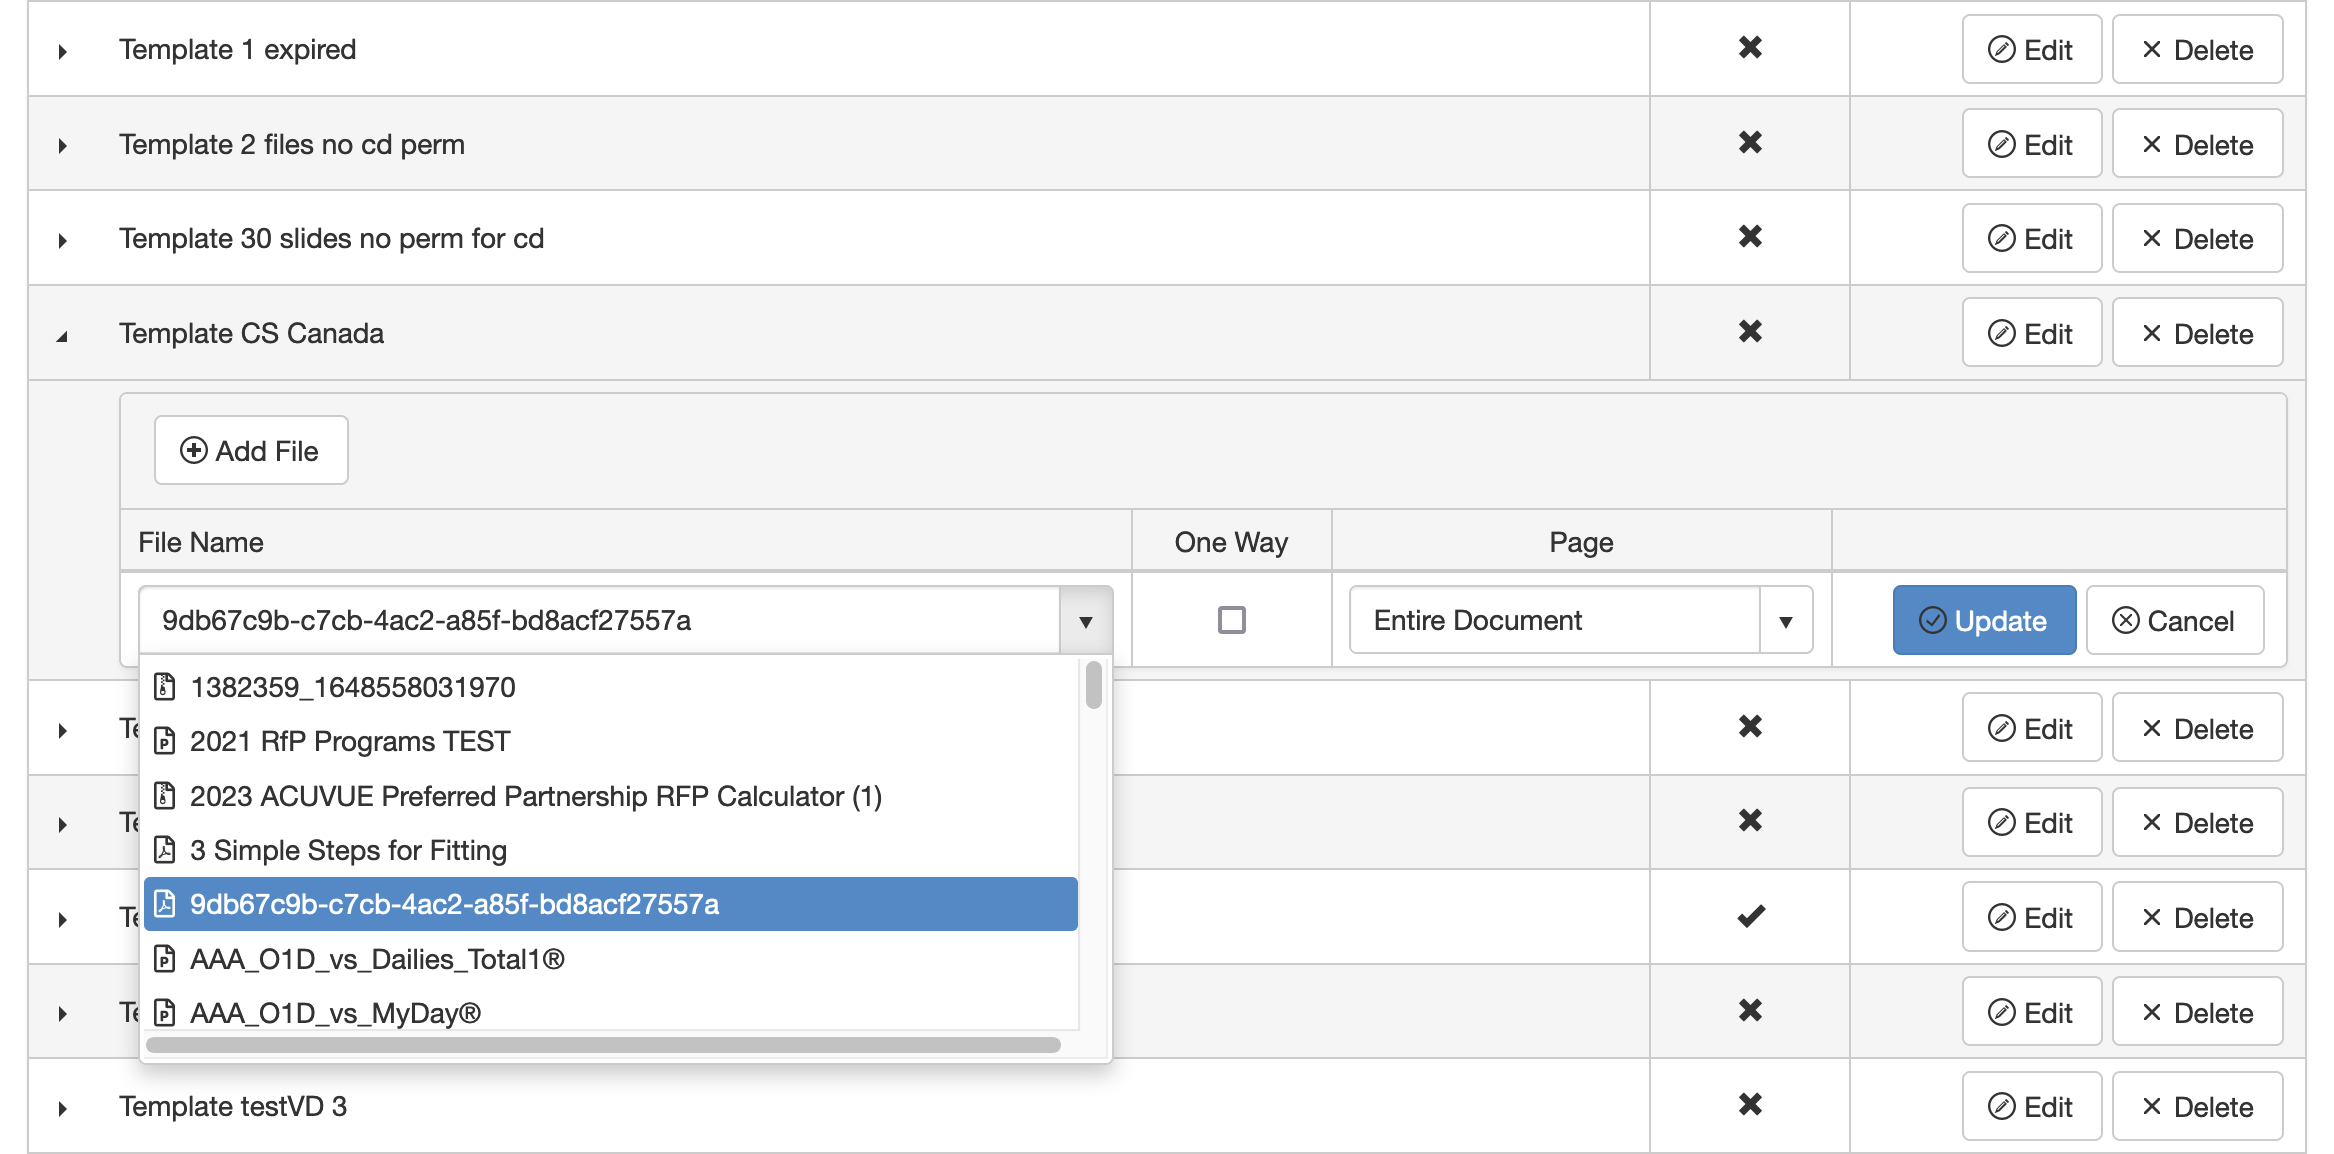
Select a page for the custom deck from the Page dropdown list. This step is optional; not selecting a specific page for the file makes the entire file available in the custom deck.
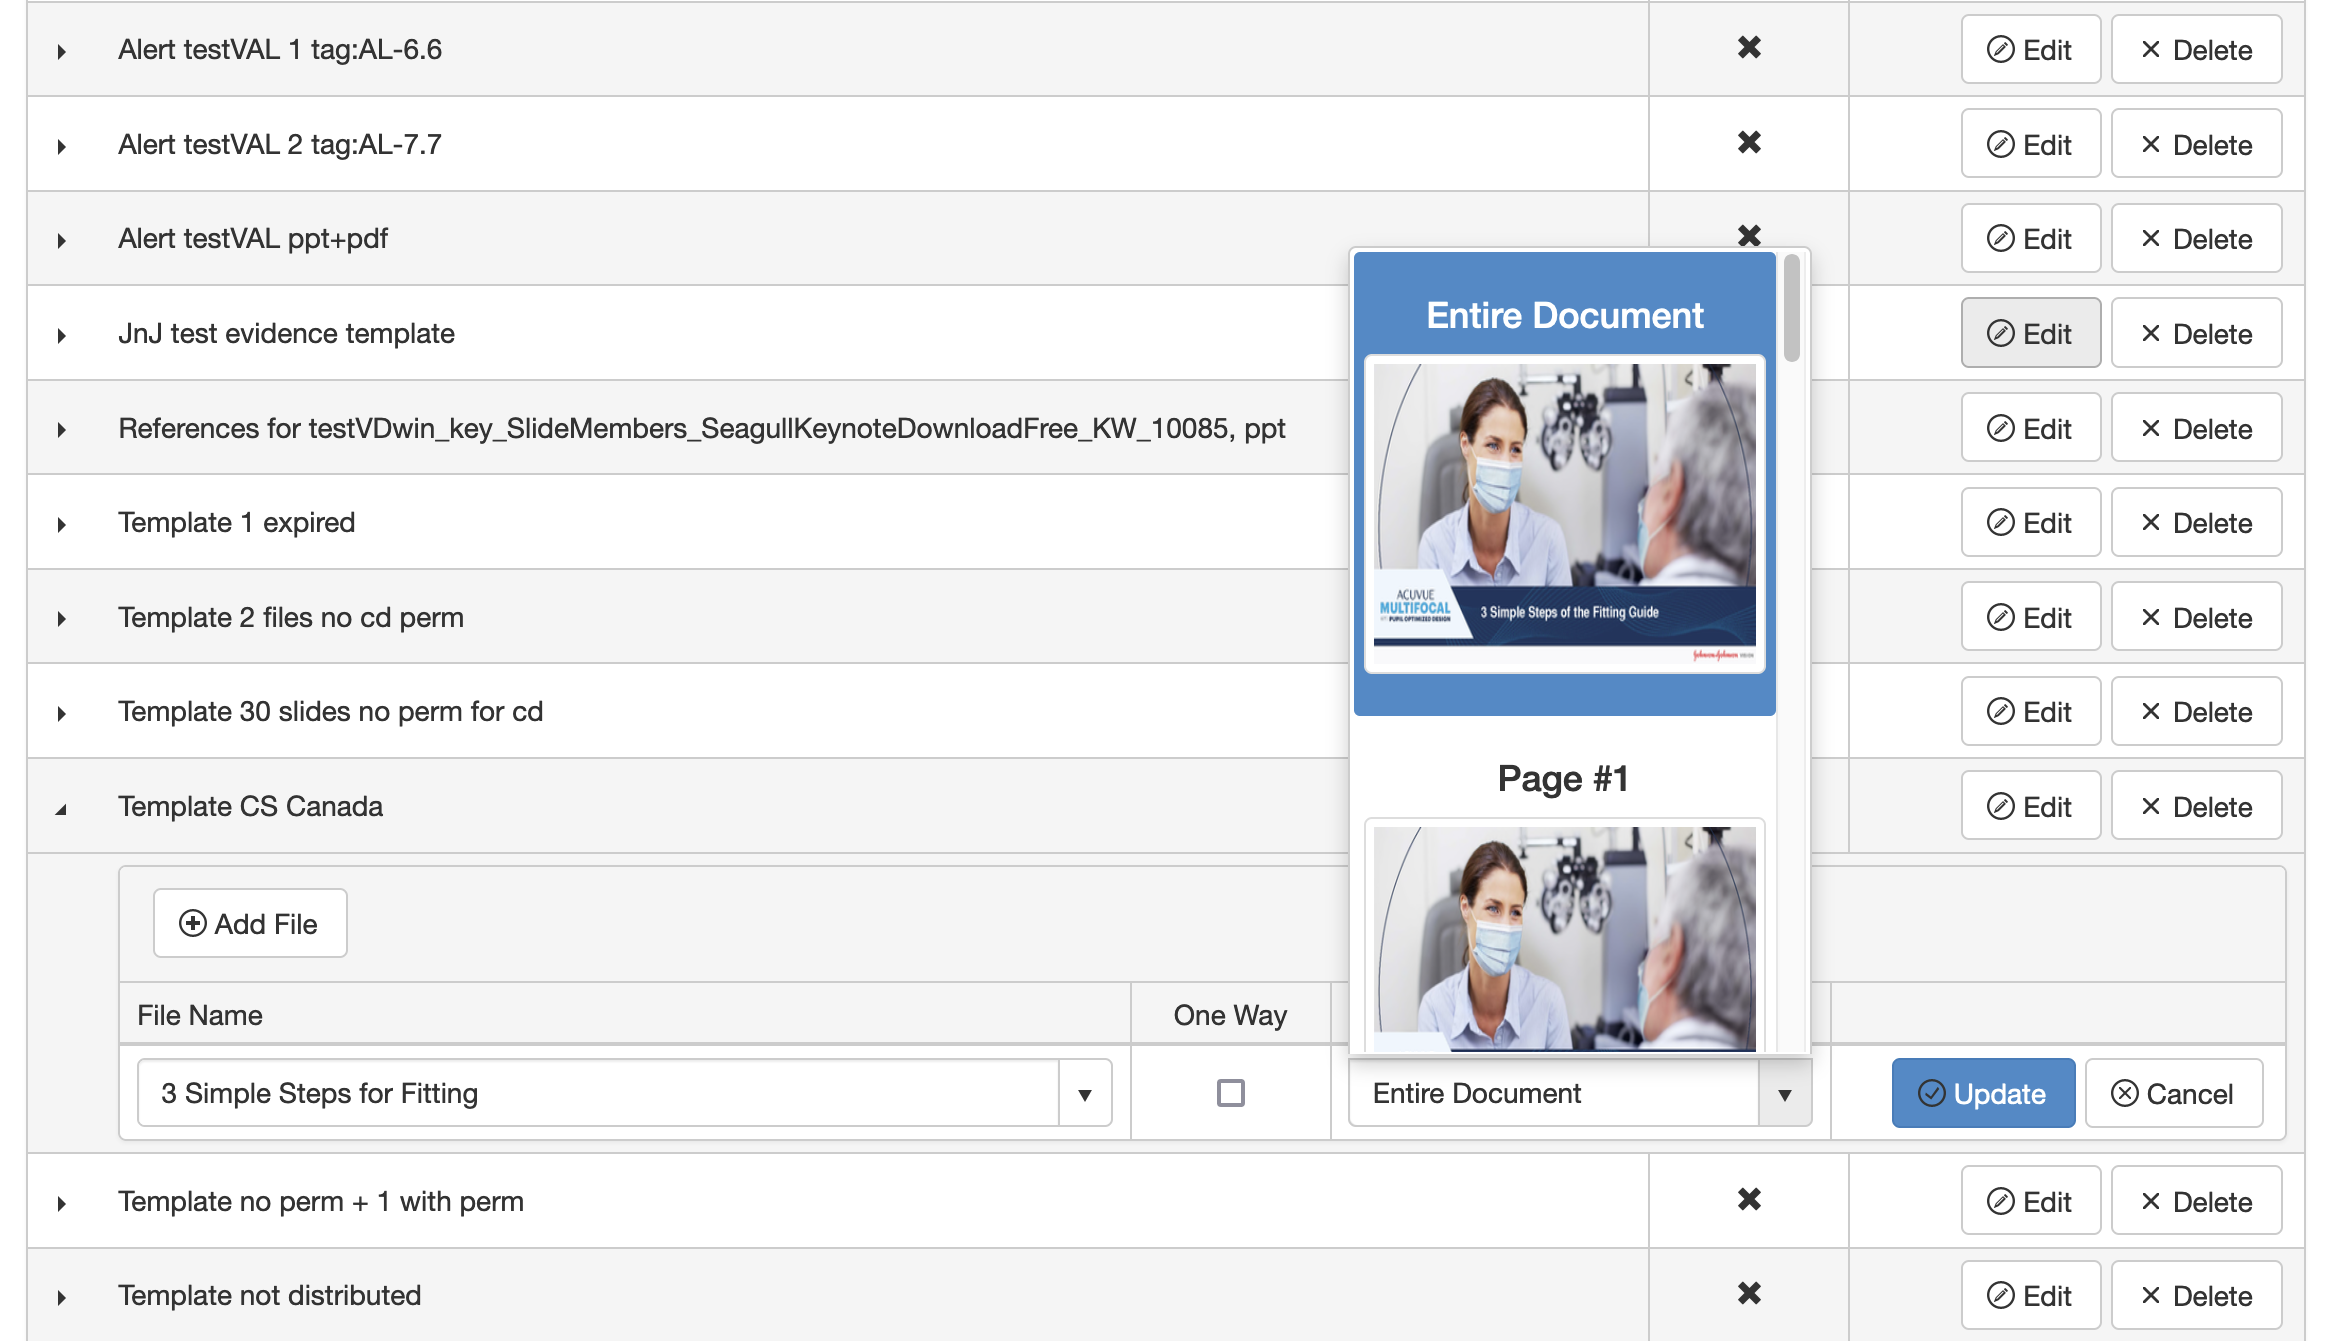
Click Update.
Repeat the steps to add more documents to your custom decks if necessary.
The custom decks are available to Sales Reps on Pitcher Impact when they next open the application.