Create Slidesets / Custom Decks For Android
The UI can vary from instance to instance but basic service remains the same except for customized instances.
Create Slide Sets
Slide sets can be created using the Create Slide Set Button in the Home Screen. It will bring up the presentation selection window.
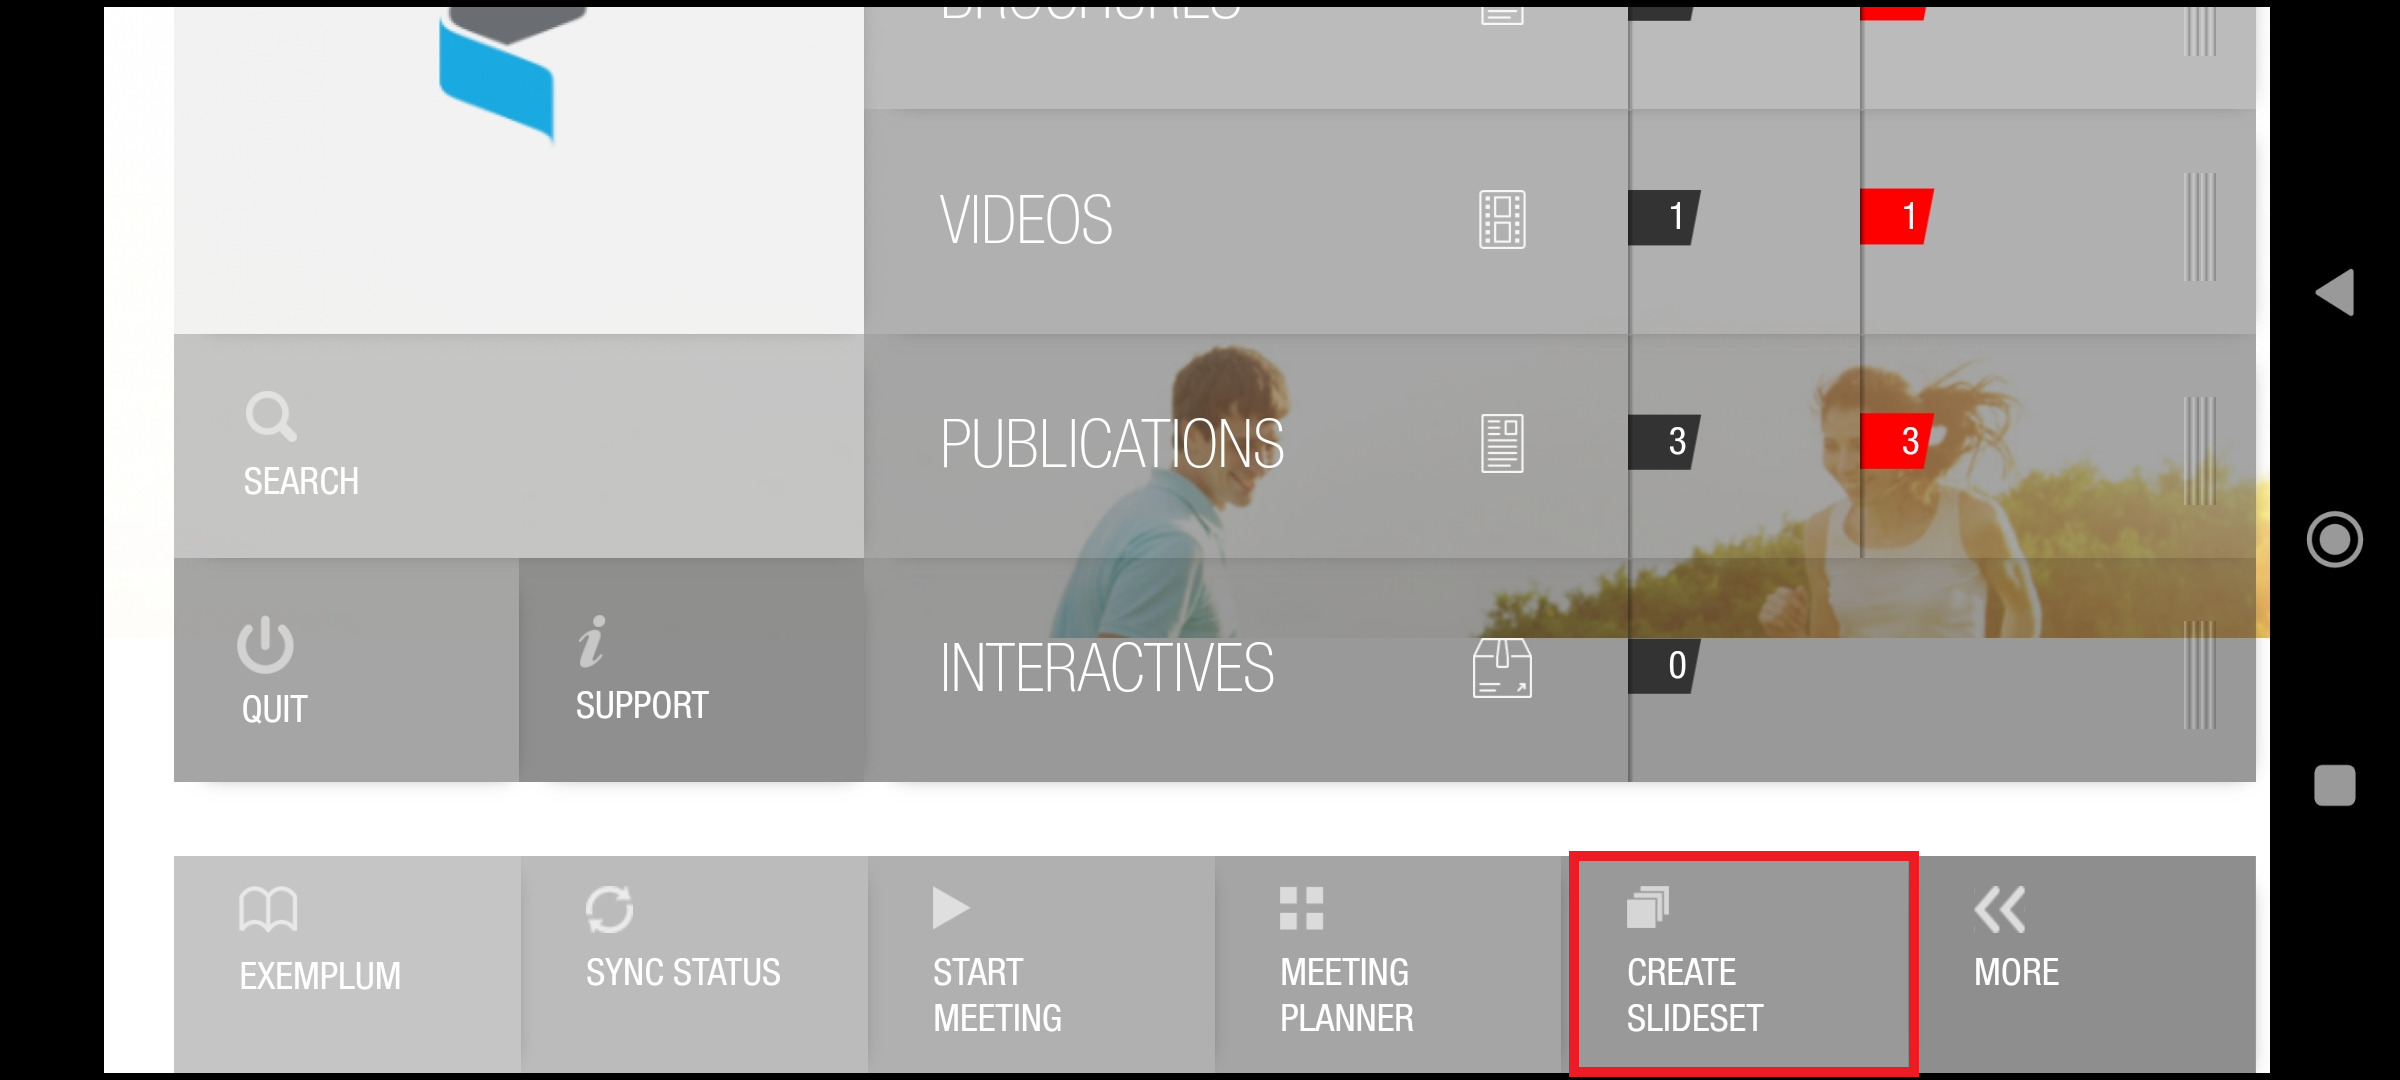
Exact location of the button can differ from instance to instance.
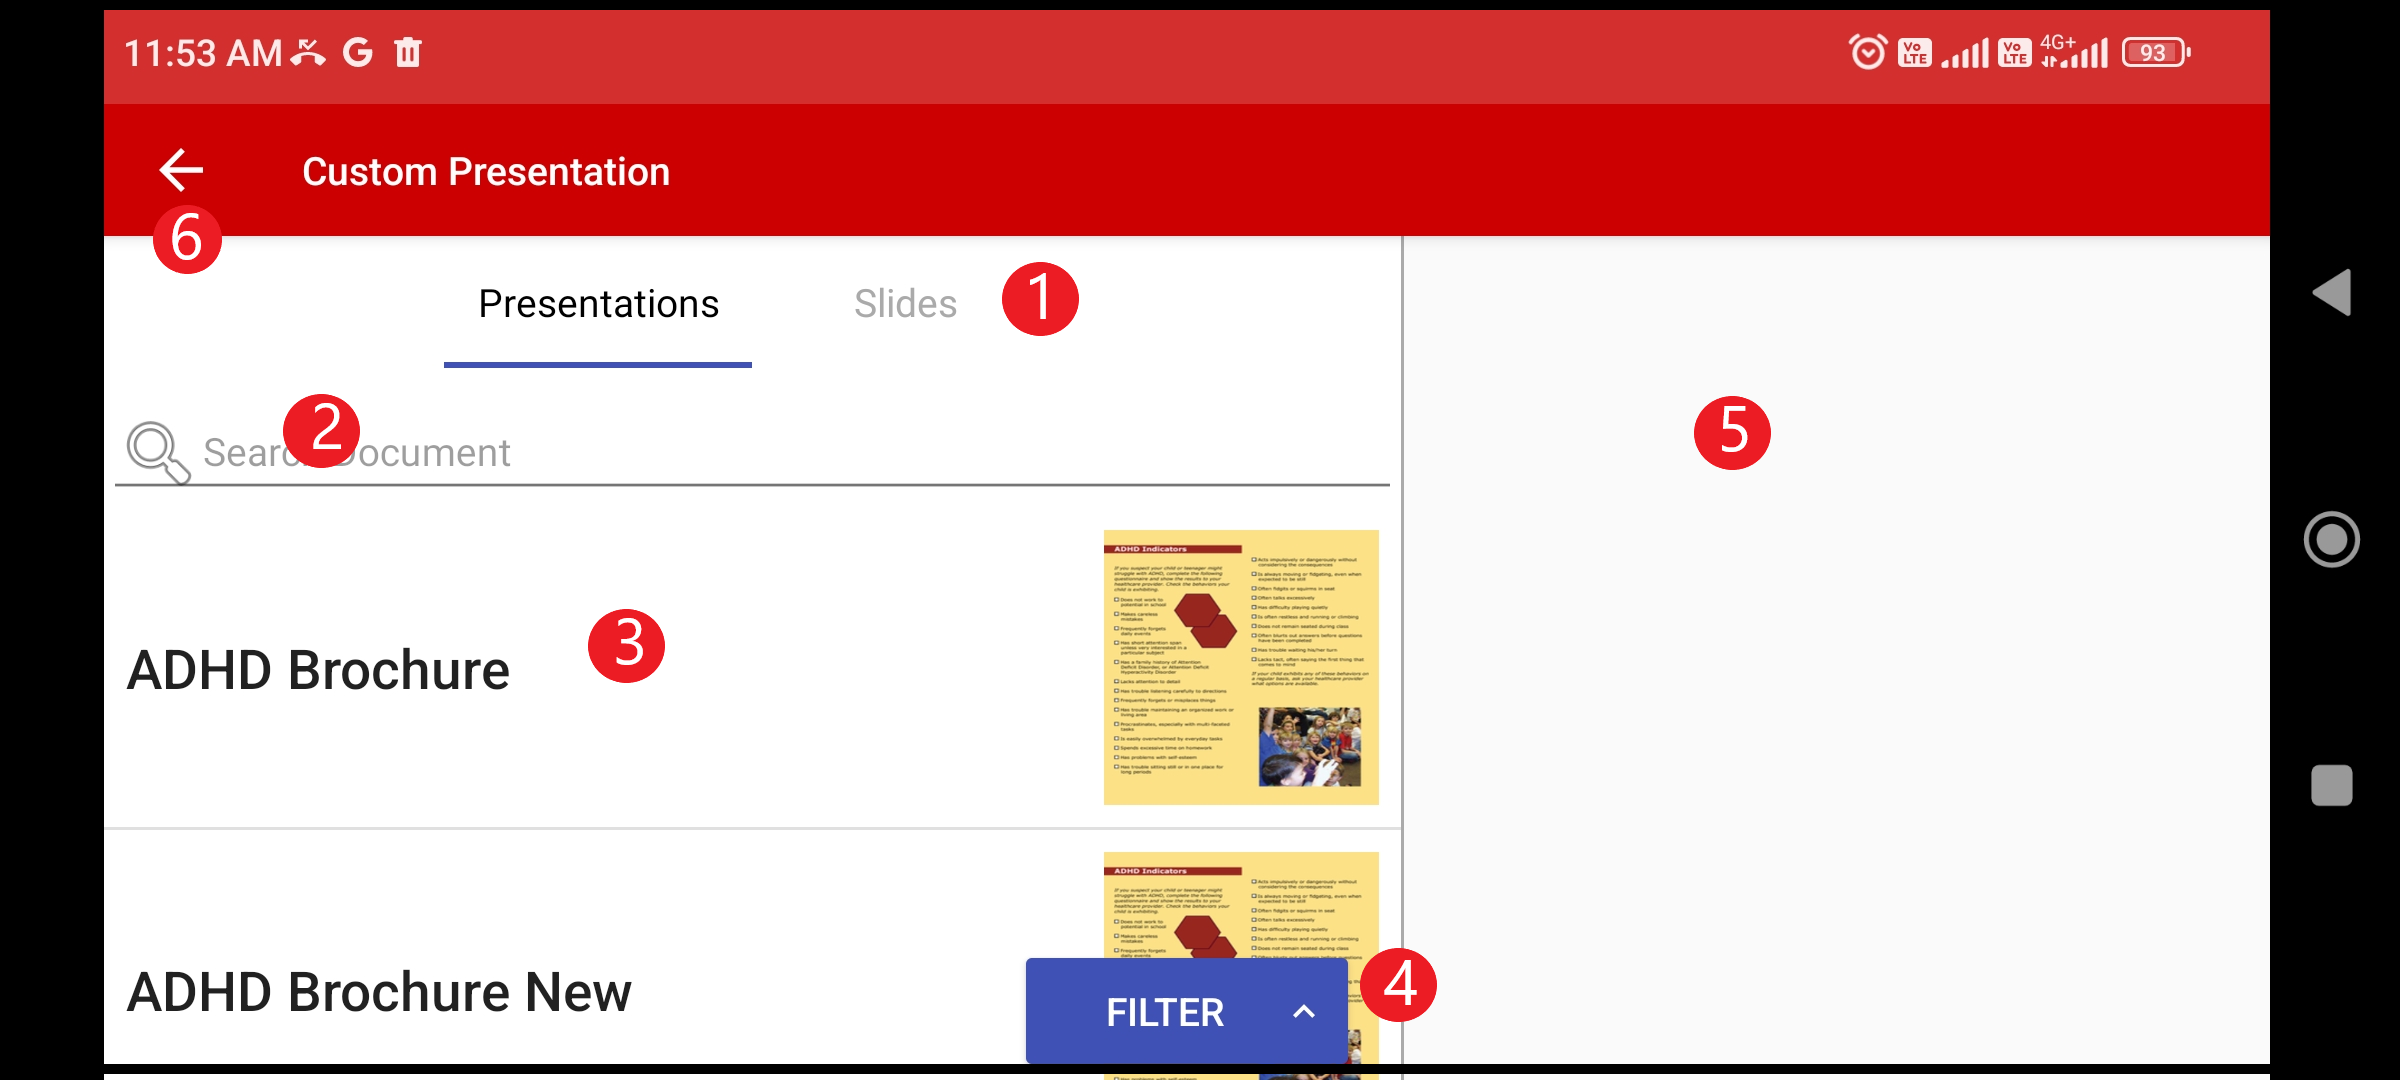
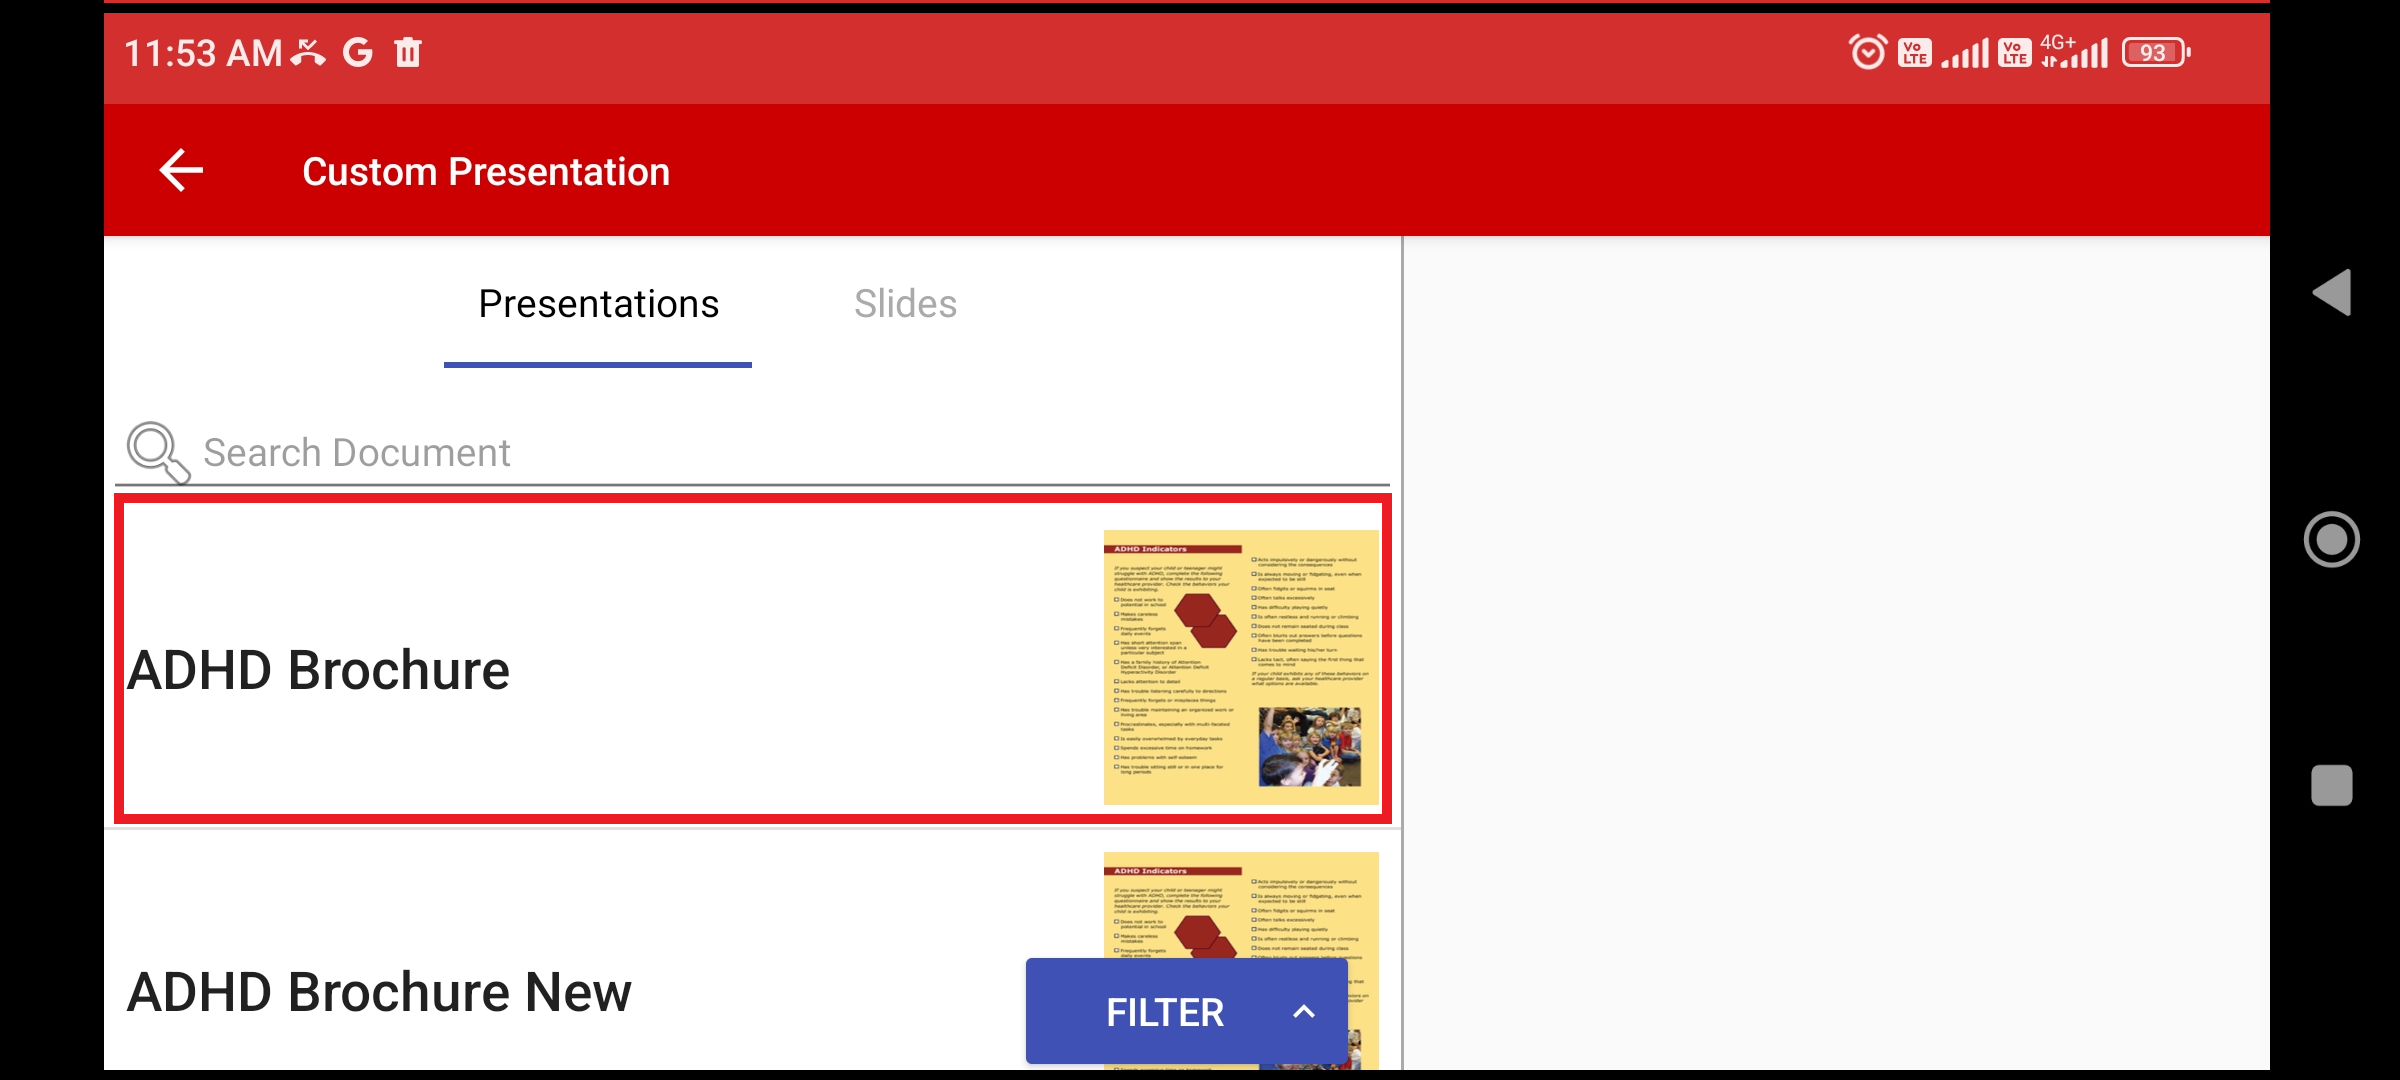
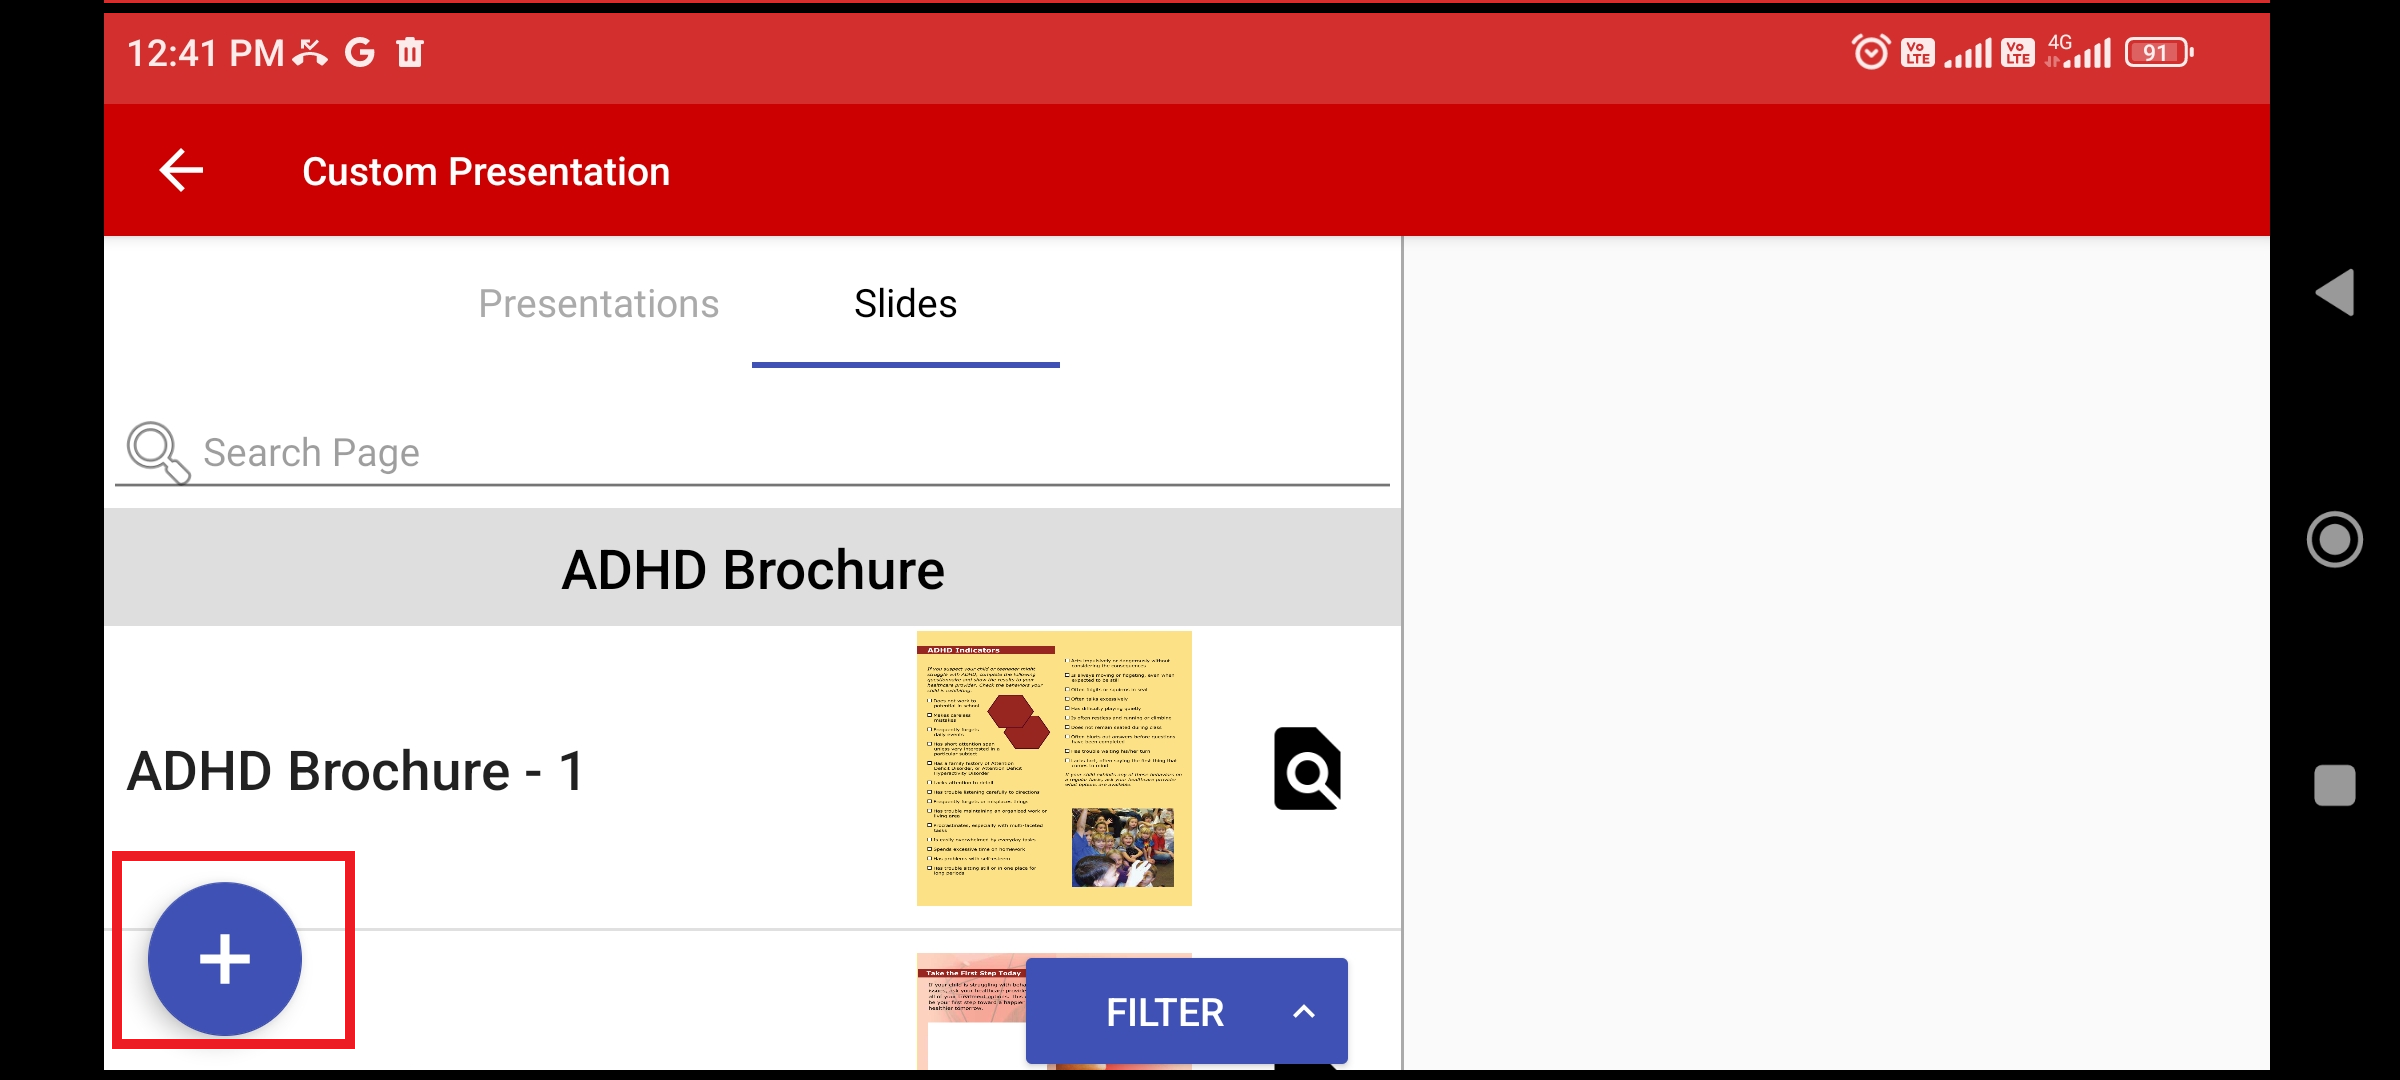
Tapping on Create Slide Sets button will open Custom Presentation window. By default Presentations will be loaded
The user can tap between presentations or slides to select an entire presentation or a particular slide.
Search Bar - User can search for the content to be added to the custom slide deck.
List of Presentations.
Filter - Allows user to apply filter for selection of various content
Custom deck creation area - User can tap on presentation or slide and the same will be added in this area which will form the part of slide deck.
Go back to home screen.
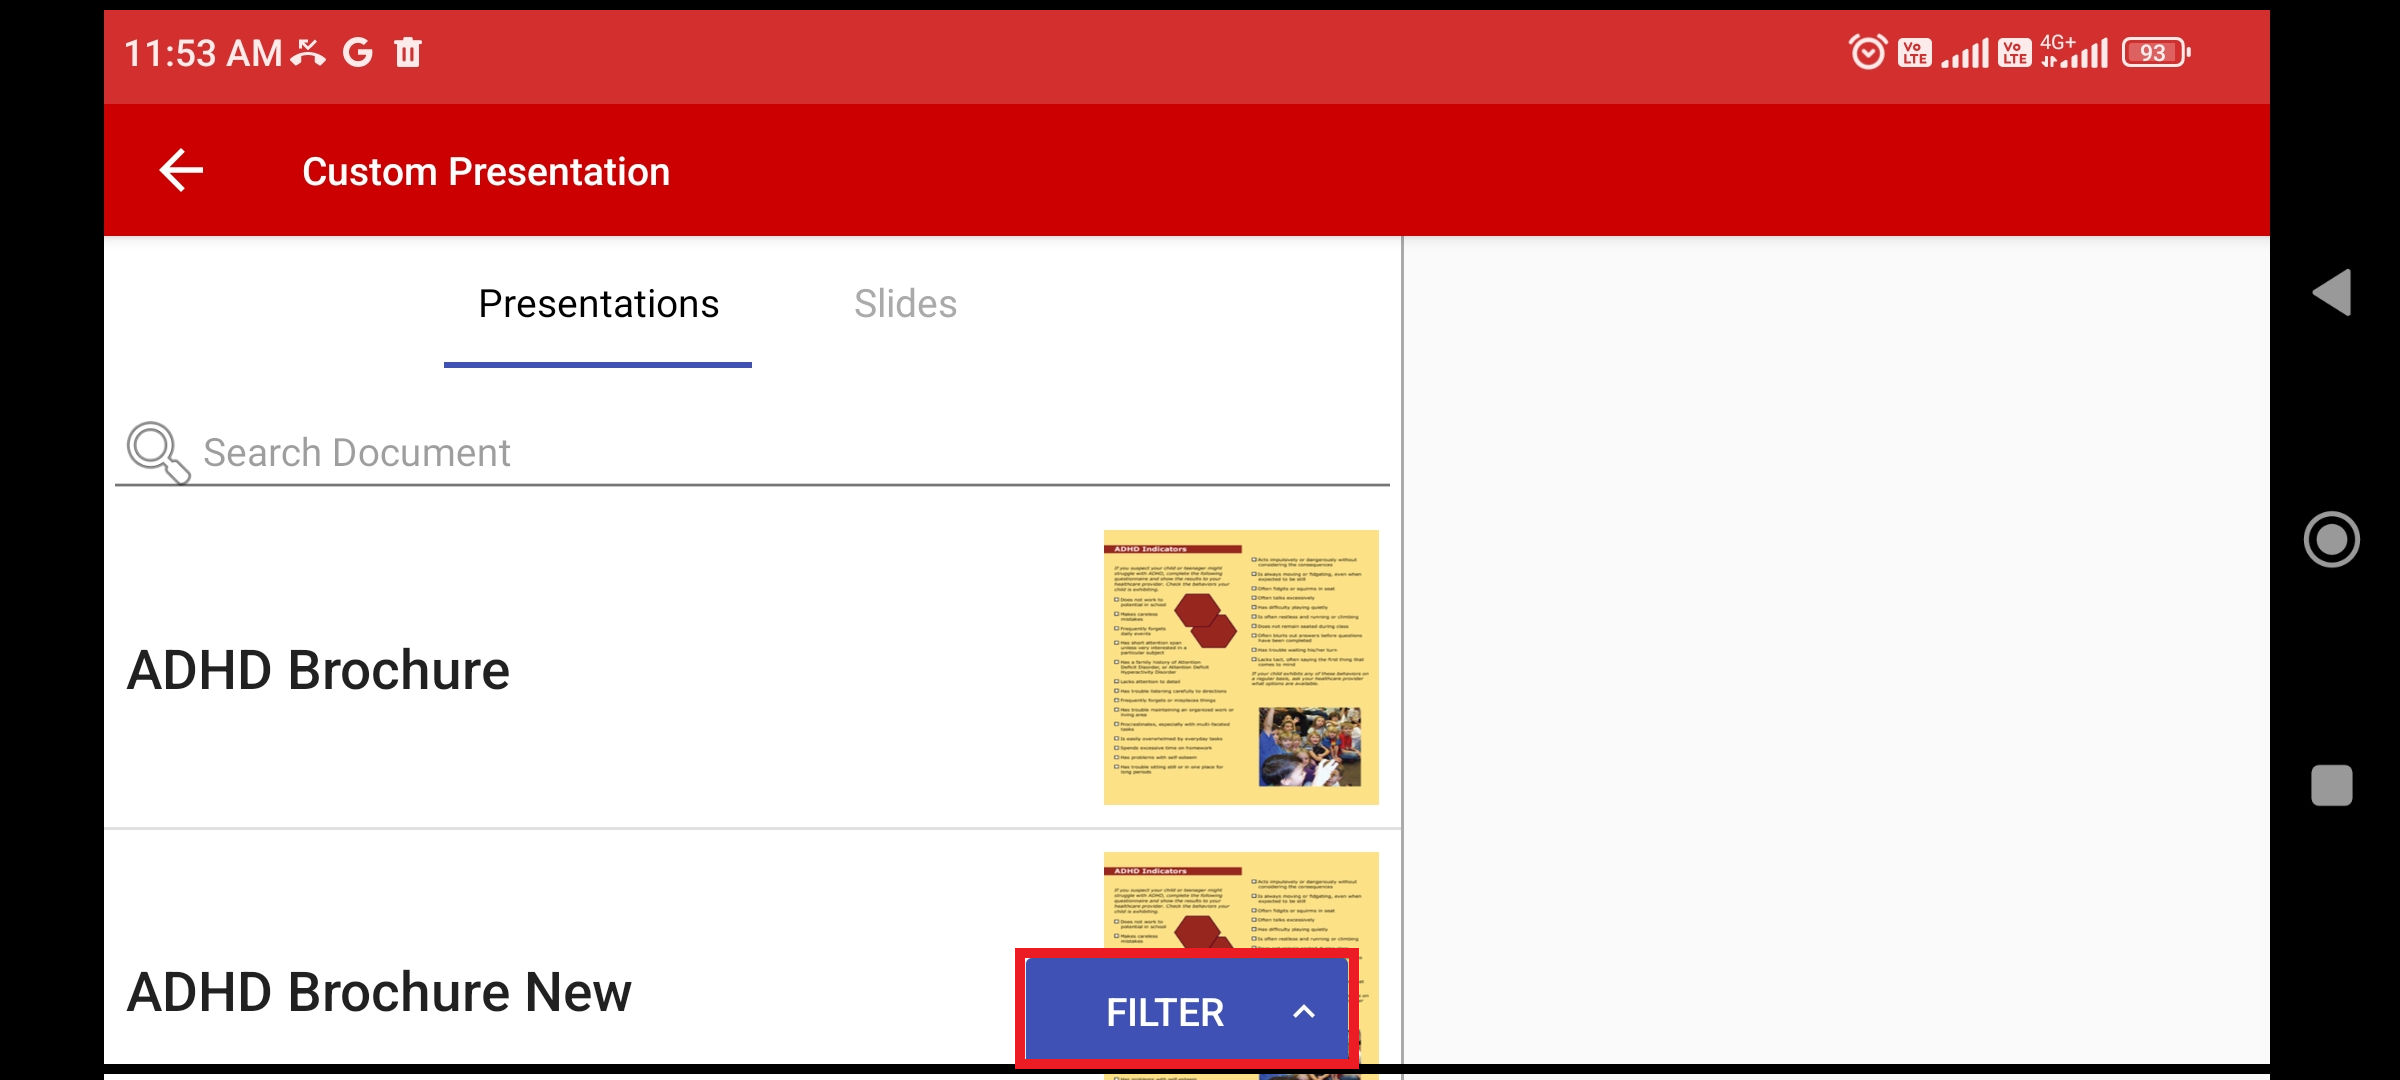
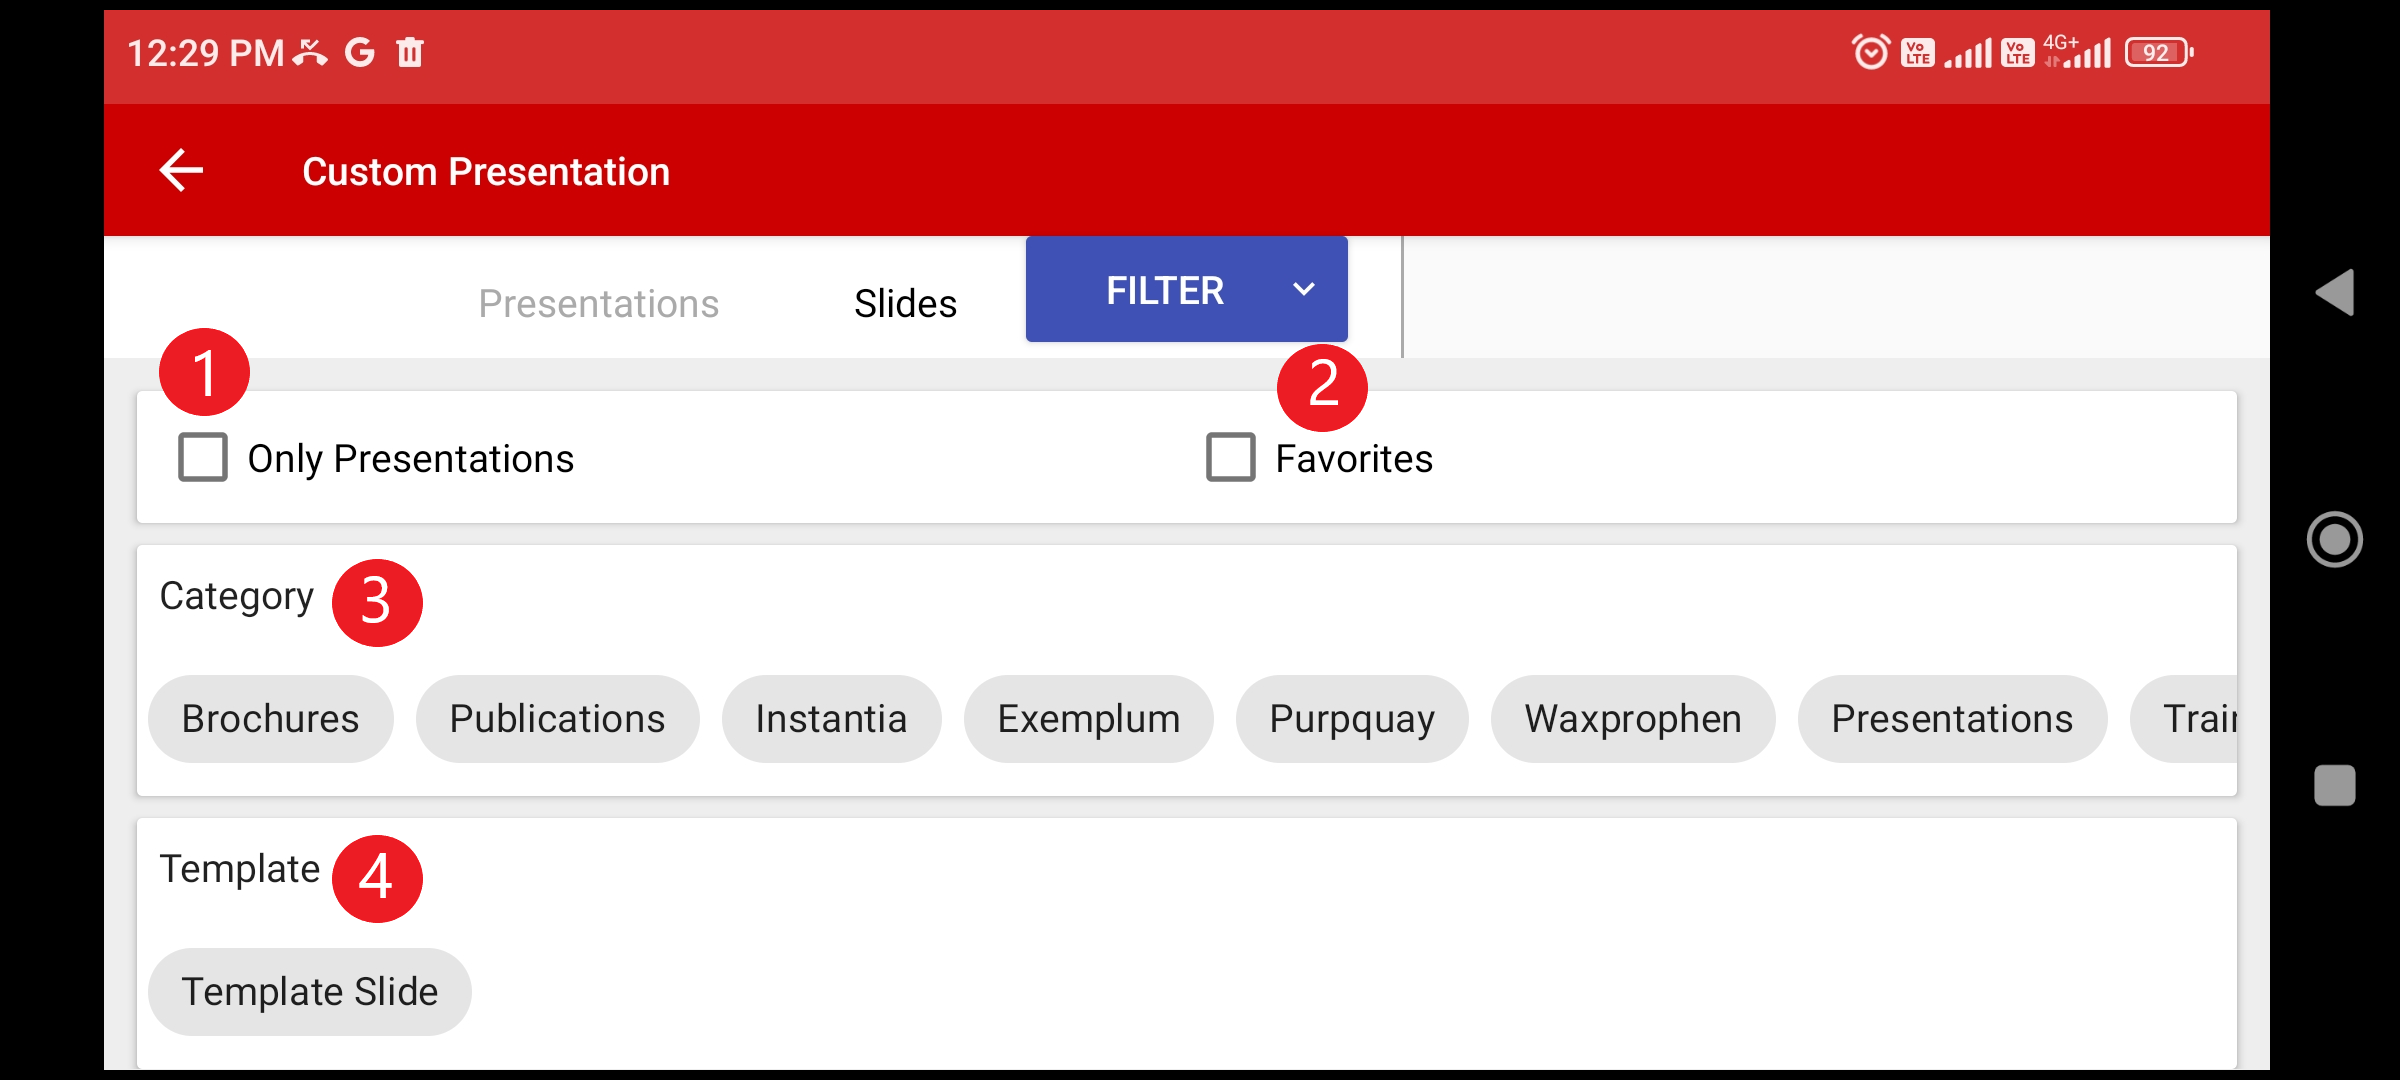
Applying Filter
The users can apply filters by tapping on the Filter option.
The filter will allow user to select a predefined template or particular category/categories of presentations.
Adding Slides
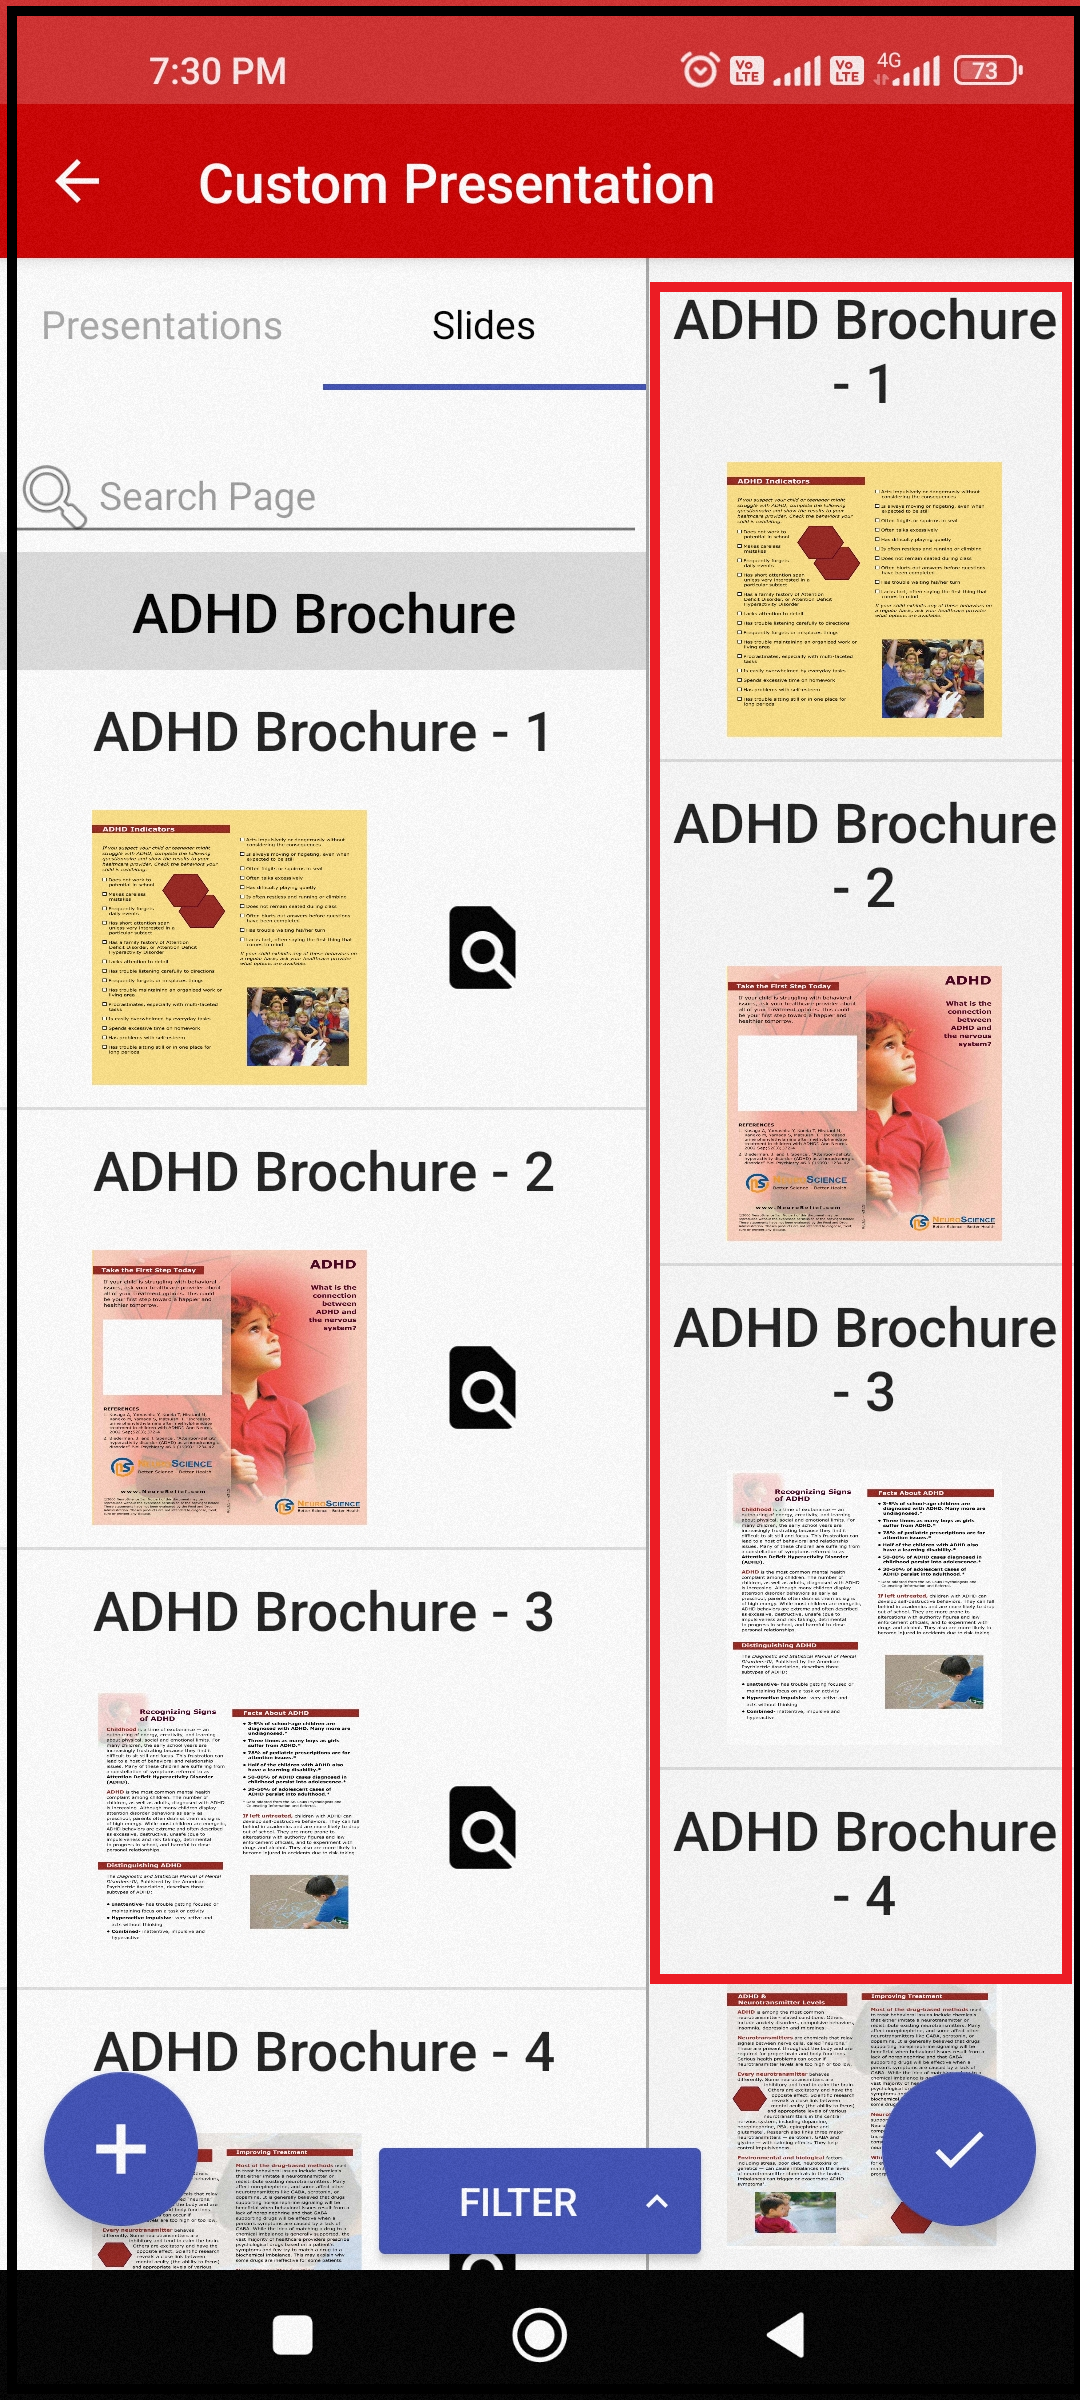
For adding slides to the slide deck tapping on any presentation will display the list of slides within that presentation.
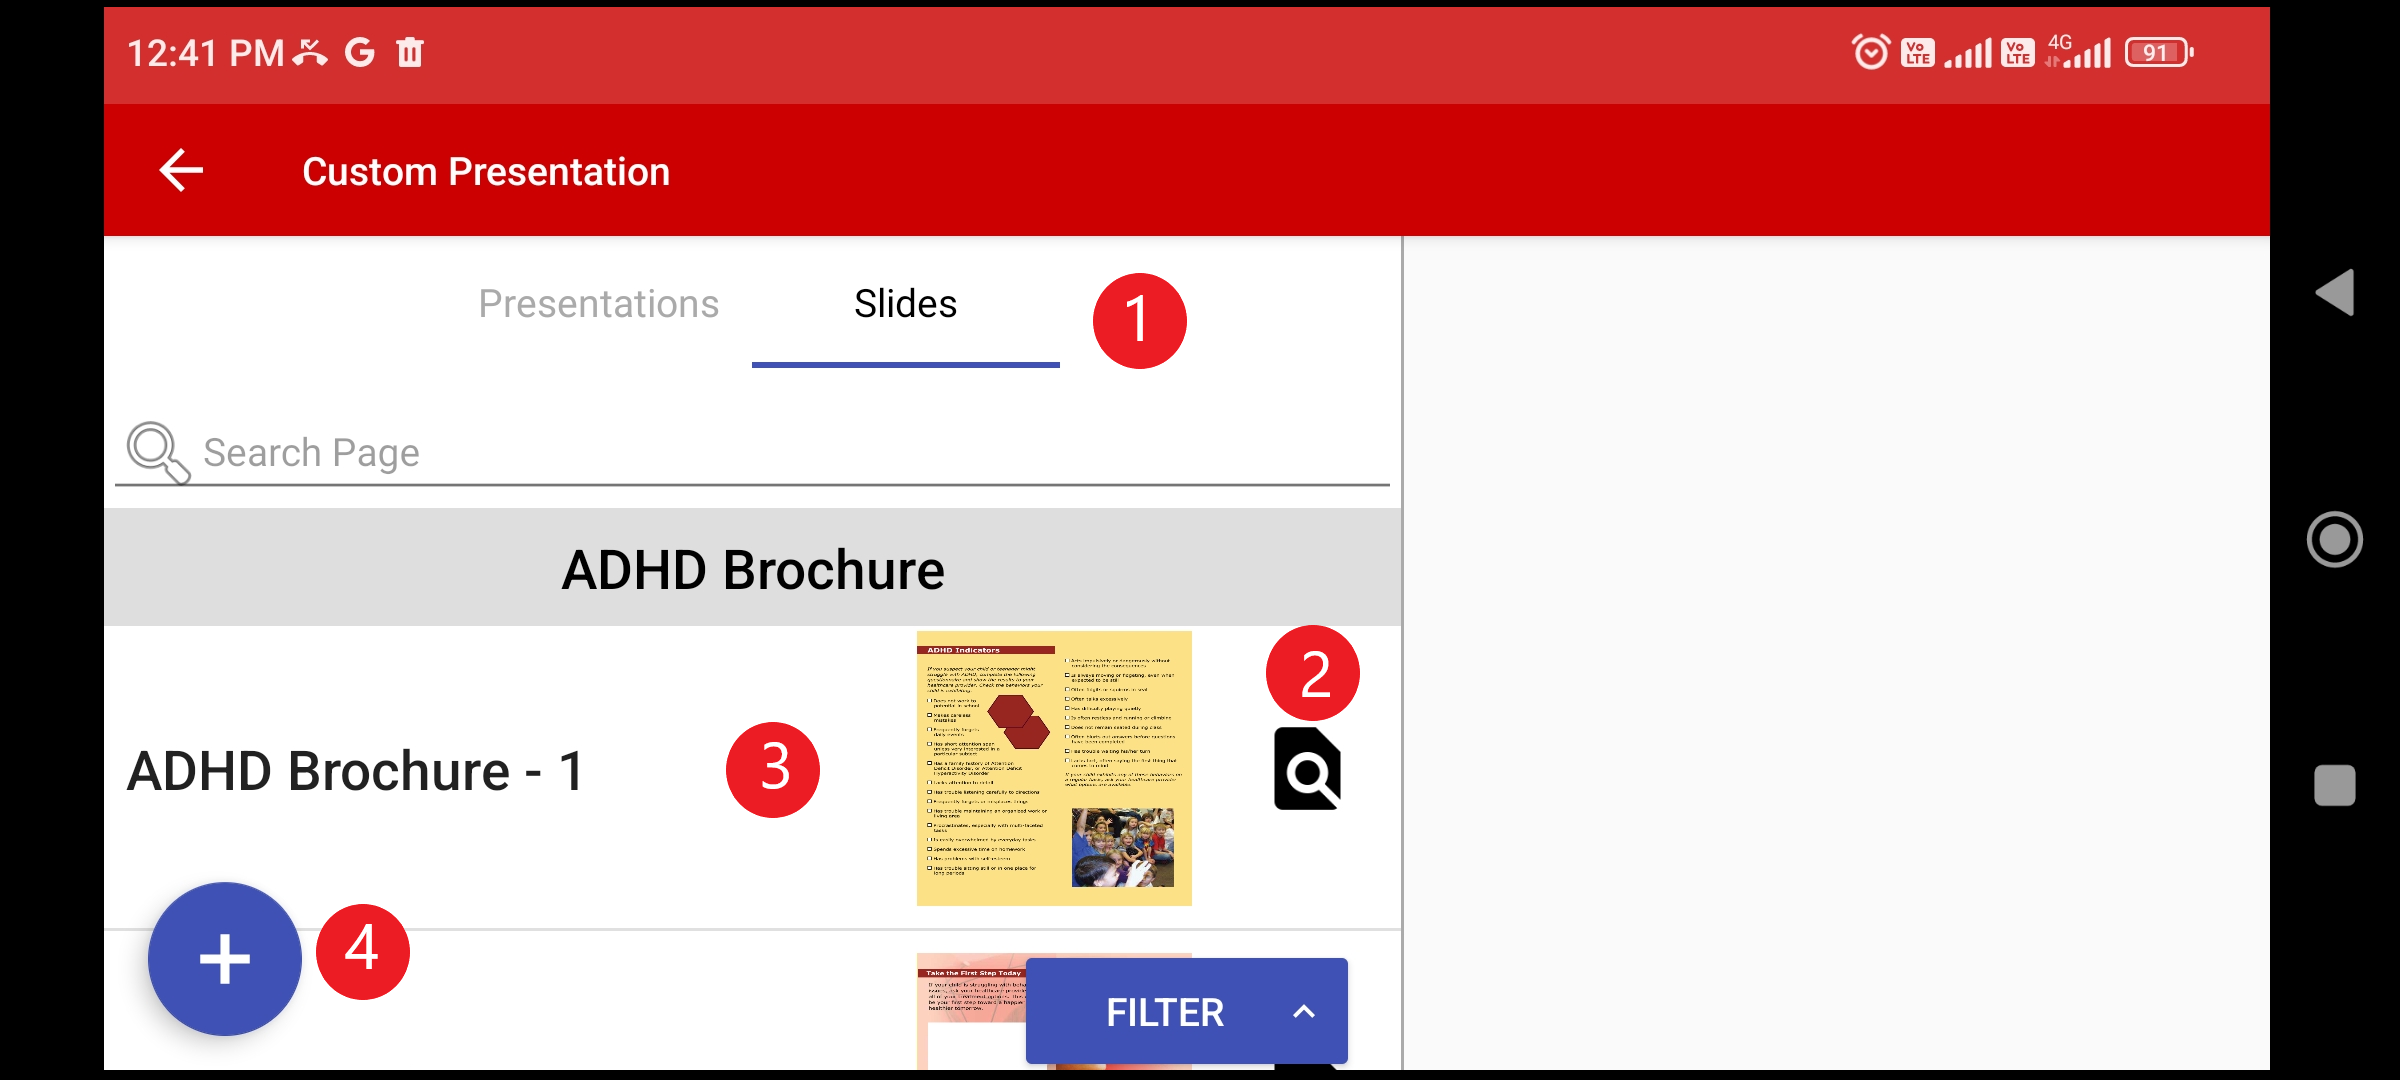
After tapping on a particular presentation list of slides will be displayed.
Quick jump to the slide to see the details of the slide
List of slides
Add button will add all the slides present in the presentation.
Quick Jump To The Slide
For seeing the details of the slide quick jump icon has to be tapped.
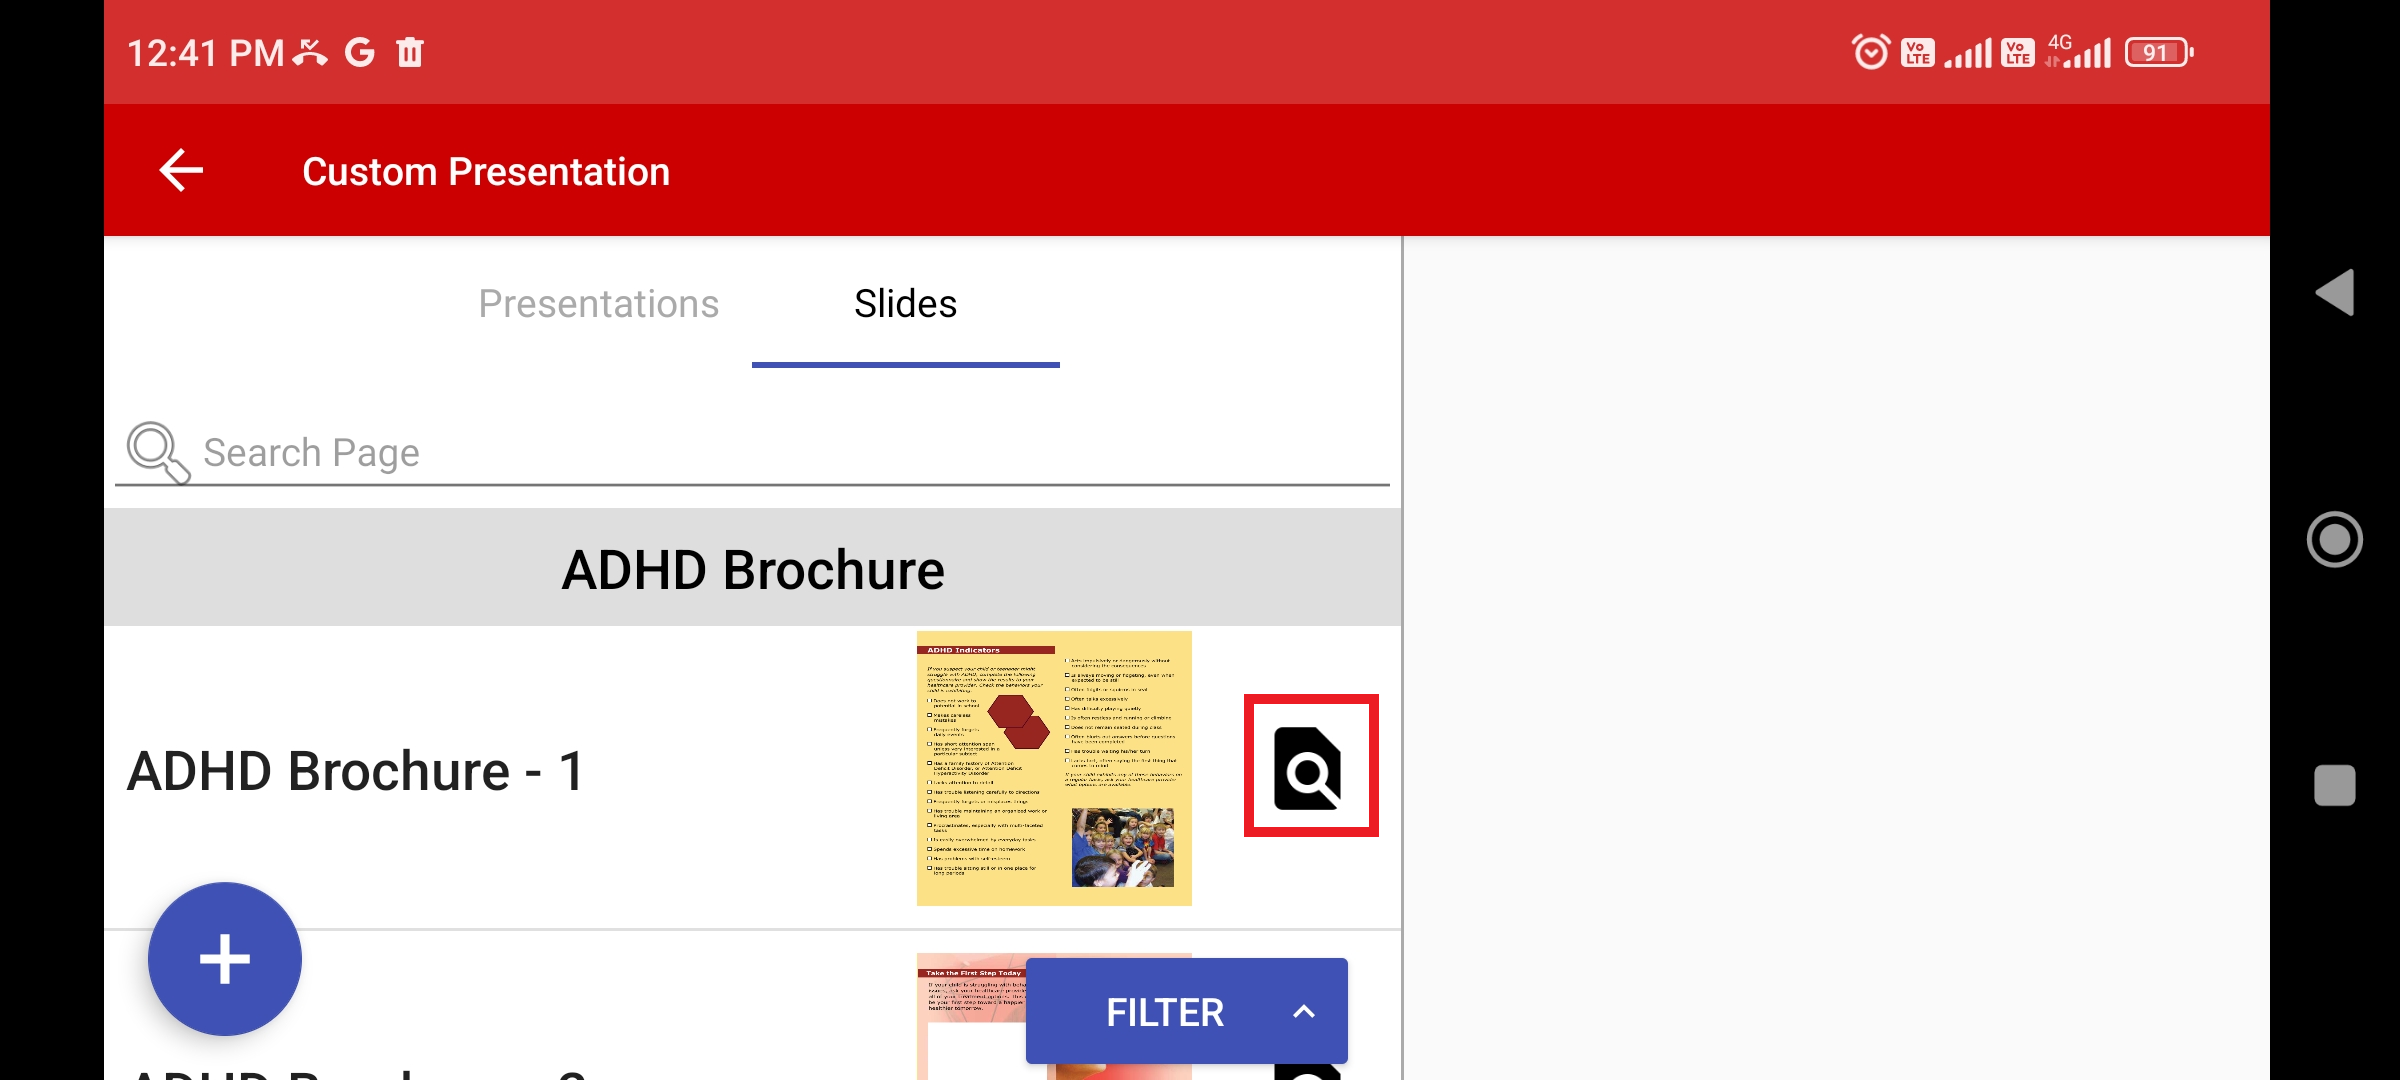
A new window will open which will display the details of the slide.

Adding Slides to the Custom Deck
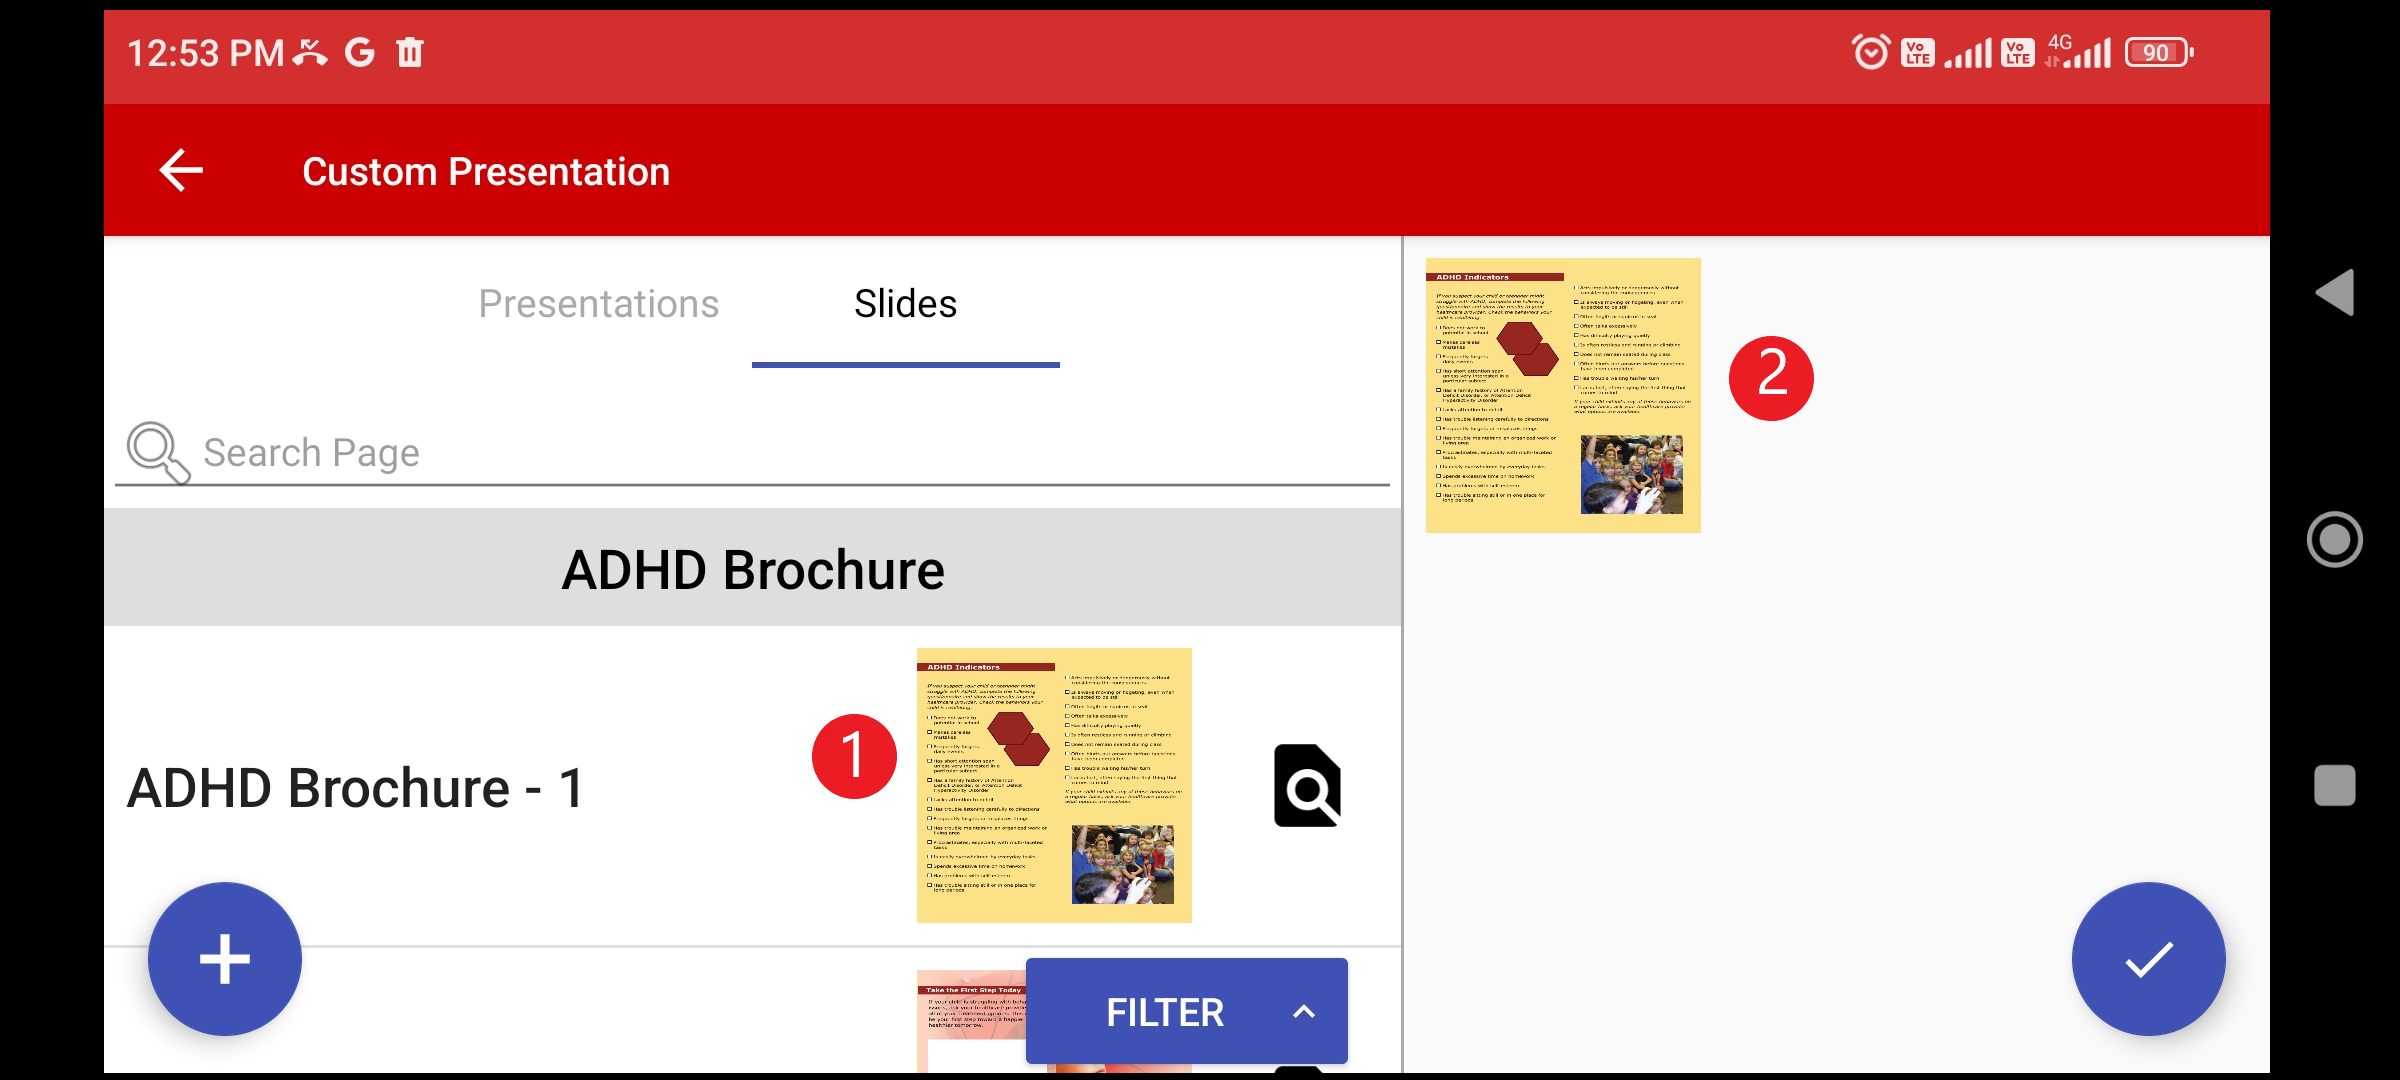
Single Tap on the slide
It will be placed in the custom deck area.
To remove the slide swipe it to the left hand side and it will be removed from the custom slide deck area.
Add all slides of the presentation in a single Tap
All the slides of a particular presentation can be added in a single tap.
The + button at the left bottom corner of the screen will add all the slides of the presentation to the custom deck as shown below
Save The Custom Slide Deck
Once the slides have been added in the custom slide deck area a blue tick mark will appear on the right hand bottom of the screen.
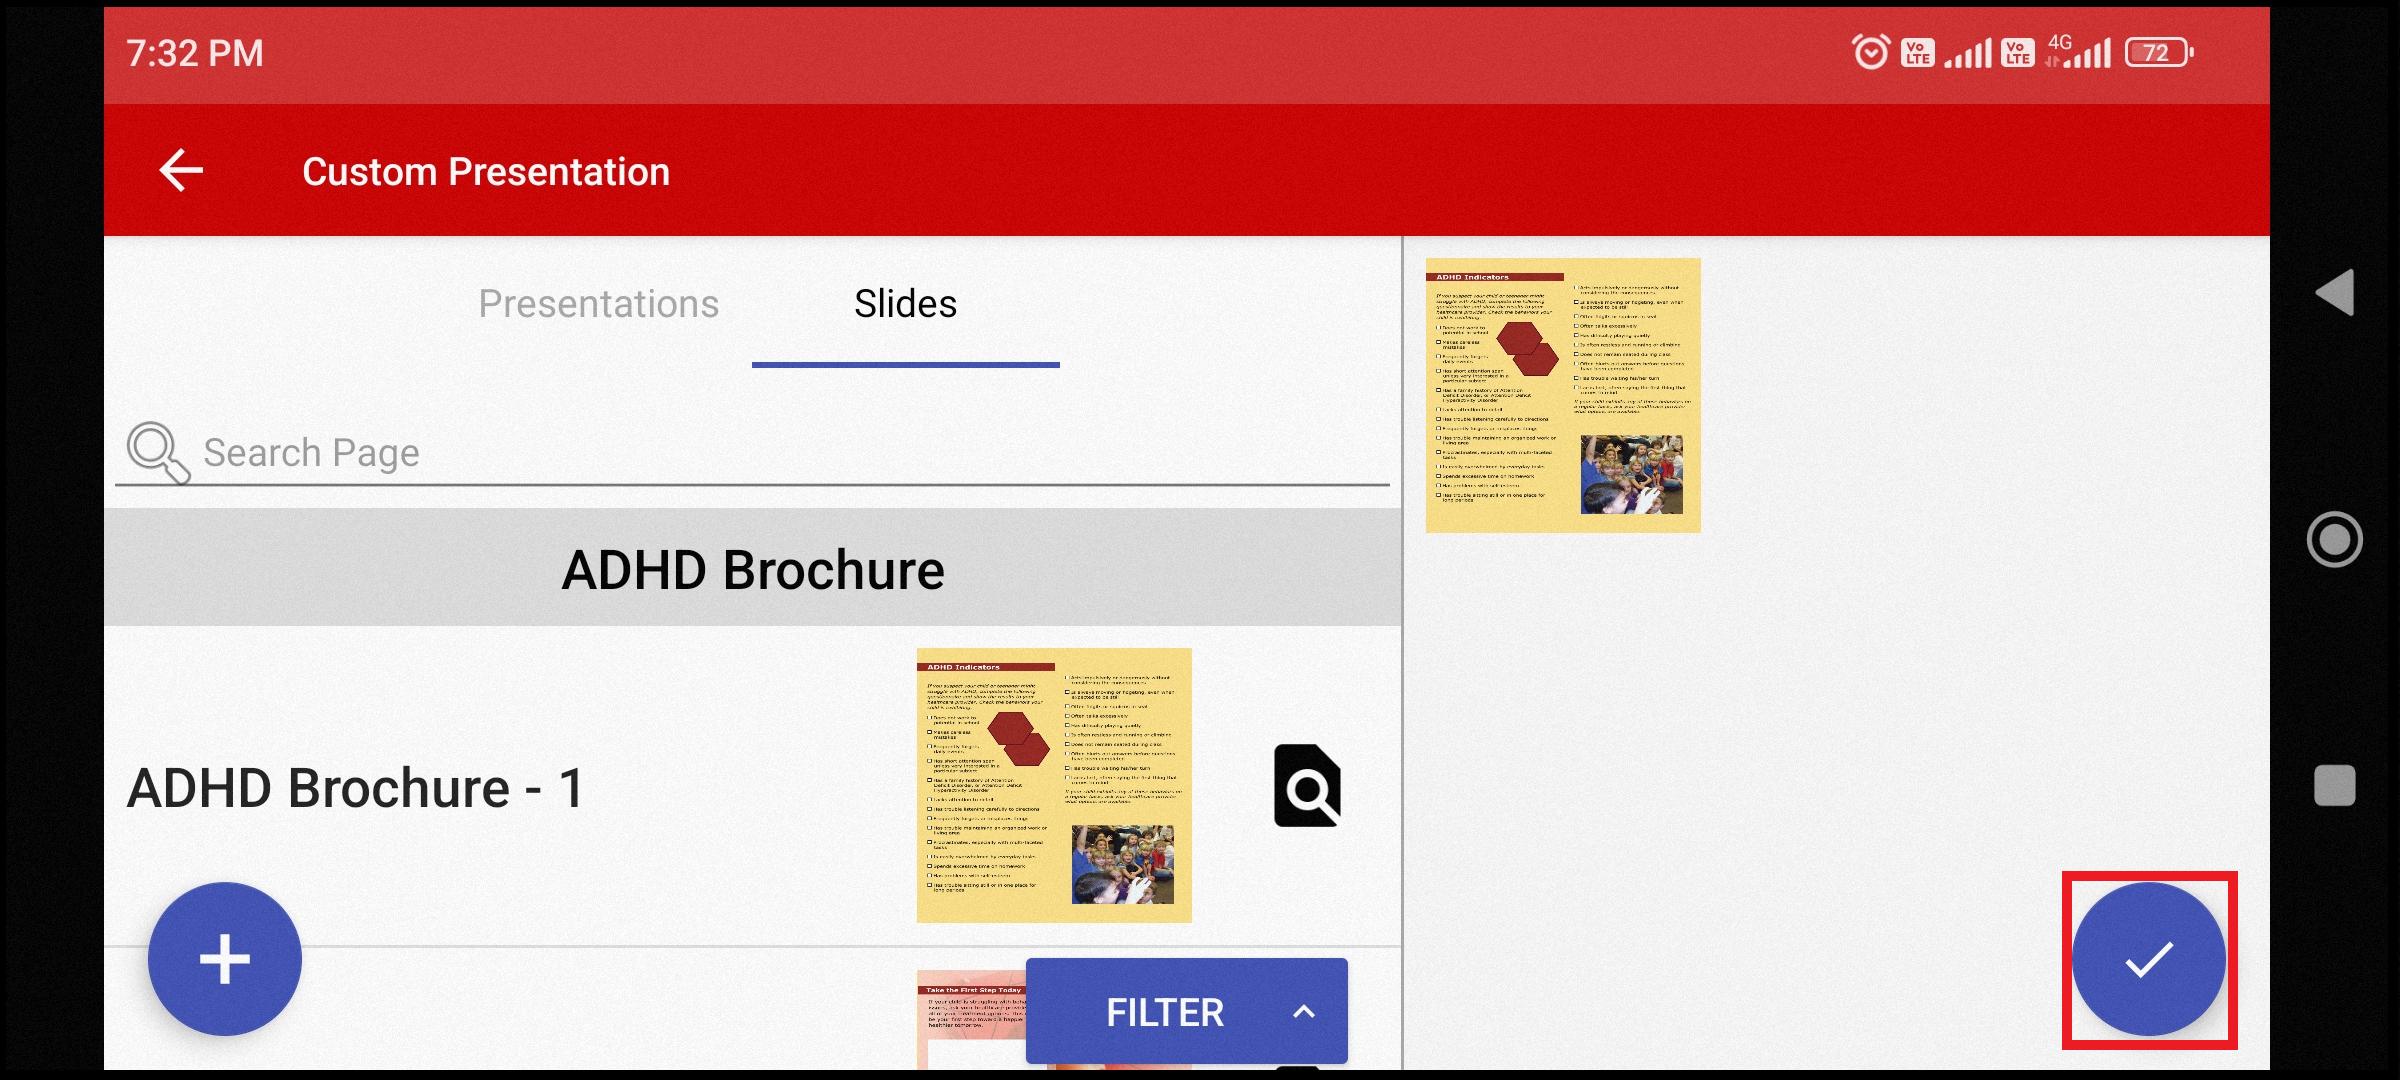
Tapping on the blue tick mark button will open a window for saving the slide deck
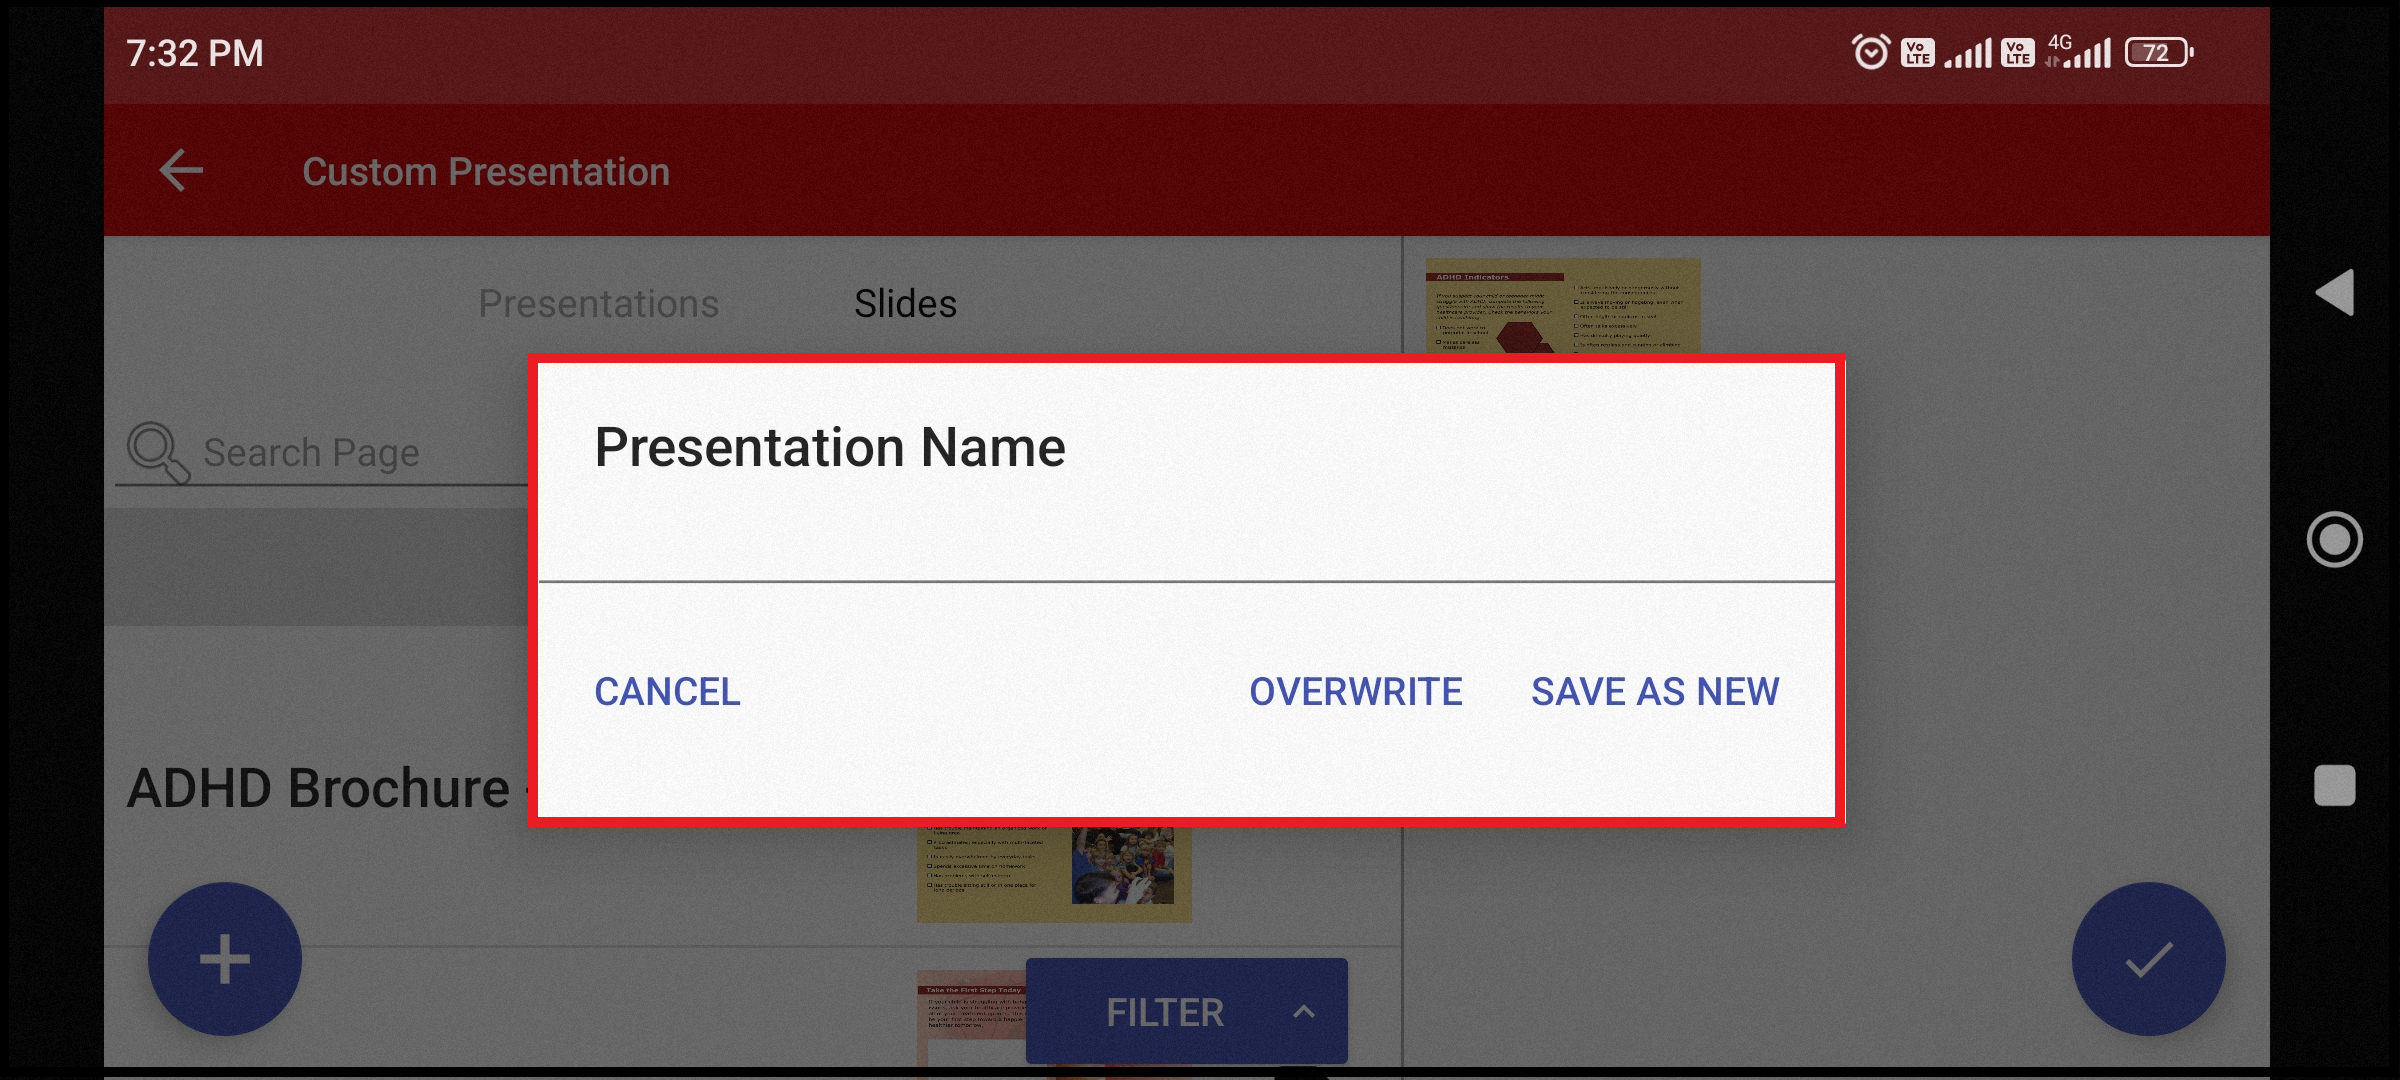
After providing name for the custom slide deck user can tap the SAVE AS A NEW or OVERWRITE button which will save the presentation.
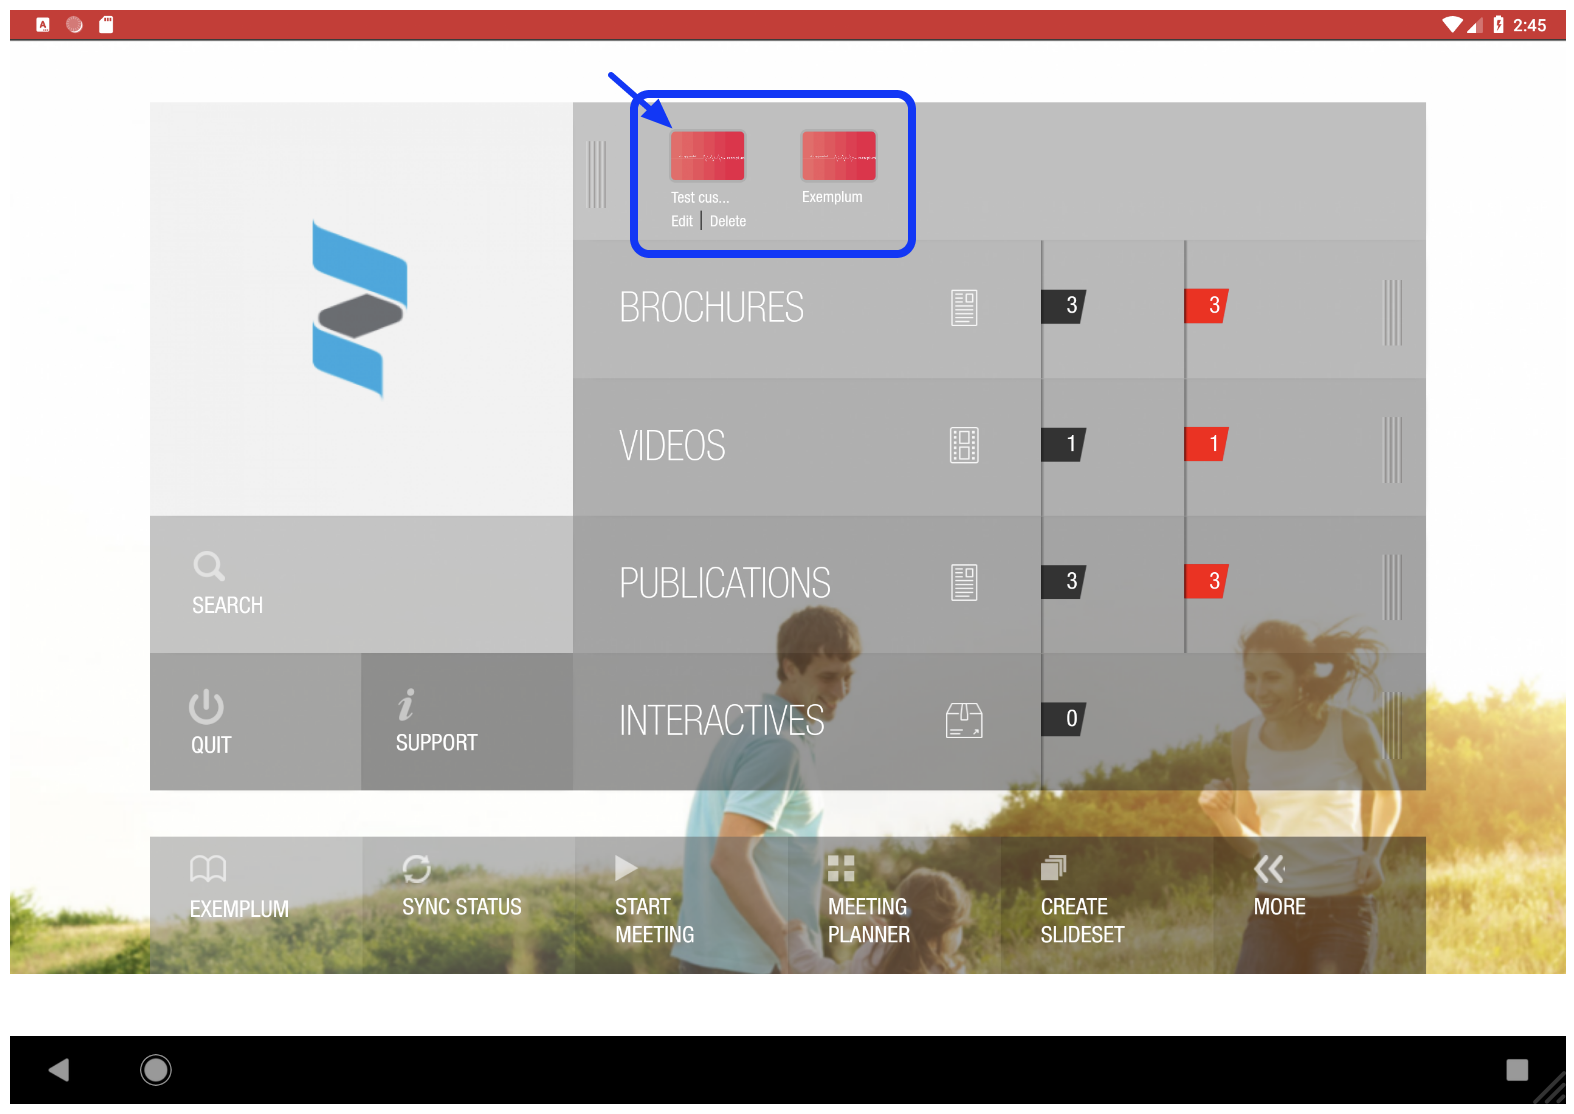
Newly created custom deck will be saved next to the document which has the first page of the custom slideset.
The custom slide sets can be deleted but originals can only be removed by the content administrator. Also, if the admin removes the content (or content expires) all custom slide sets will be removed as well.